How to Connect Konfiwear to Shopify (Step-by-Step)
Step-by-step guide: set up your Shopify app, connect Konfiwear, map products, and start selling custom apparel through your existing Shopify cart and checkout.

What You'll Accomplish
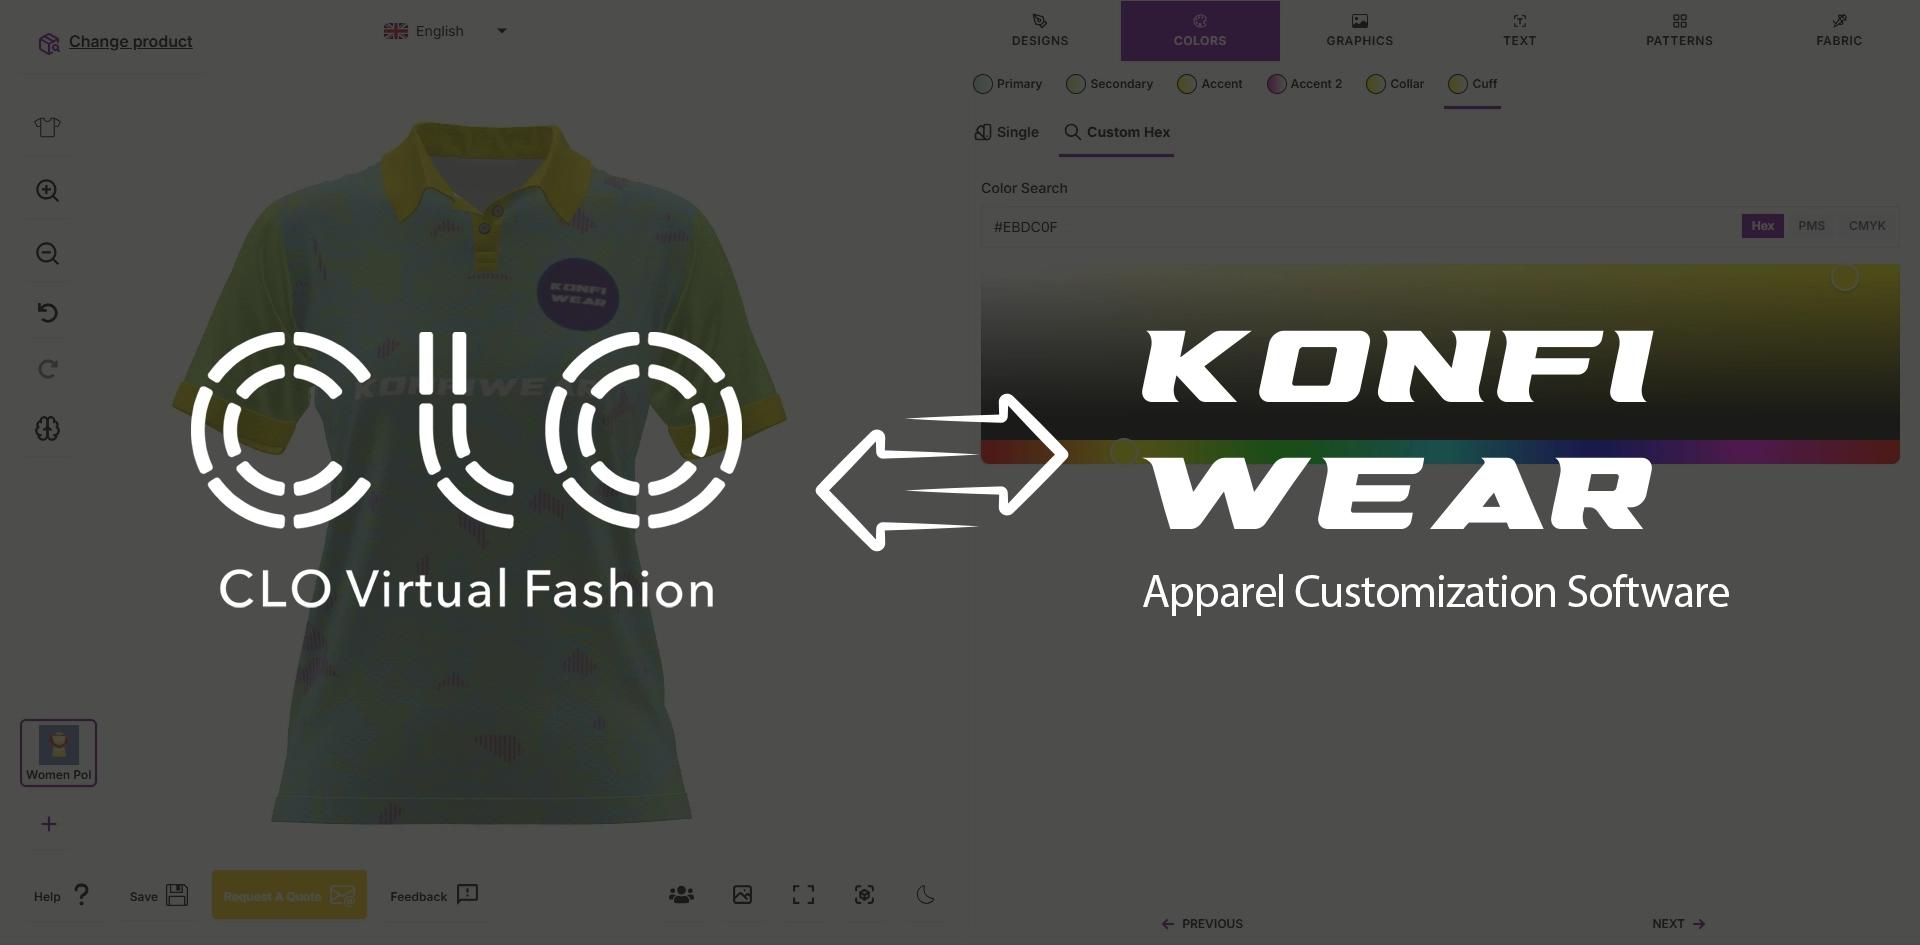
In this tutorial, you'll connect your Shopify store to Konfiwear so customers can design custom apparel in the 3D configurator, add configured items directly to your Shopify cart, and check out through your existing Shopify checkout. Every order automatically creates a quote and production-ready files in Konfiwear.
For a full overview of what the integration includes — cart flow, checkout, quotes, and production files — see the Shopify integration page.
Requirements:
- A Konfiwear workspace on a Pro or Enterprise plan (Shopify integration is not available on lower tiers)
- Shopify store admin access to create a private app and approve the connection
If you prefer watching, start with the video tutorial below:
By the end, you'll have:
- A private Shopify app configured for Konfiwear
- Your store securely linked to Konfiwear — approve once, no shared passwords
- Products mapped between Konfiwear and Shopify, ready for customers to customize and buy
Step 1 — Create Your Shopify App
Konfiwear connects through a private app you create in your own Shopify account — not through the Shopify App Store. You'll build the app in Shopify's Dev Dashboard, then paste two credentials into Konfiwear.
1.1 Open Apps in Shopify Admin
- Log in to your Shopify Admin.
- In the left sidebar, click Apps.
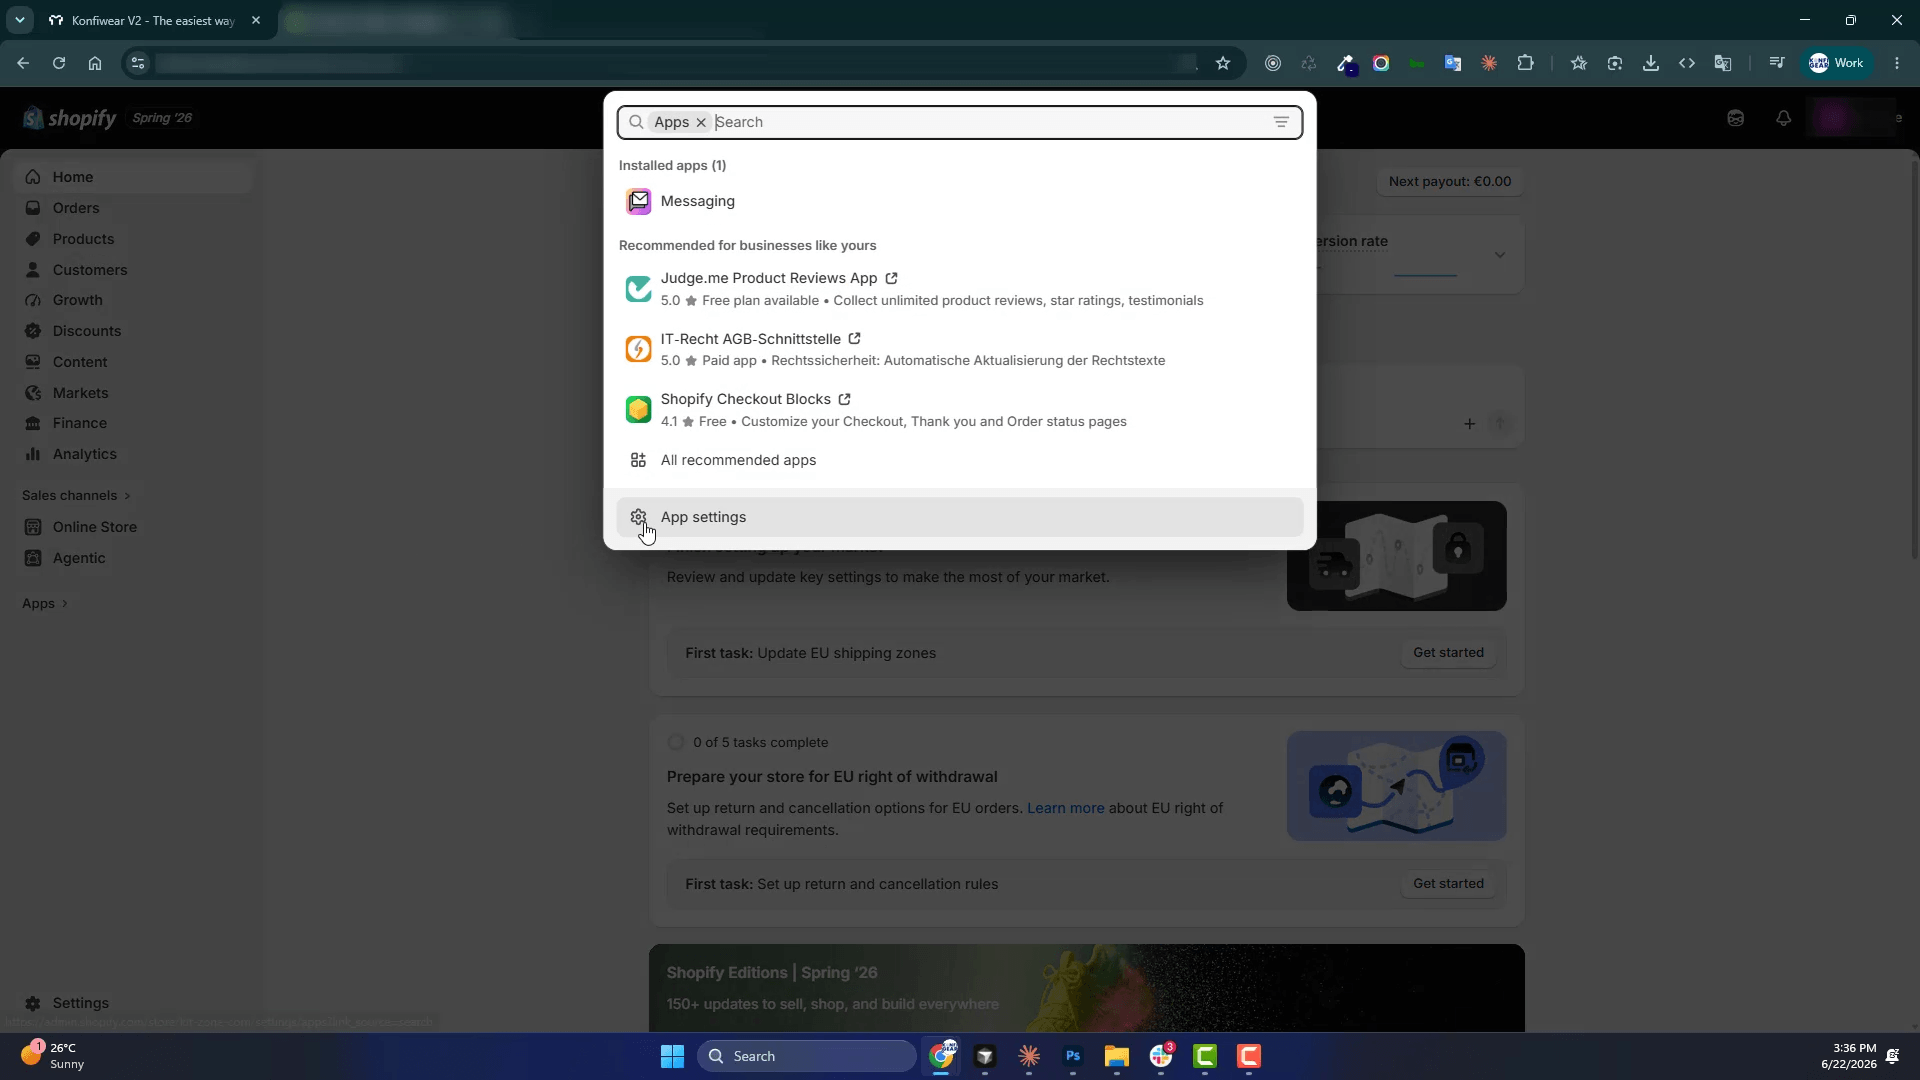
1.2 Open the Dev Dashboard
- Click Develop apps (or App development depending on your Shopify admin version).
- If prompted, allow custom app development for your store.
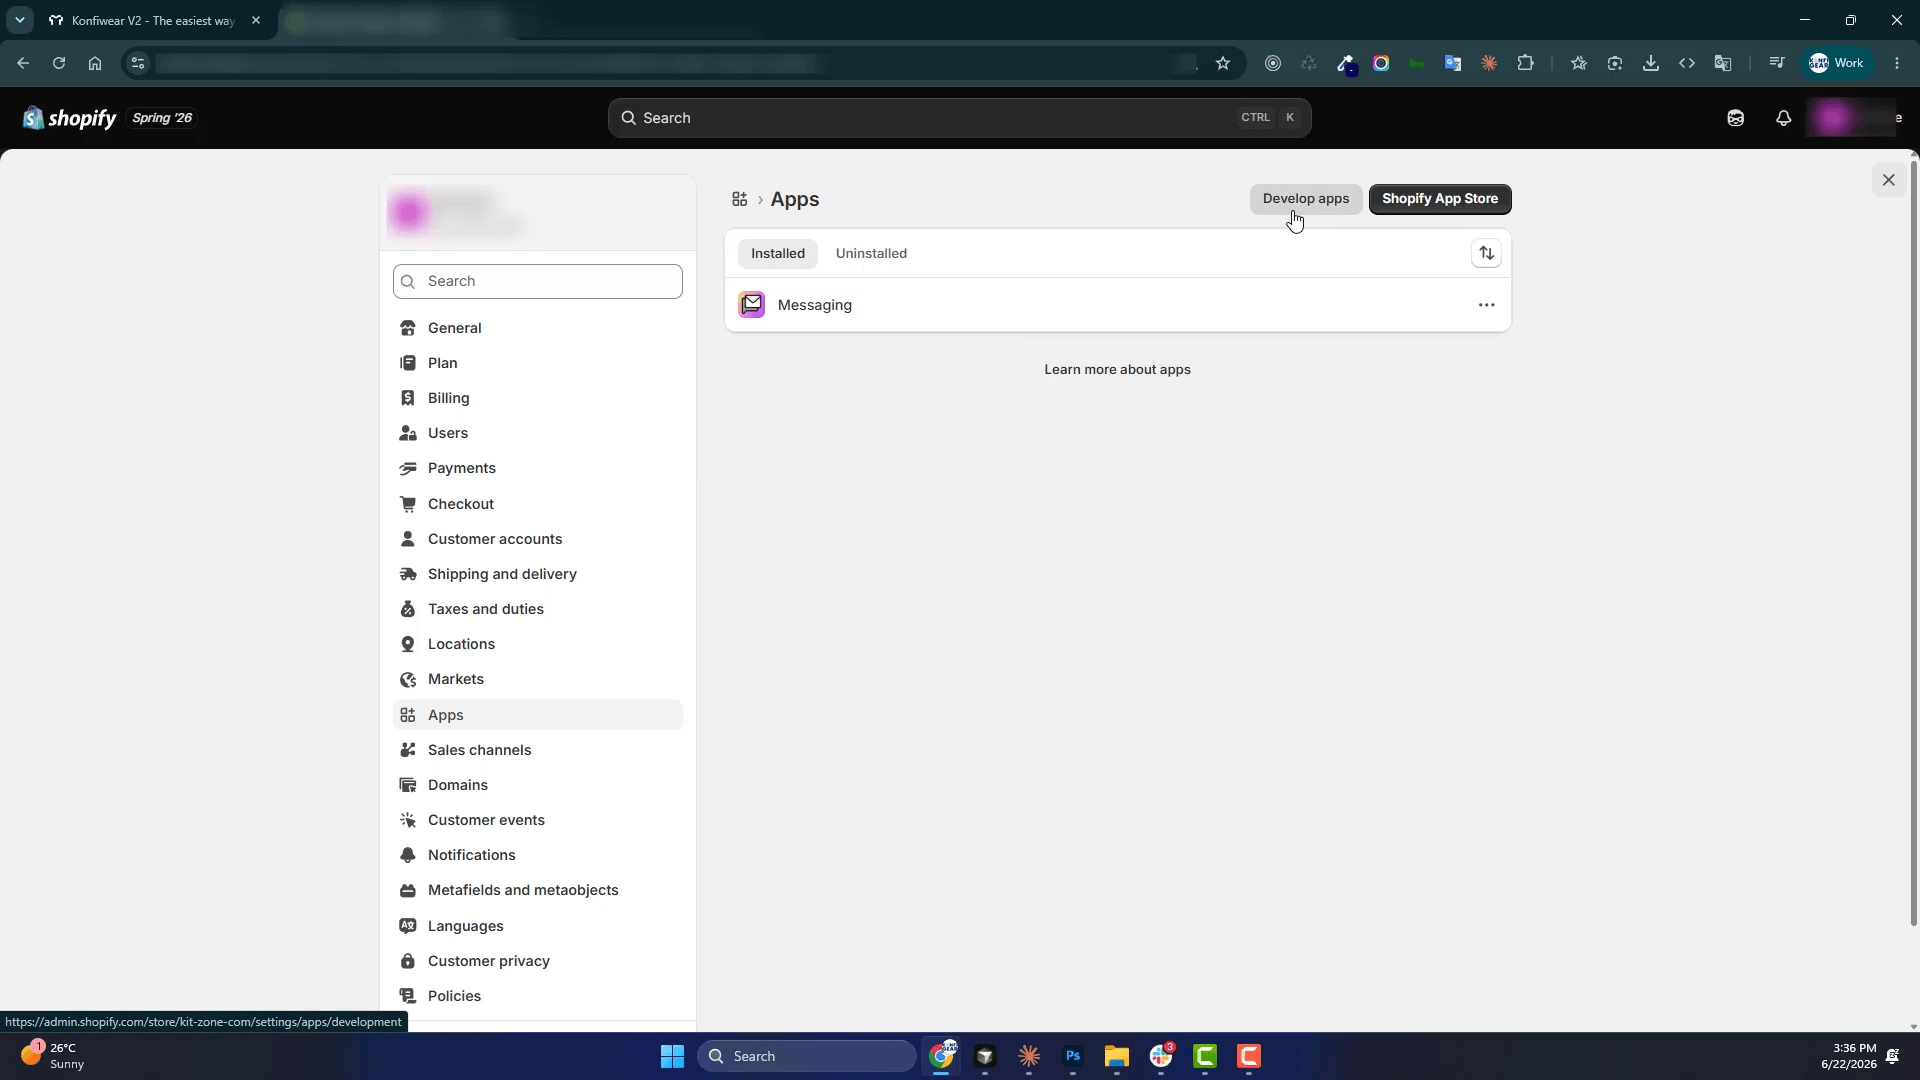
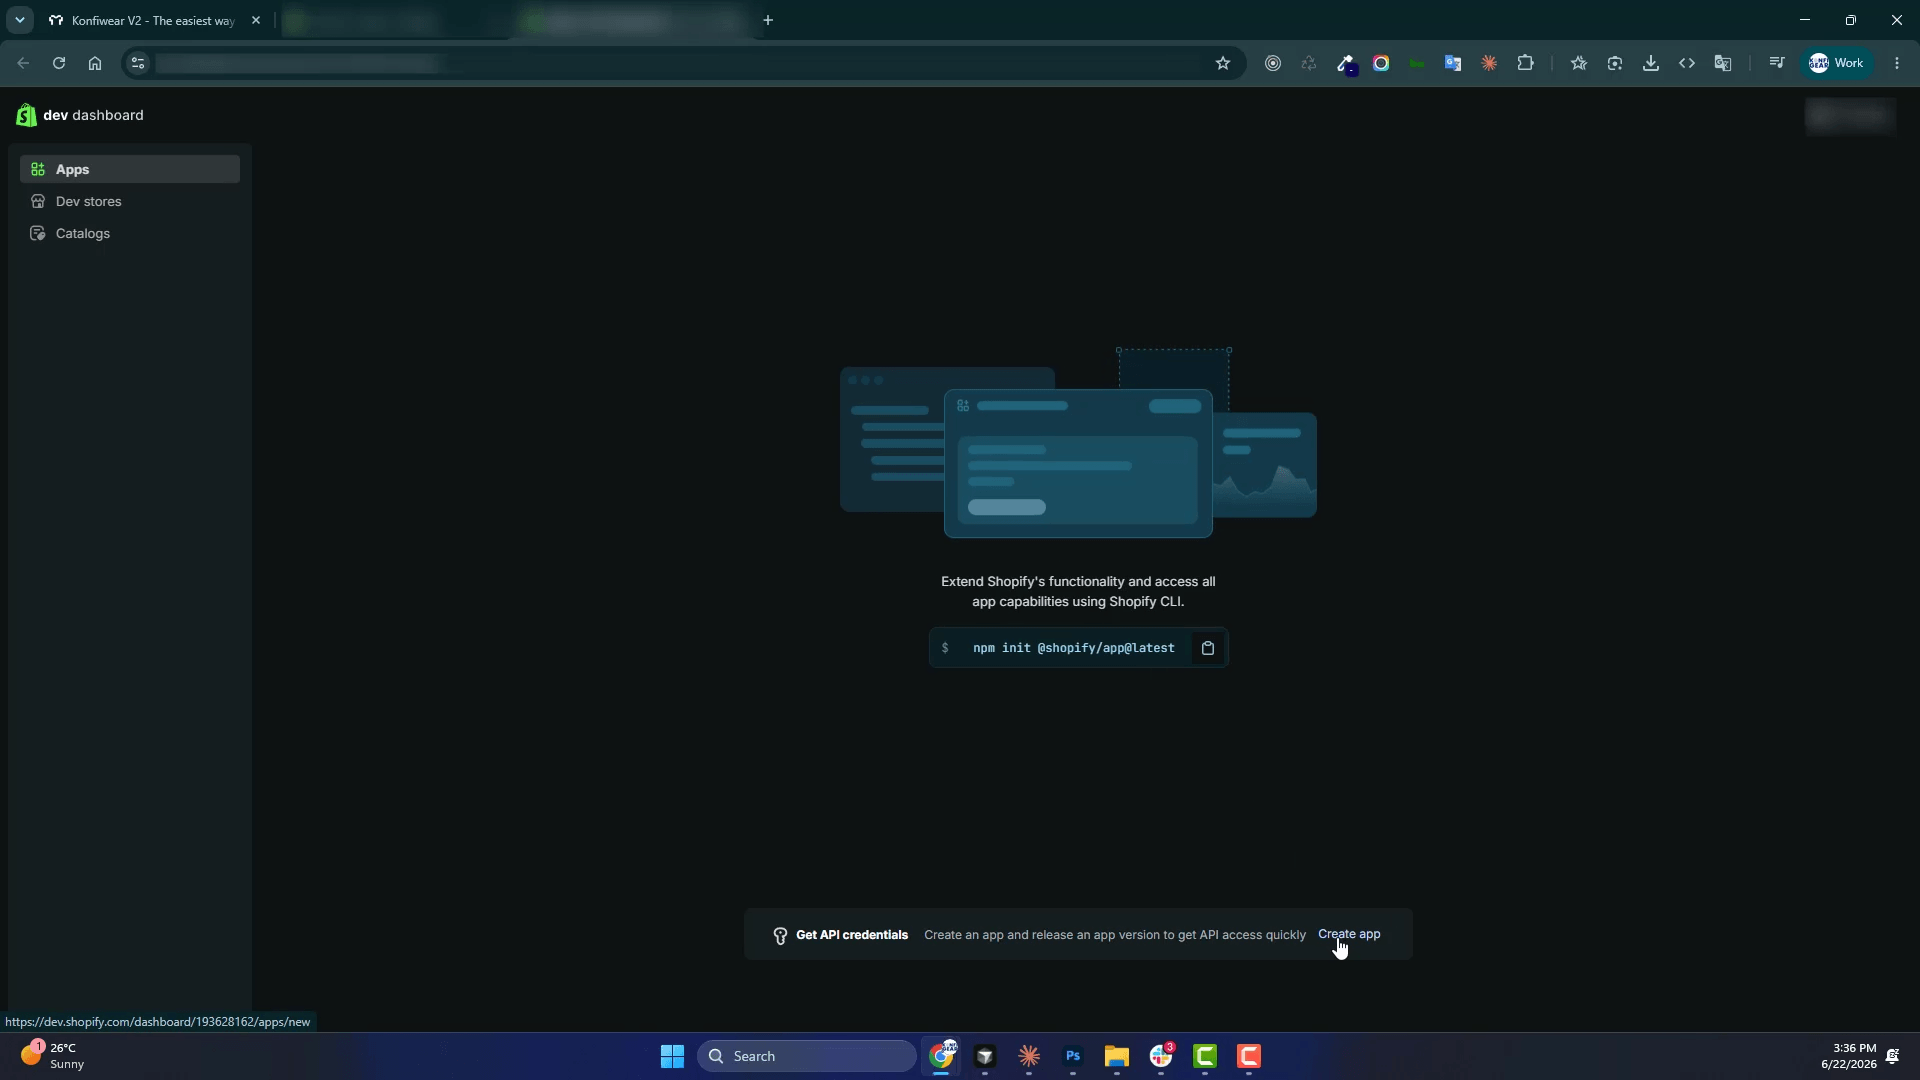
1.3 Create a New App
- In the Dev Dashboard, click Create app.
- Give your app a clear name (for example,
Konfiwear Integration). - Confirm creation.
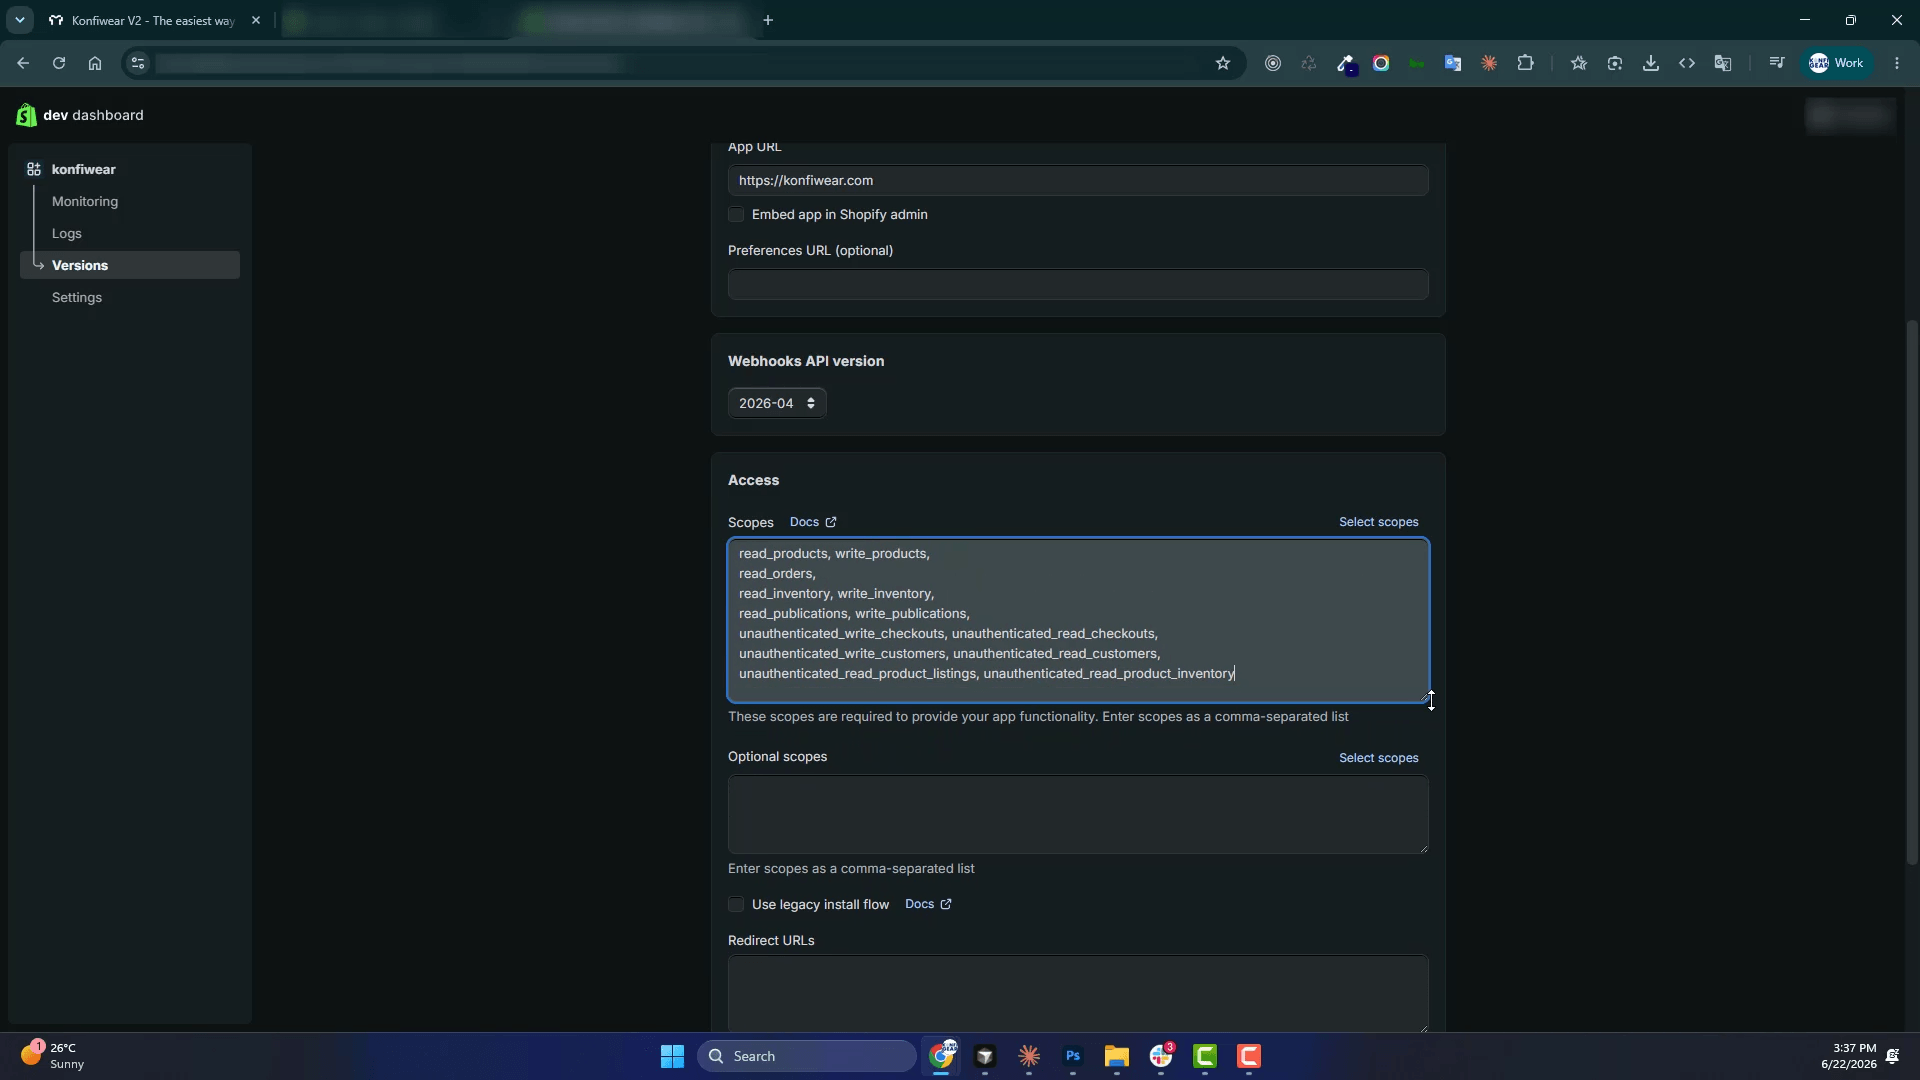
1.4 Configure App Permissions
Open your new app's Configuration (or API access) and set the permissions and connection details your store needs.
When you start the connection in Konfiwear (Step 2), the Connect with Shopify dialog shows exactly which settings to use — including the connection URL to add in Shopify. Copy those values from Konfiwear into your app configuration before installing.
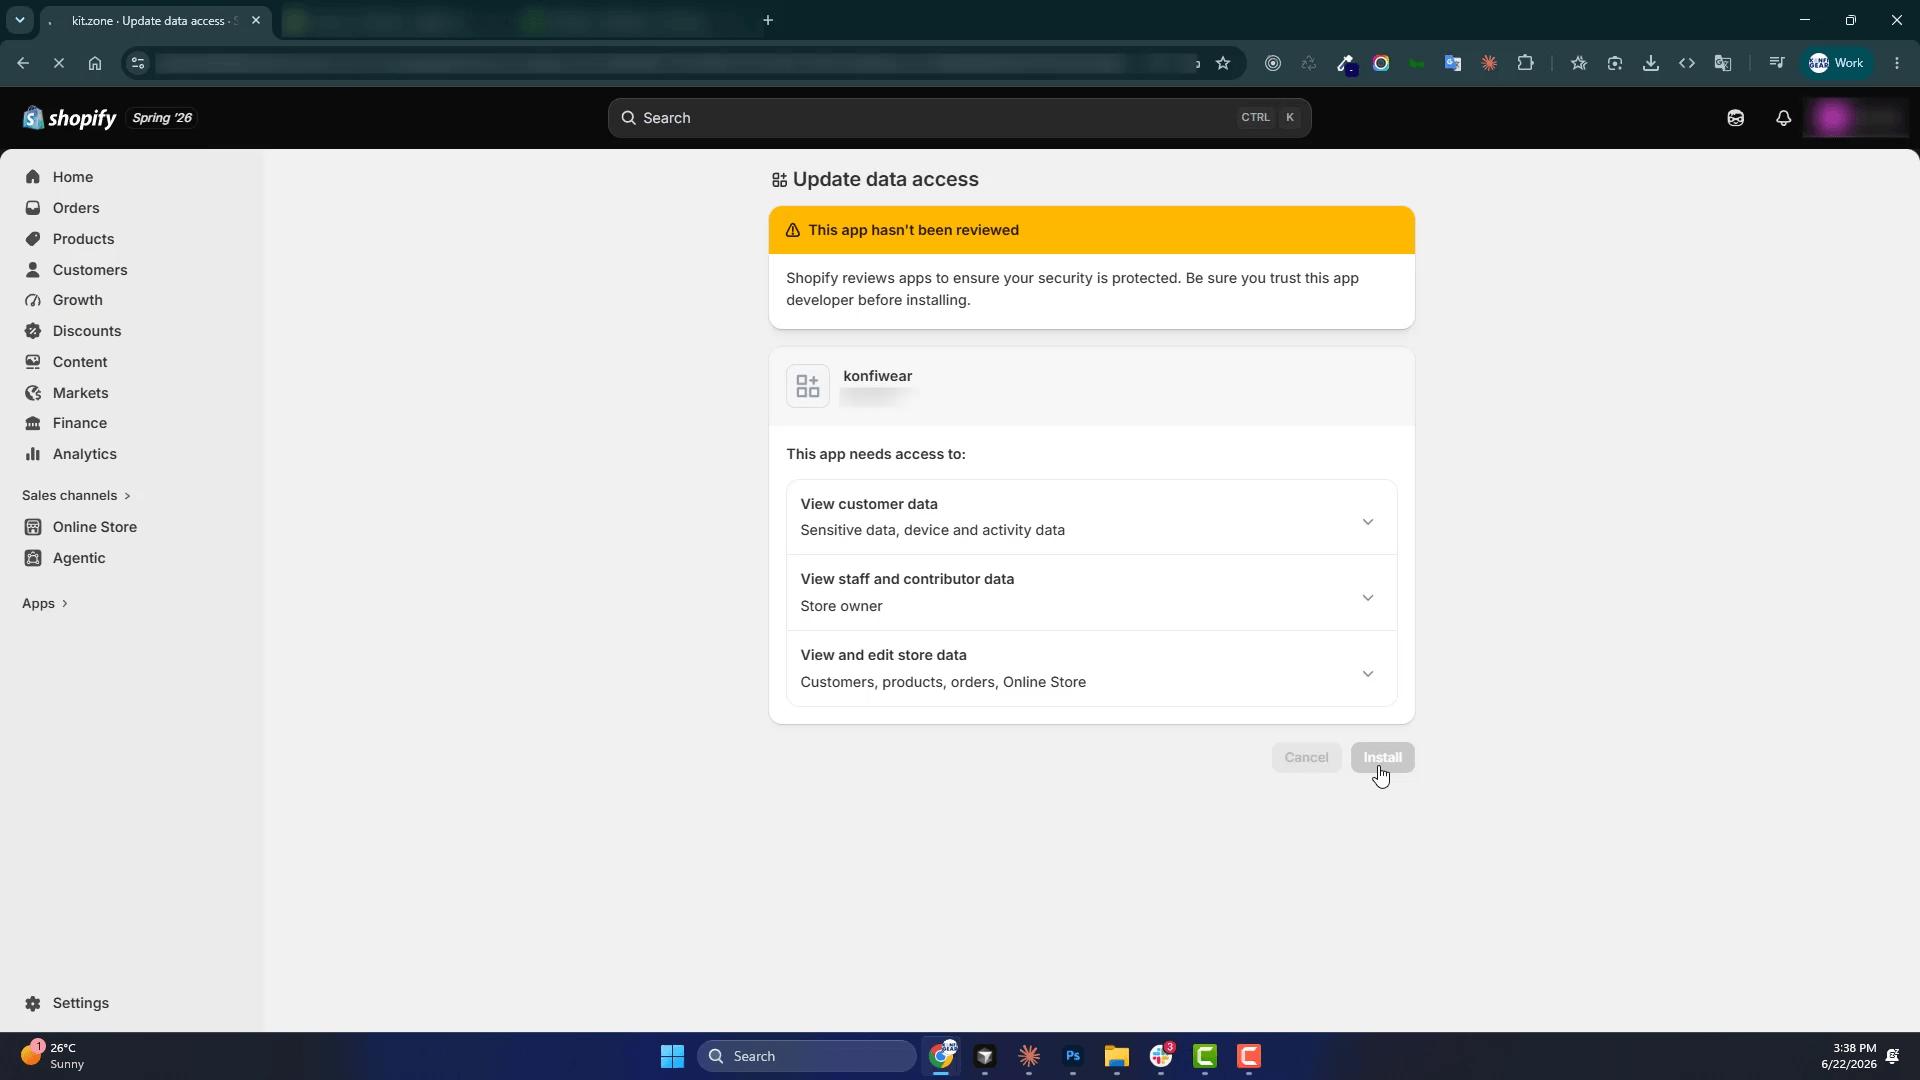
1.5 Install the App on Your Store
- Save your configuration.
- Click Install app (or Release then Install) to install the app on your store.
- Confirm the installation when Shopify asks for permission.
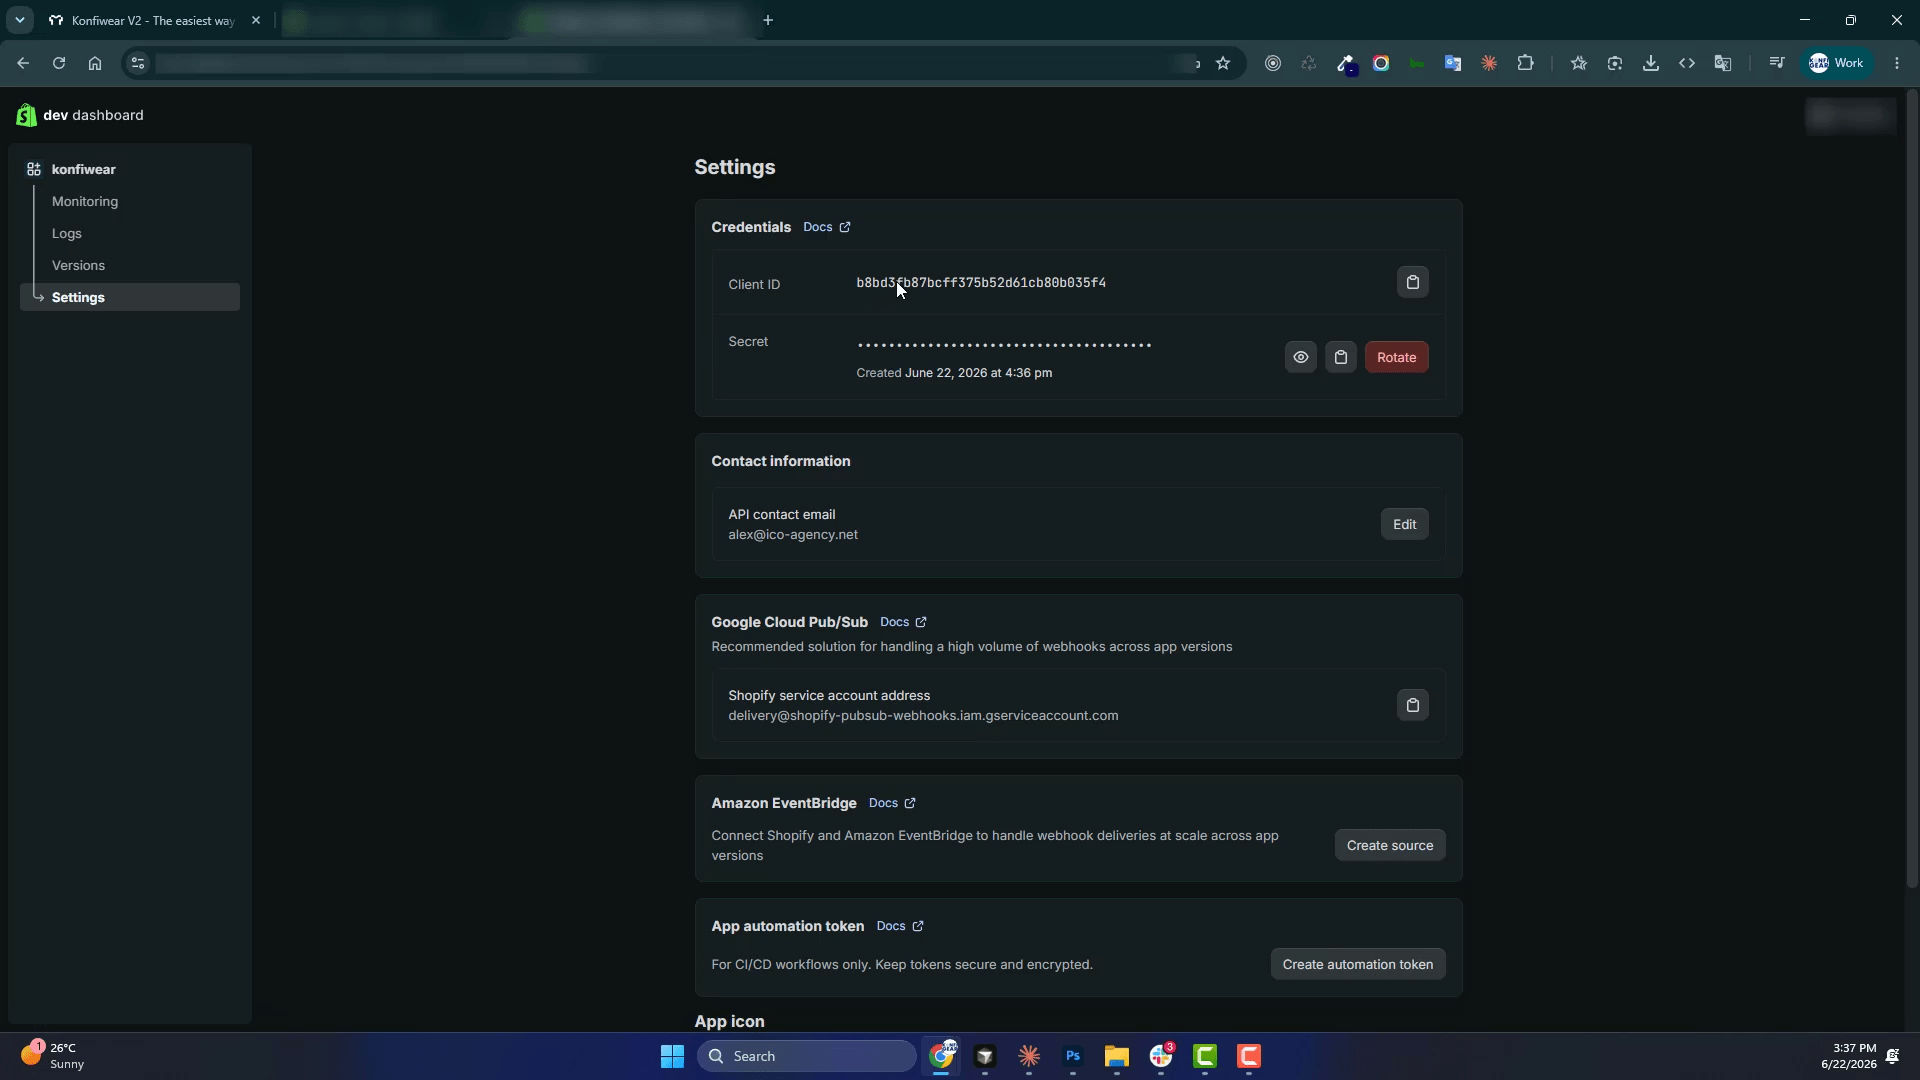
1.6 Copy Your Credentials
- Go to your app's Settings (or API credentials).
- Copy the Client ID.
- Copy the Client secret.
Keep both credentials handy — you'll paste them into Konfiwear in the next step.
Step 2 — Connect Konfiwear to Your Shopify Store
Now link your store inside Konfiwear.
- In Konfiwear, open your team workspace.
- Go to Settings → Integrations.
- On the Shopify card, click Connect with Shopify.
- Enter your store address and the Client ID and Client secret from Step 1.6.
- Click Connect with Shopify.
- Your browser opens Shopify — click Install app or Approve to authorize Konfiwear.
- You'll return to Konfiwear with a success message. The integration is now active.
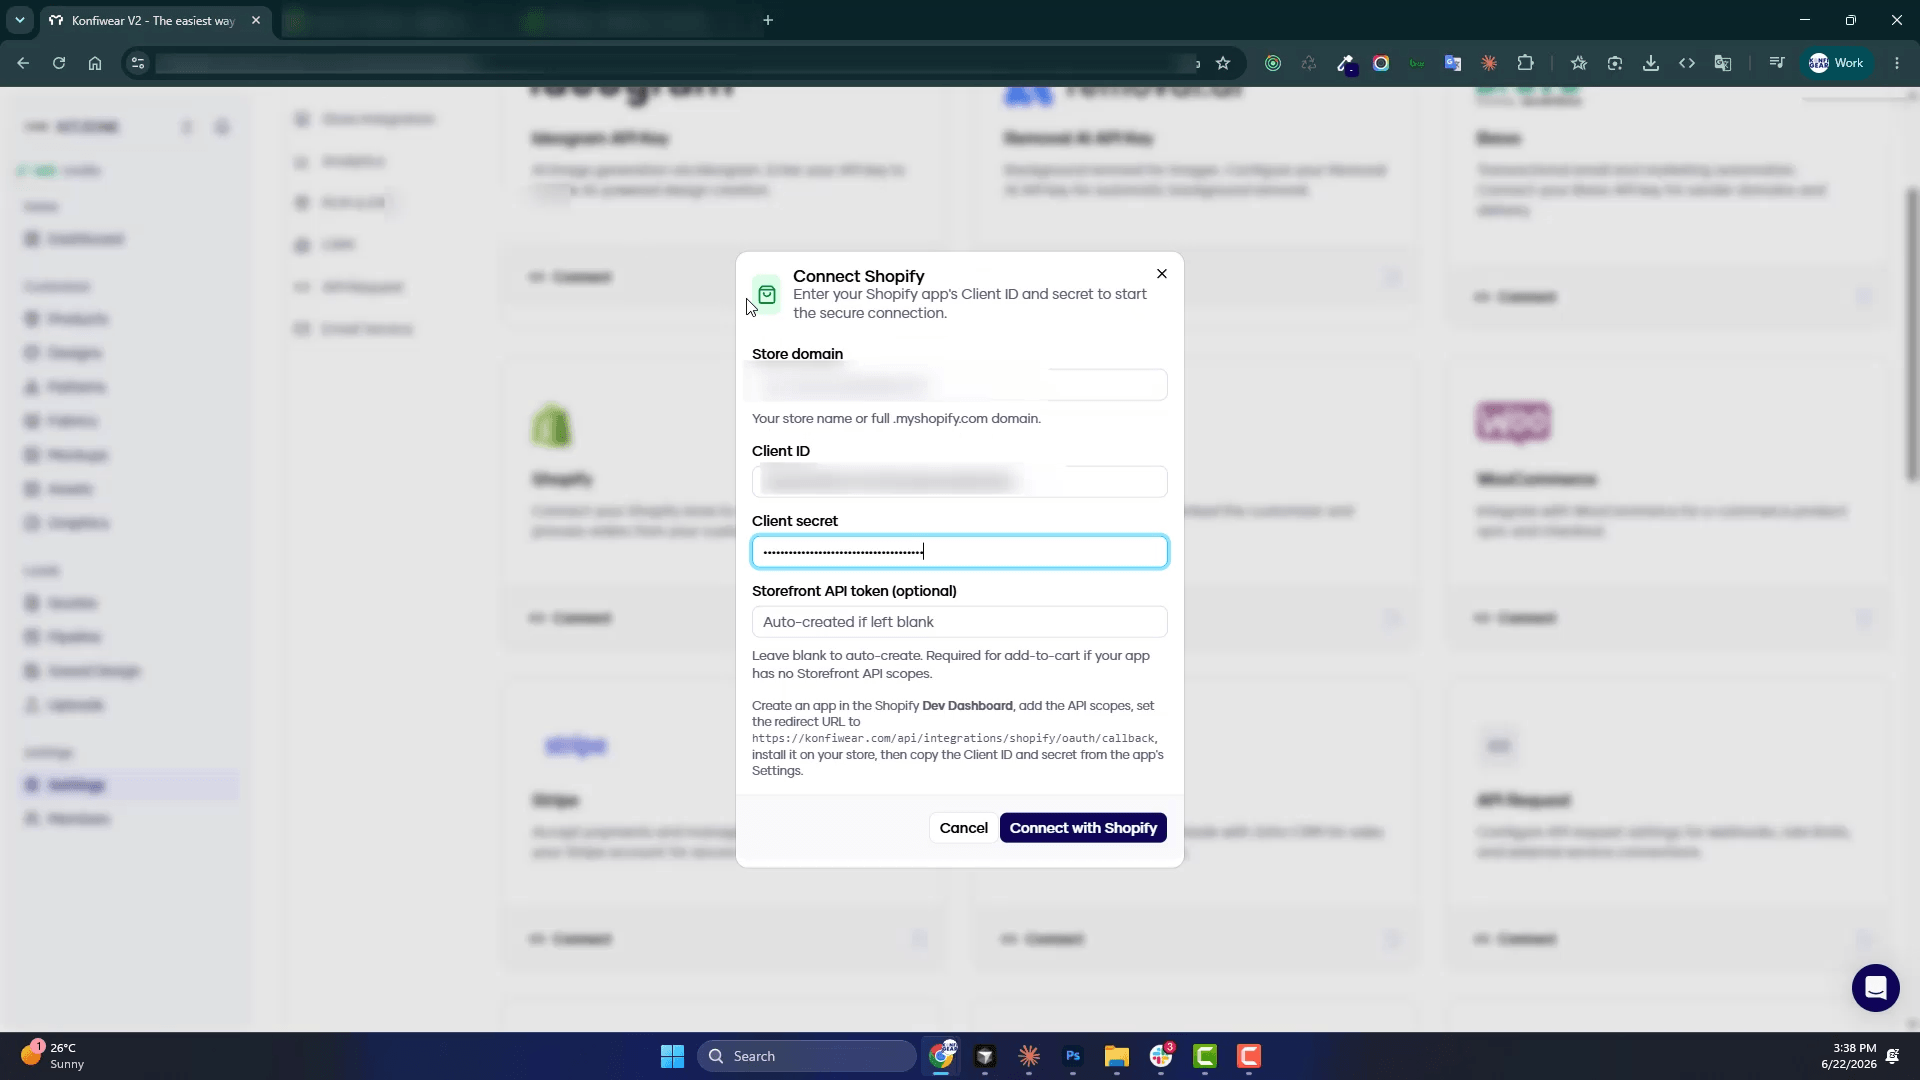
Tip: If the connection doesn't complete, close the dialog and try again from the beginning.
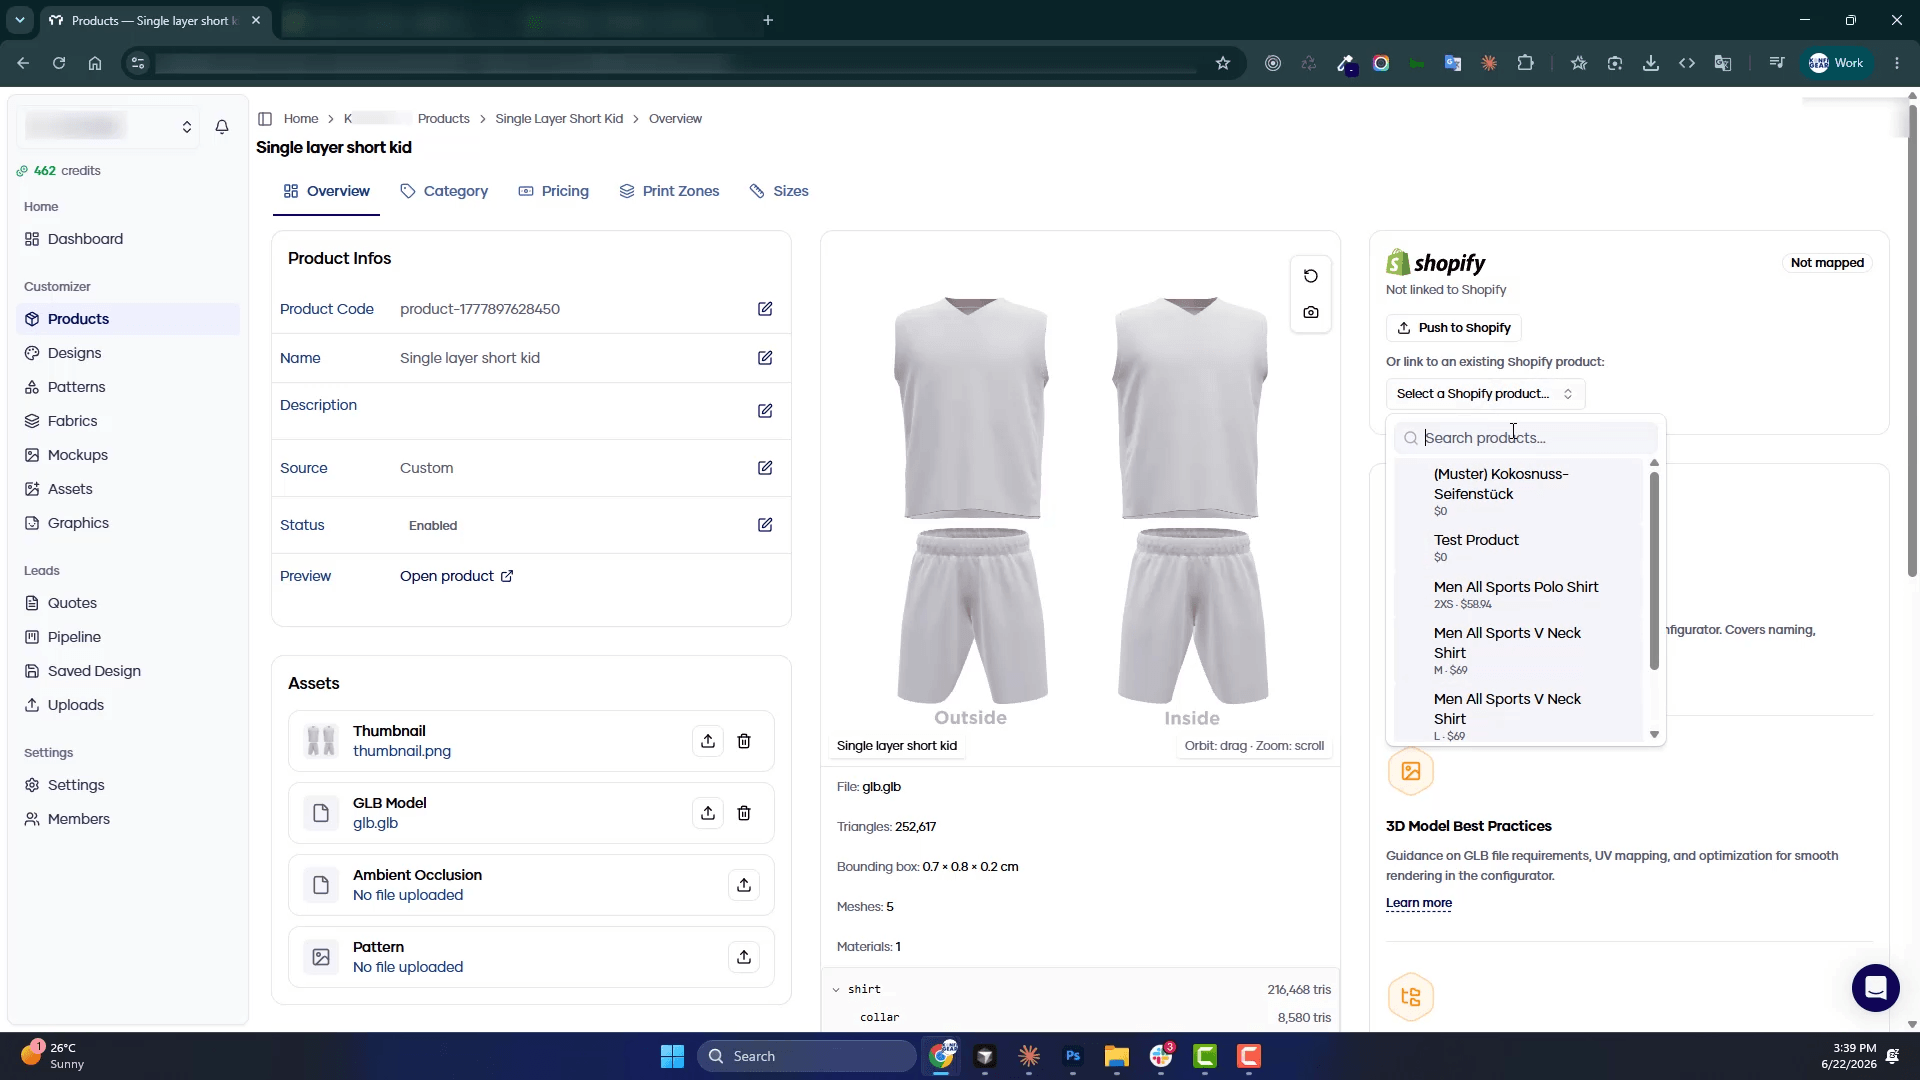
Step 3 — Link Products and Start Selling
With the store connected, match your Konfiwear products to Shopify so customers can customize and buy.
- Open any product in your Konfiwear Product Library.
- Find the Shopify section on the product page.
- Either:
- Link the Konfiwear product to an existing Shopify product, or
- Push the Konfiwear product to Shopify (creates a new Shopify listing with a "Customize Now" button in the description)
- Repeat for each product you want to sell through Shopify.
Once mapped, share your public customizer URL with customers — from a button on your Shopify product page, a direct link, or a marketing campaign. Konfiwear does not modify your Shopify theme; you control where the configurator link appears.
What Happens After You Connect
Here's the end-to-end flow once everything is set up:
- Customer designs — the shopper opens your Konfiwear customizer and configures their product (colors, sizes, artwork, previews).
- Add to Cart — when they click Add to Cart, their configured item is added directly to your Shopify cart, with all design details attached.
- Shopify checkout — the customer checks out through your normal Shopify checkout. Your payment methods, shipping rates, and discount codes all work as they do today.
- Automatic quotes — when the order is placed, Konfiwear creates a quote with design details and print-ready production files attached — no manual data entry.
Learn more about Quote Management and production file export.
Ready to Connect?
Follow the steps above to link your store in minutes. For a feature overview — secure connection, cart integration, product sync, and automatic production output — visit the Shopify integration page.
Start your free trial and connect Konfiwear to Shopify today.