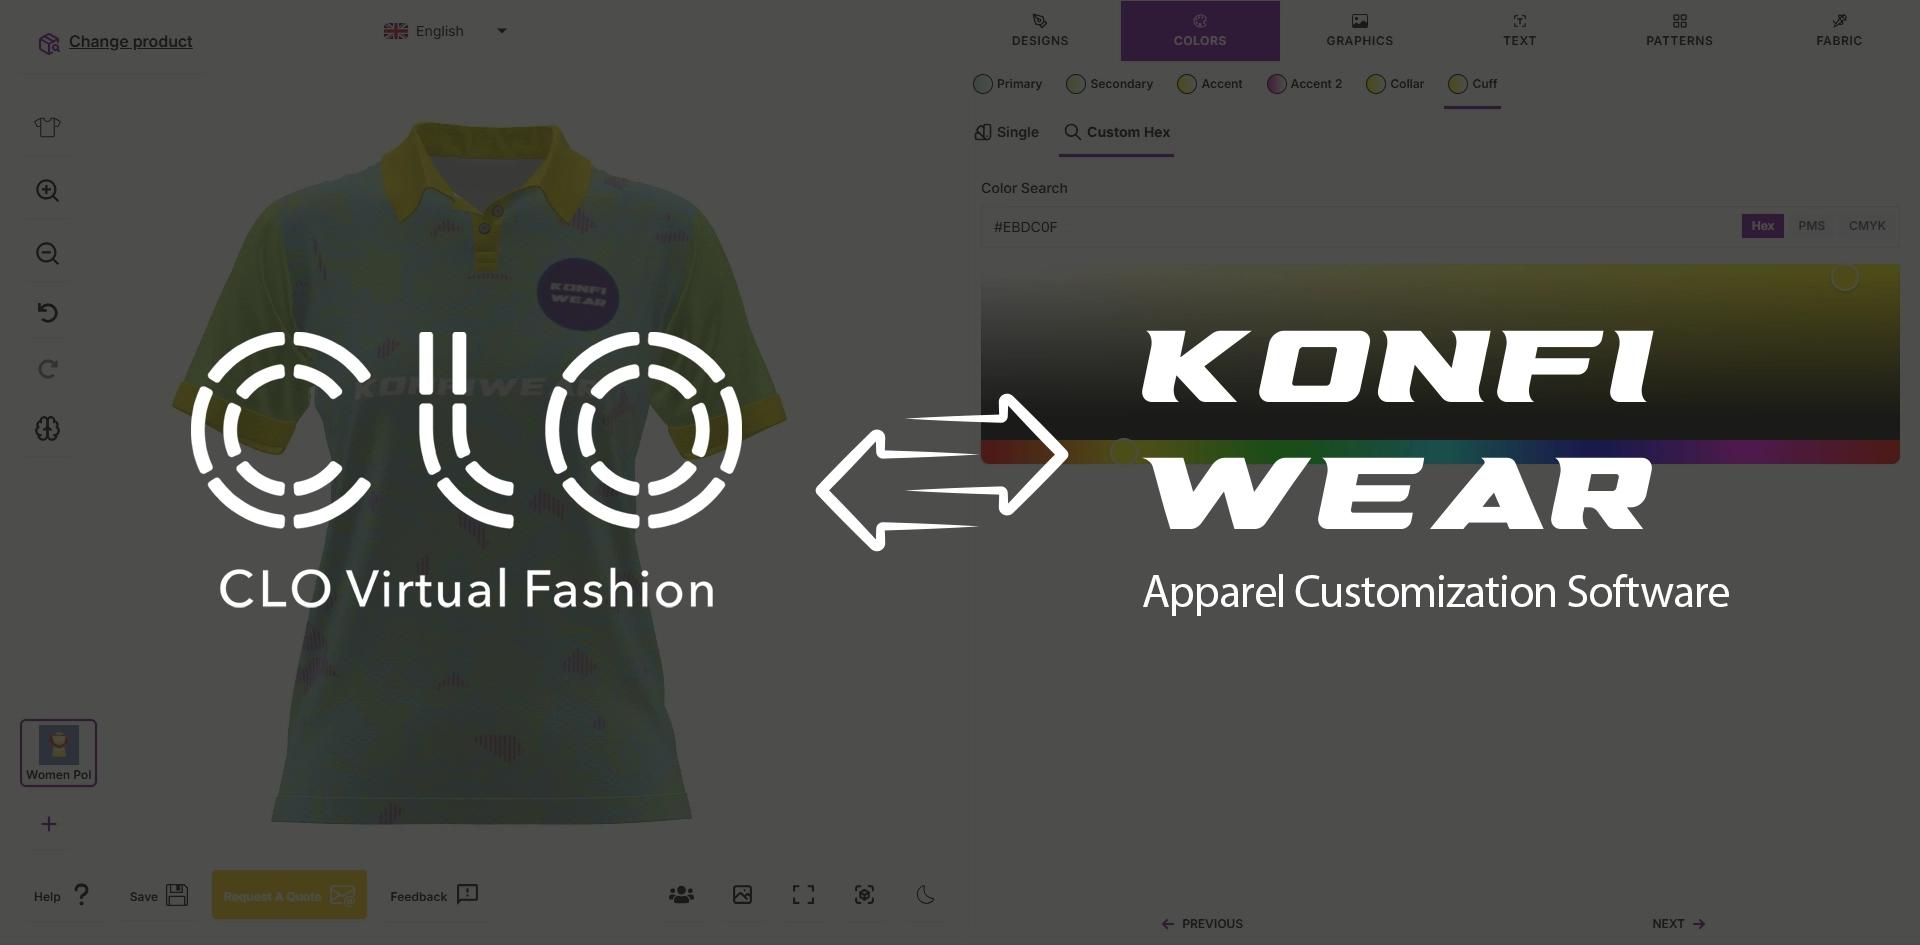
What You'll Build in This Tutorial
In this Konfiwear tutorial, you'll create a basketball jersey sublimation design that works perfectly inside the Konfiwear 3D Customizer.
If you prefer watching, start with the video tutorial below:
By the end, you'll have:
- A clean SVG with Konfiwear-compatible layer IDs (
primary,secondary,accent,accent2,accent3) - A preview image for your Design Library
- A design uploaded into Instance → Designs, ready to use on your basketball jersey model
Tools You Need
- Freepik (to download a vector illustration)
- Adobe Illustrator
- Blender (to export UV layout from your jersey model)
- Konfiwear (Instance Dashboard)
- svgviewer.dev (to clean SVG IDs)
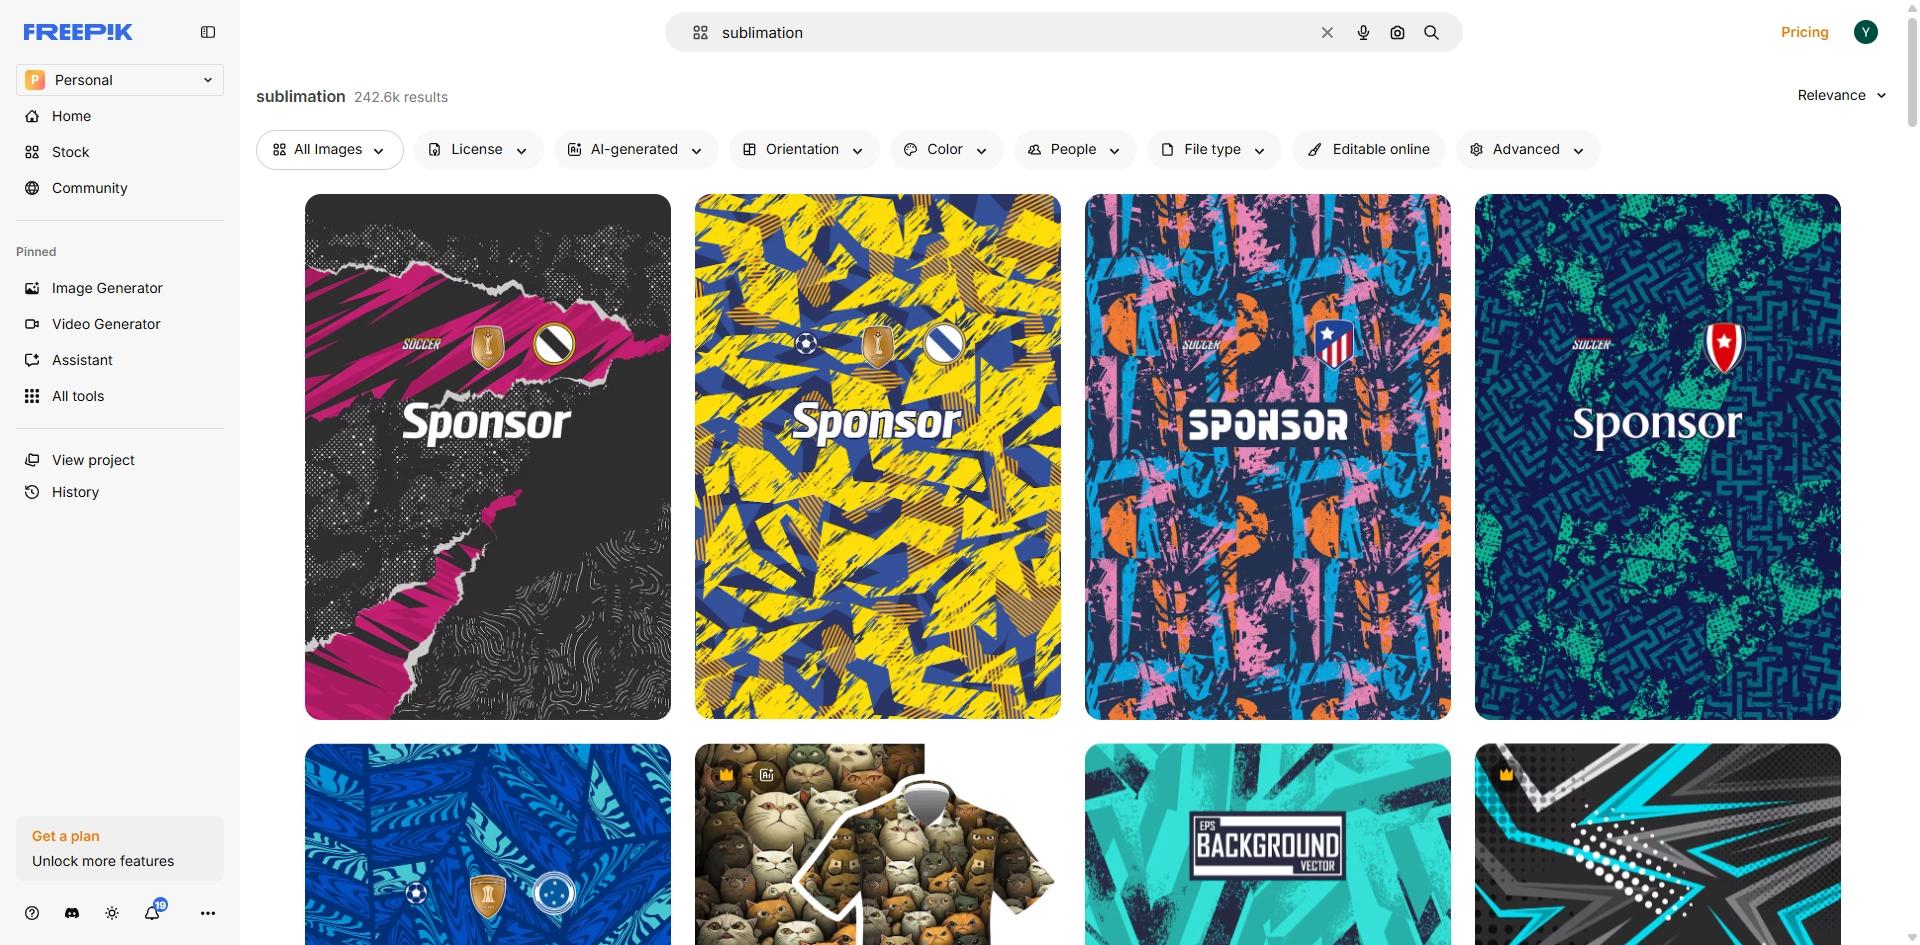
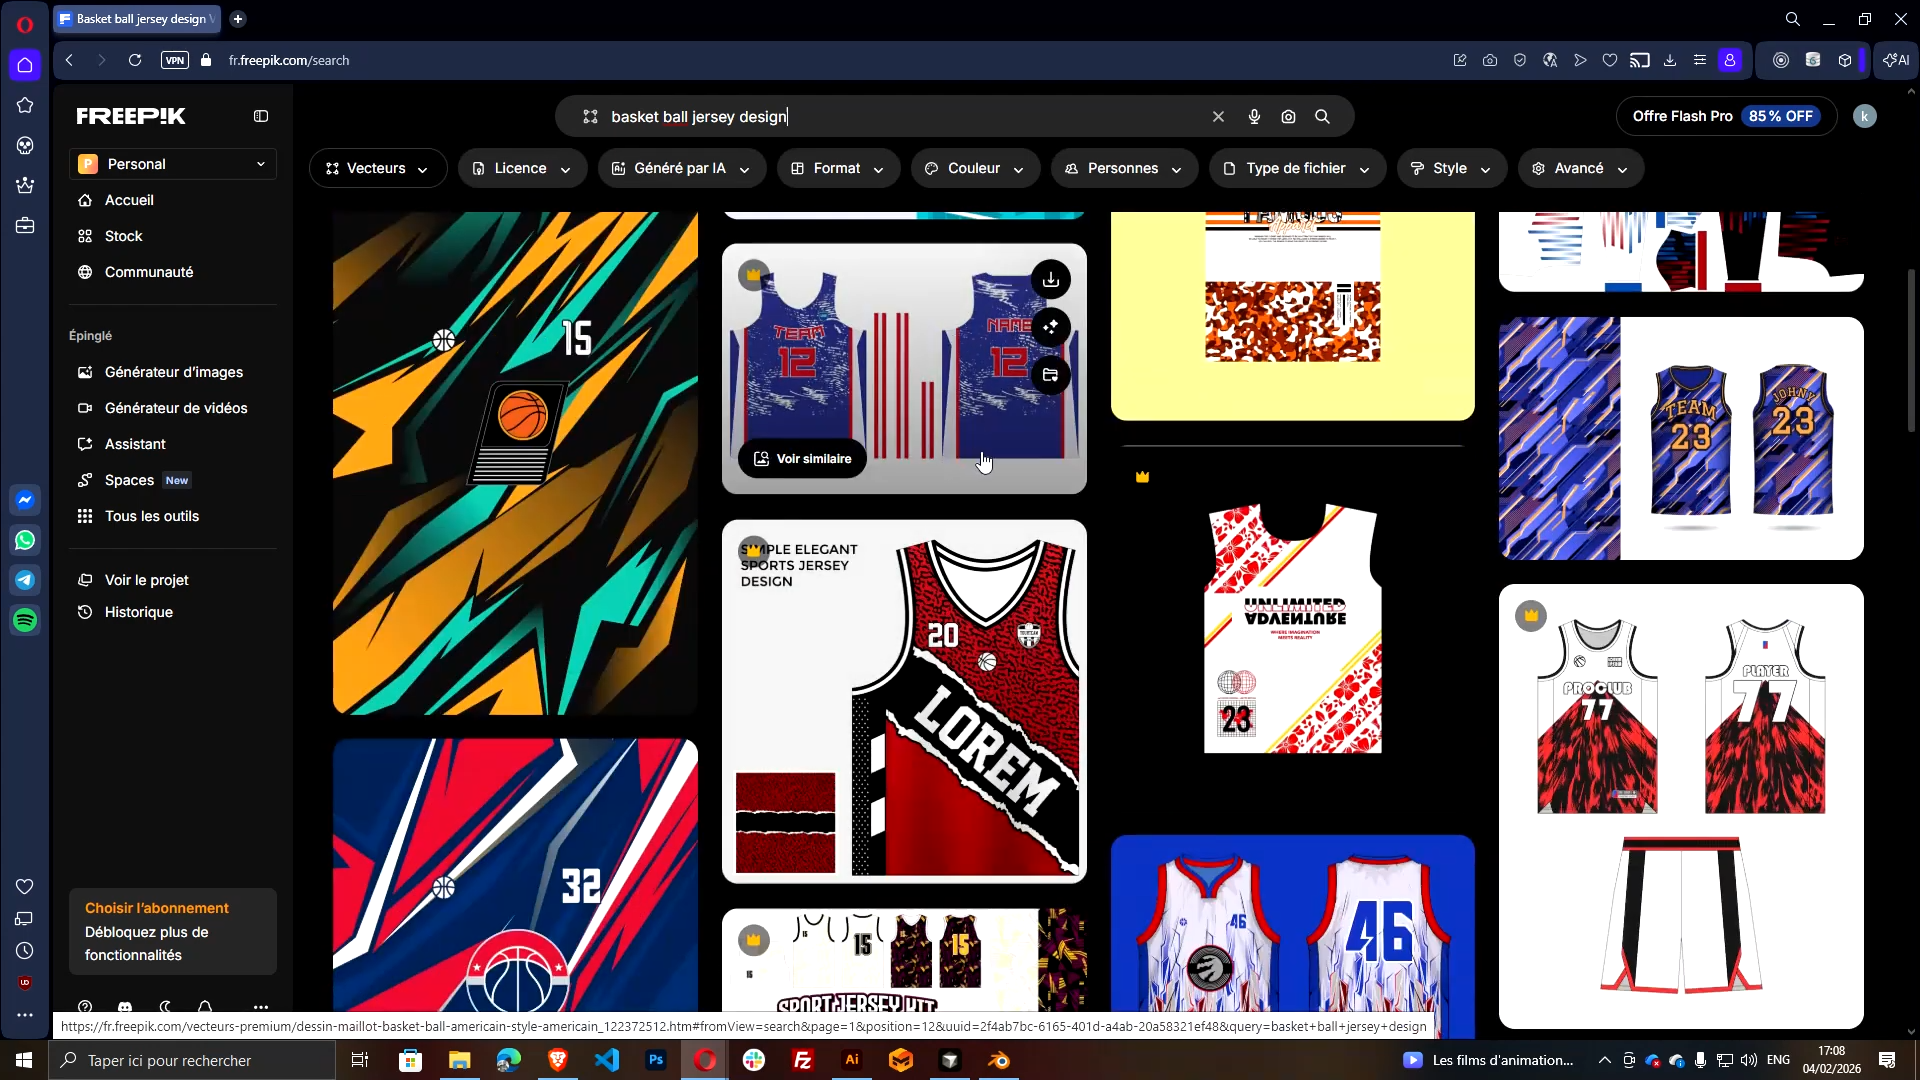
Step 1 — Download a Vector Jersey Design (Freepik)
- Go to Freepik and search:
Basketball Jersey Design
- Filter to:
- Illustration
- Vector
- Choose a design (free or premium).
- Download it, move it into your project folder, and unzip it.
- Open the .AI file in Adobe Illustrator.
Goal: get a clean vector base that you can adapt to your jersey UV.
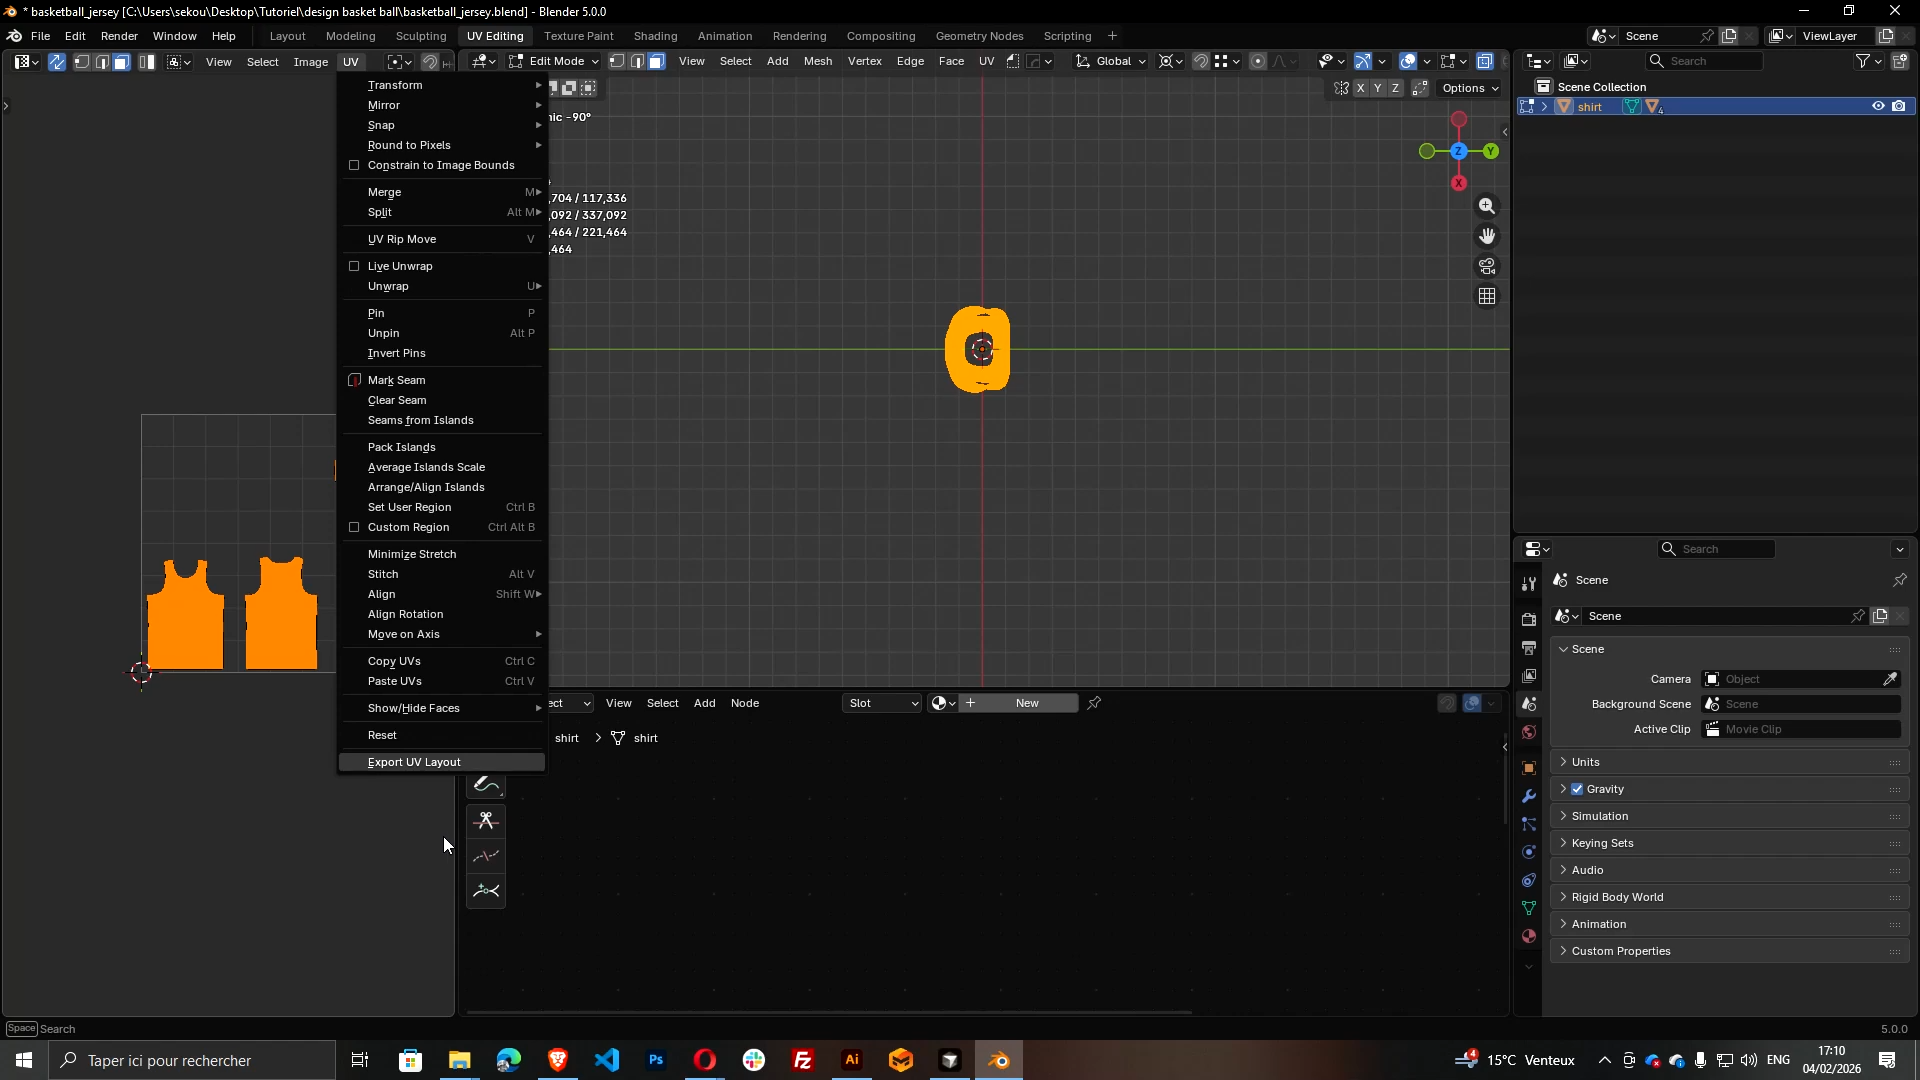
Step 2 — Export the UV Layout from Blender (2048×2048)
The UV layout is your blueprint. It ensures your design lands on the correct panels (front, back, sides, etc.).
- Open your jersey model in Blender
- Select the jersey mesh
- Go to UV Editing
- Select all UV islands
- Export the UV layout
Important (mandatory for Konfiwear sublimation textures):
- Export size: 2048 × 2048
Name it something like:
UV.png
For a detailed guide on preparing 3D apparel models and UV workflows, see our tutorial: From CLO3D to Konfiwear: How to Prepare and Import Apparel Models.
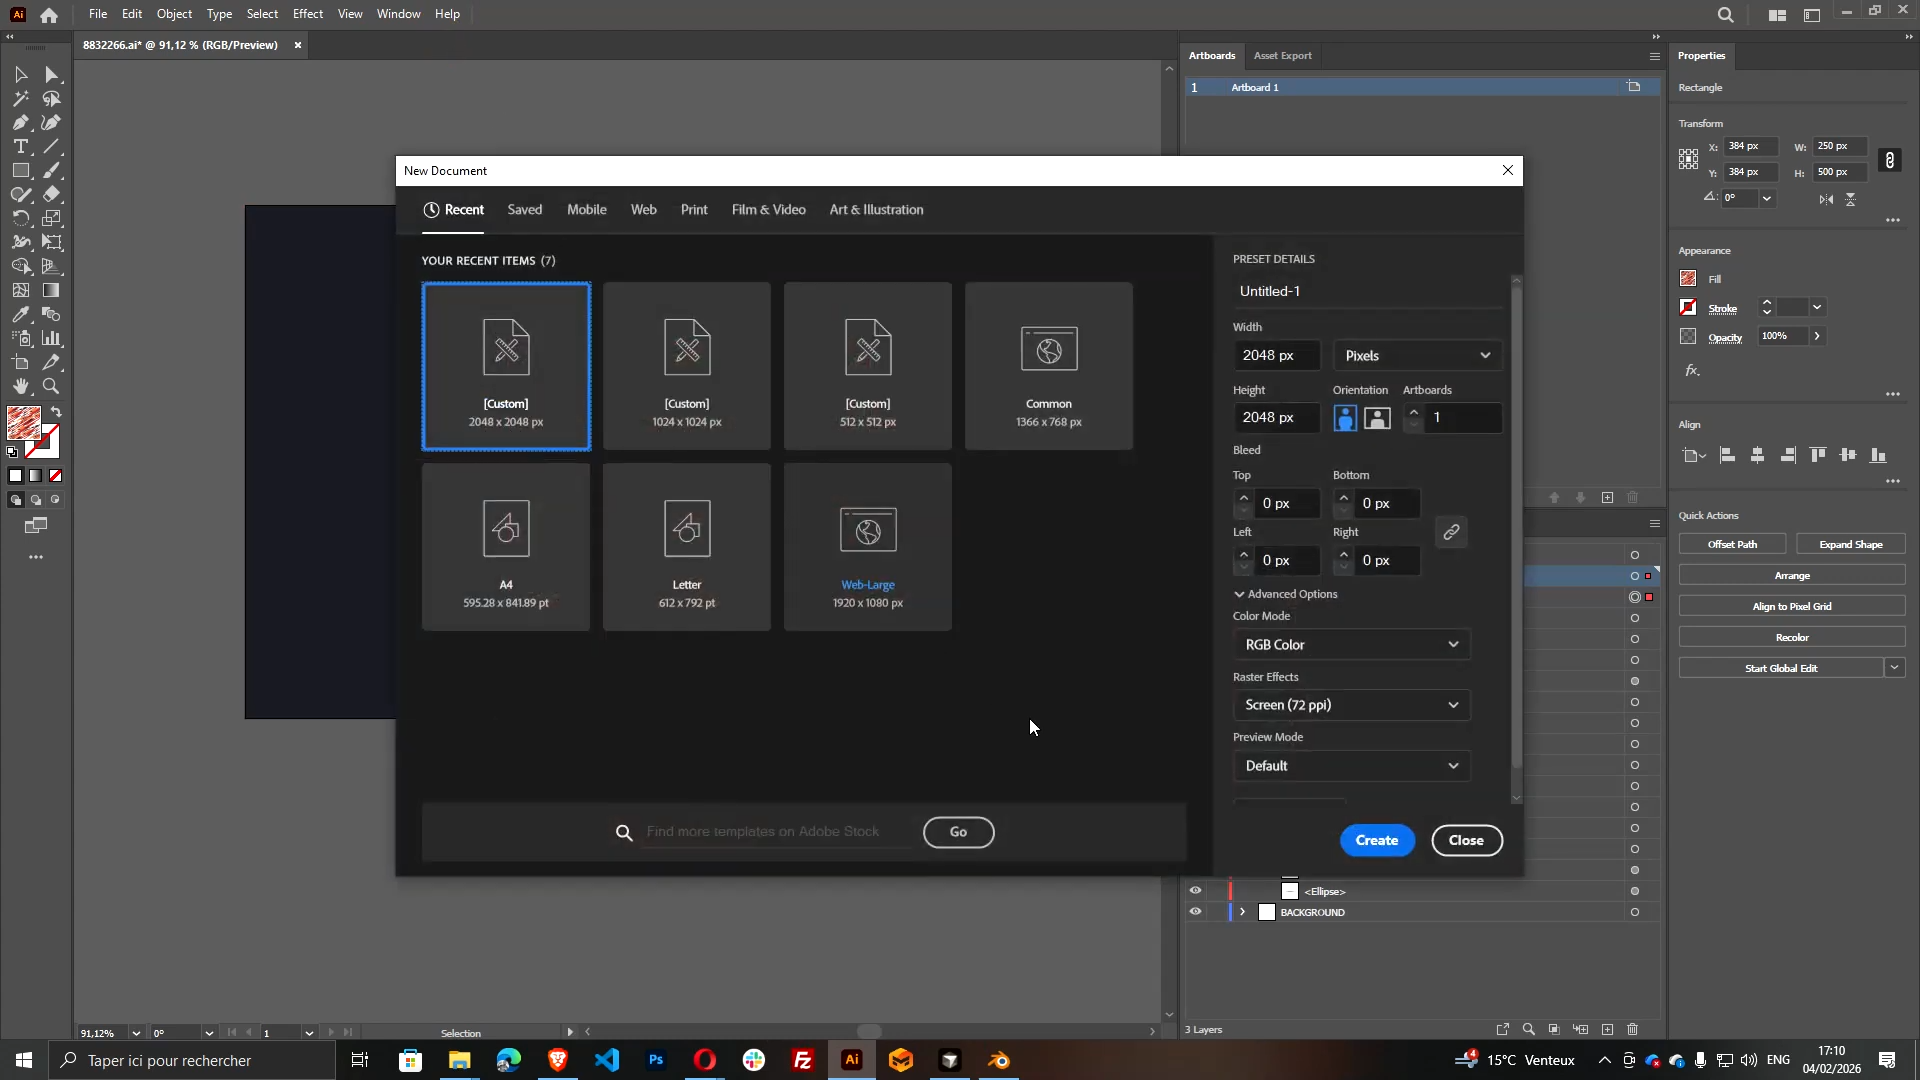
Step 3 — Create the Illustrator Template (2048×2048)
- In Illustrator, create a new document
- Width: 2048
- Height: 2048
- Place your exported UV layout image (
UV.png) - Center it precisely:
- X: 1024
- Y: 1024
- Lock the UV layer so it doesn't move.
You now have a perfect artboard for Konfiwear sublimation textures.
Step 4 — Place and Adapt the Freepik Design onto the UV Panels
Now bring your Freepik vector elements into the new 2048×2048 document:
- Copy the shapes/patterns you want to use
- Paste into your template file
- Scale and position them around the UV panels
Faster Method (Recommended)
Instead of manually editing every shape:
- Use rectangles on top of UV zones
- Duplicate them across other panels
- Use fills to define clean color regions
This makes the next steps (layer grouping + color control) much easier.
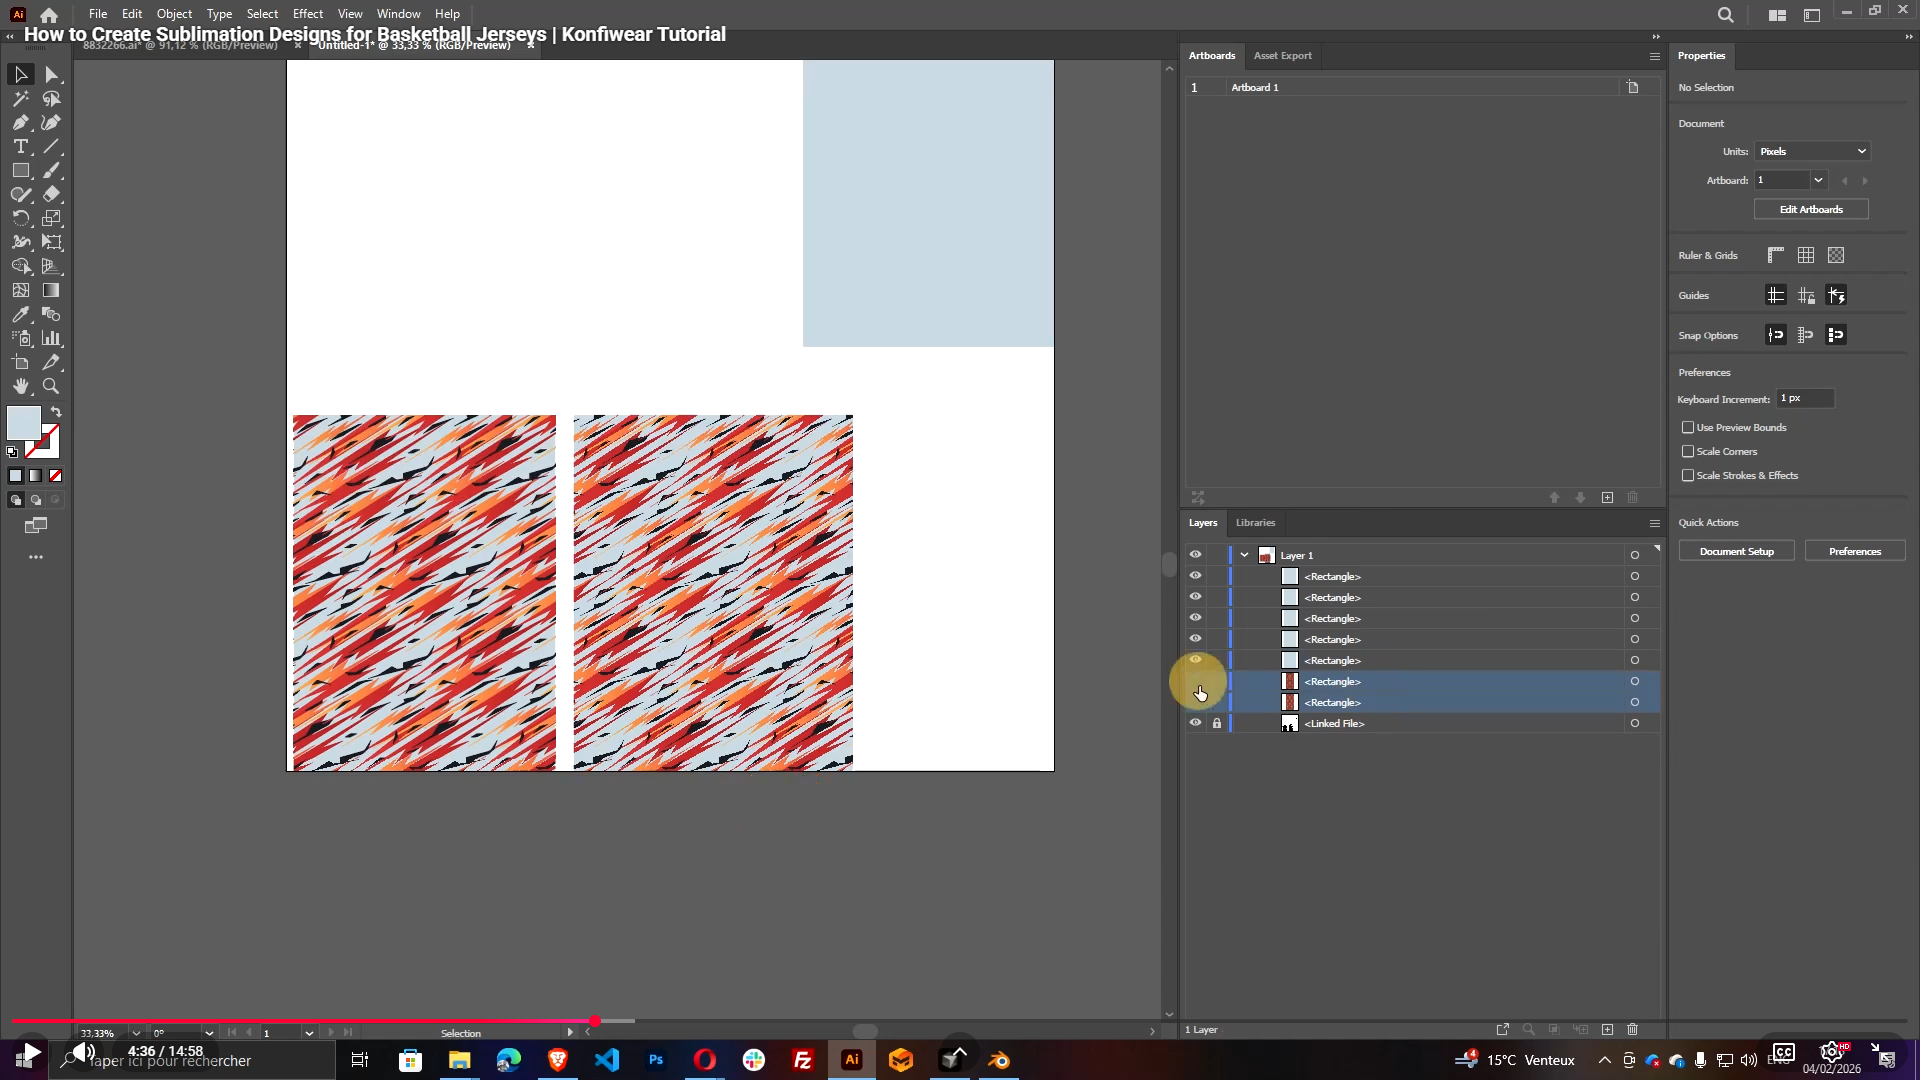
Step 5 — Convert Each Color into a Clean Vector Layer (Compound Path)
Konfiwear works best when each color layer is a single clean vector object (or a clean group) per ID.
For each color region:
- Select one object of that color
- Go to:
- Select → Same → Fill Color (or Fill & Stroke)
- Cut
- Paste in Place
- Go to:
- Object → Compound Path → Make
Repeat this until your design is simplified into a few clean color layers.
How Many Colors Can You Use?
Konfiwear supports up to 5 color layers for this workflow:
primarysecondaryaccentaccent2accent3
For more details on design preparation, check our Design Layout documentation.
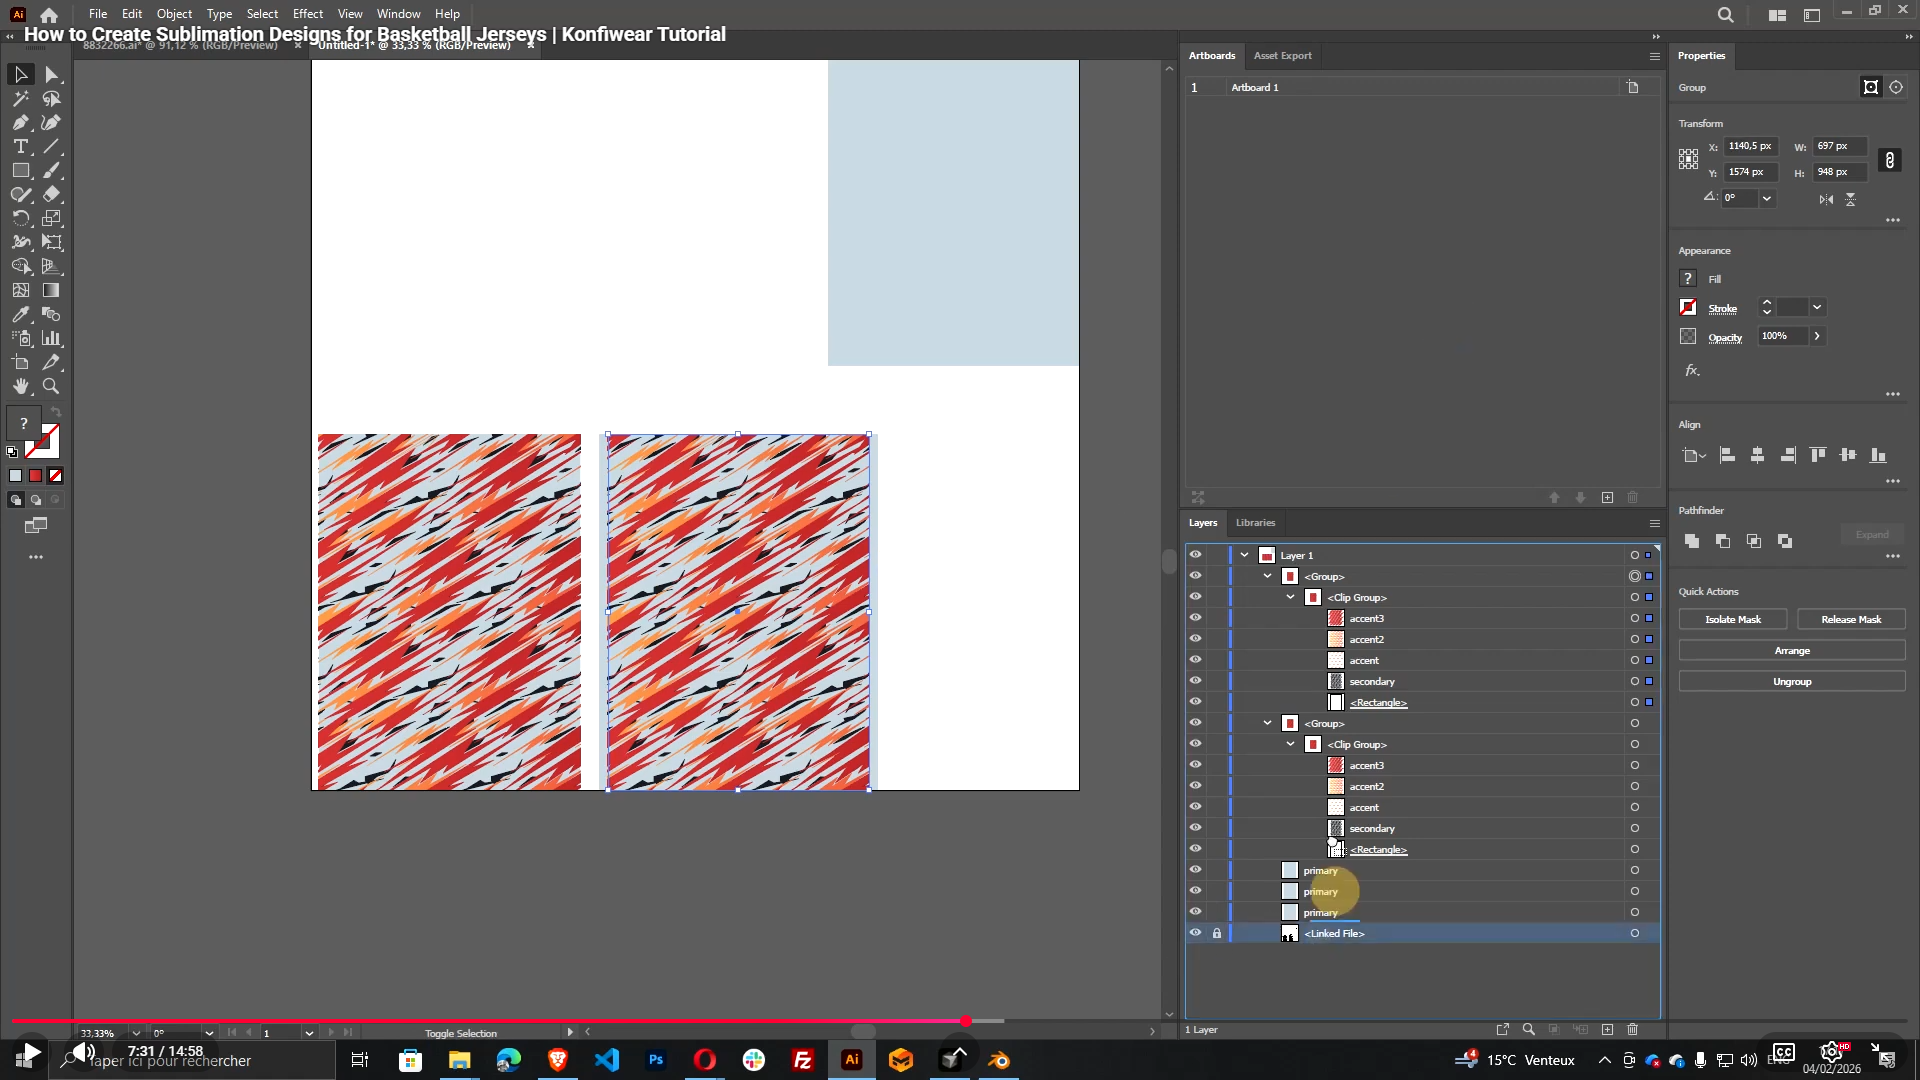
Step 6 — Name Layers for Konfiwear (Primary / Secondary / Accents)
This is the most important rule:
Allowed Konfiwear Layer IDs
Use these exact names (case-sensitive recommended):
primarysecondaryaccentaccent2accent3
Typical mapping:
- Background / main base =
primary - Second most visible areas =
secondary - Highlights / trims =
accent,accent2,accent3
Tip: Keep it consistent across all shapes that belong to the same layer.
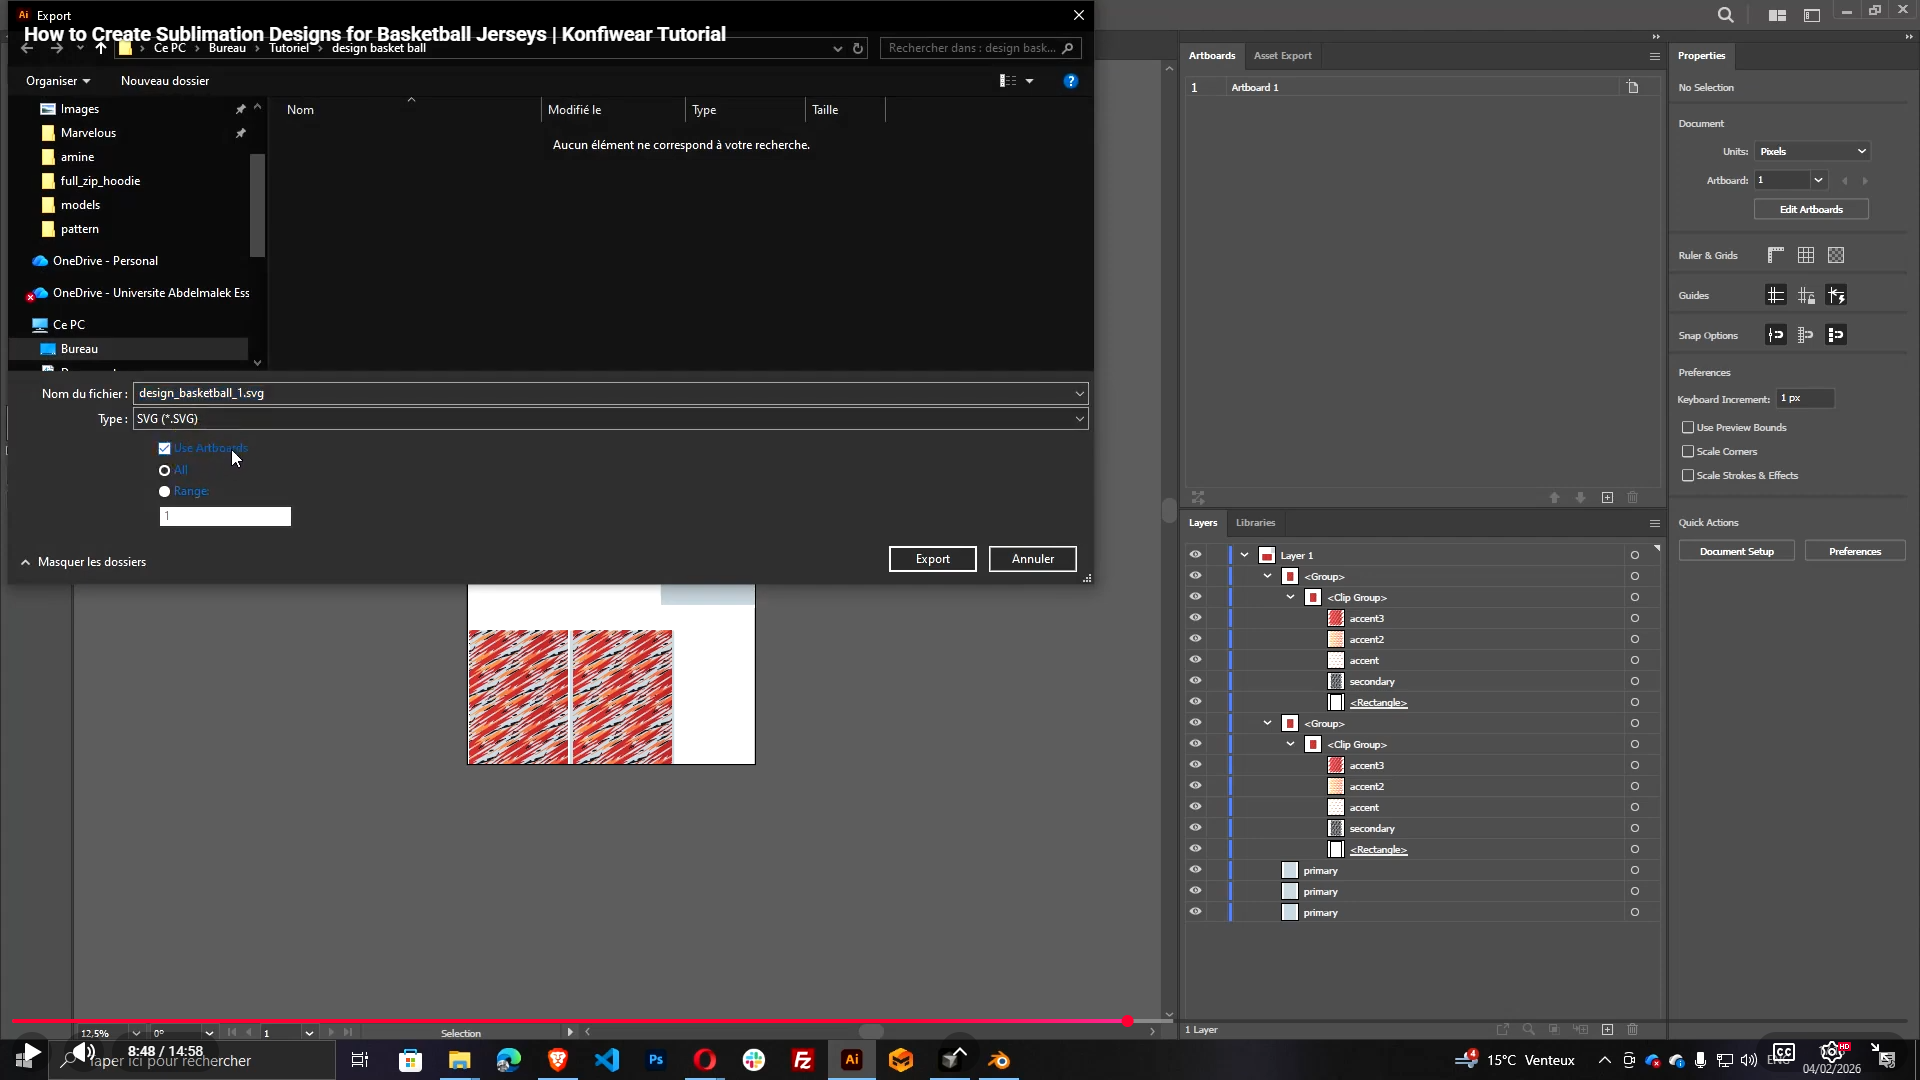
Step 7 — Export SVG Correctly (Use Artboard)
Now export your final design as SVG:
- Save your Illustrator file first (AI)
- Then:
- File → Export → Export As
- Choose: SVG
- Enable: Use Artboards (very important)
Export.
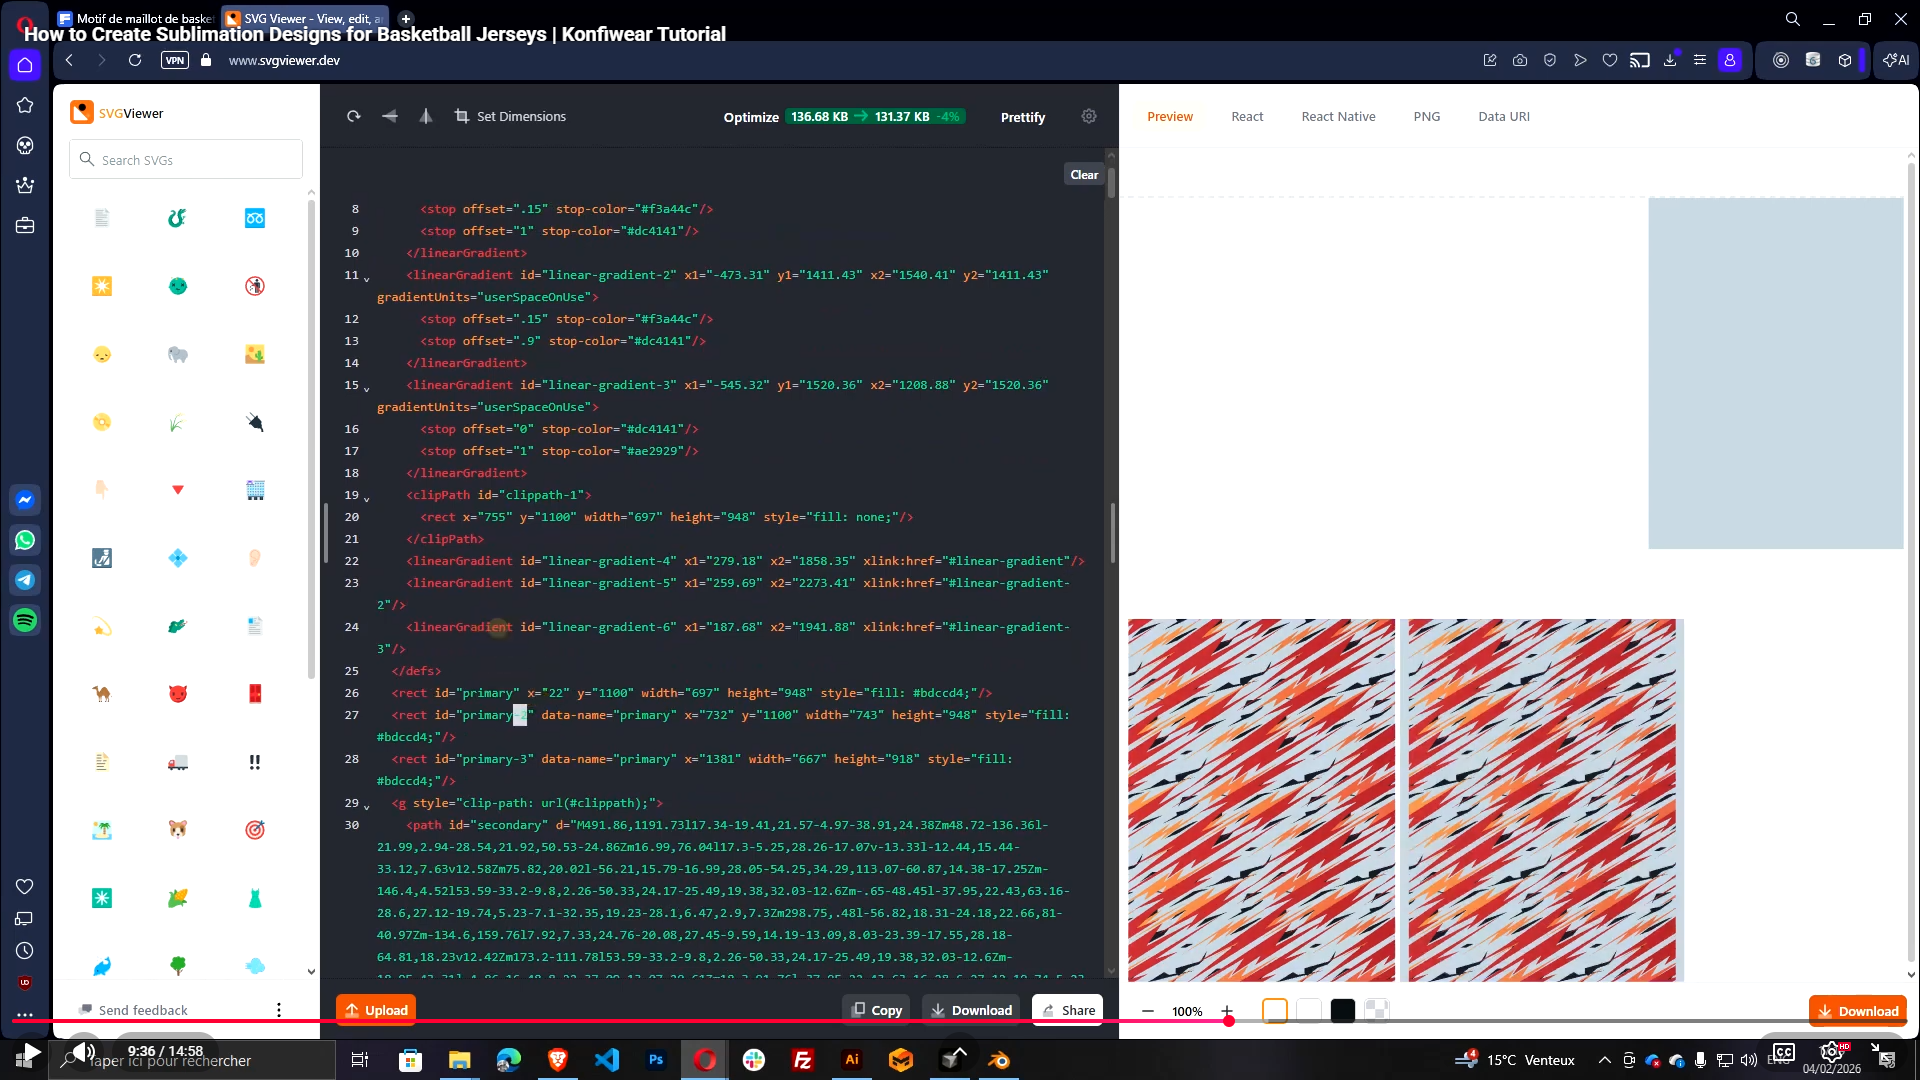
Step 8 — Clean SVG IDs (Remove Illustrator Suffixes)
Illustrator often adds suffixes like:
primary_1secondary_2accent_3
But Konfiwear expects the ID to be exactly:
primary, notprimary_1
Fix Using svgviewer.dev
- Open svgviewer.dev
- Clear the canvas
- Drag & drop your exported SVG
- Click through each object and check its ID
- Remove extra suffixes so IDs become:
primarysecondaryaccentaccent2accent3
- Download the cleaned SVG
- Replace the old SVG in your project folder
Step 9 — Create a Design Preview Image (PNG/JPG)
Konfiwear requires a preview image for every design.
Option A (Fast): Export from Illustrator
- In Illustrator:
- Export as PNG (or JPG)
- Enable: Use Artboard
- Save the file
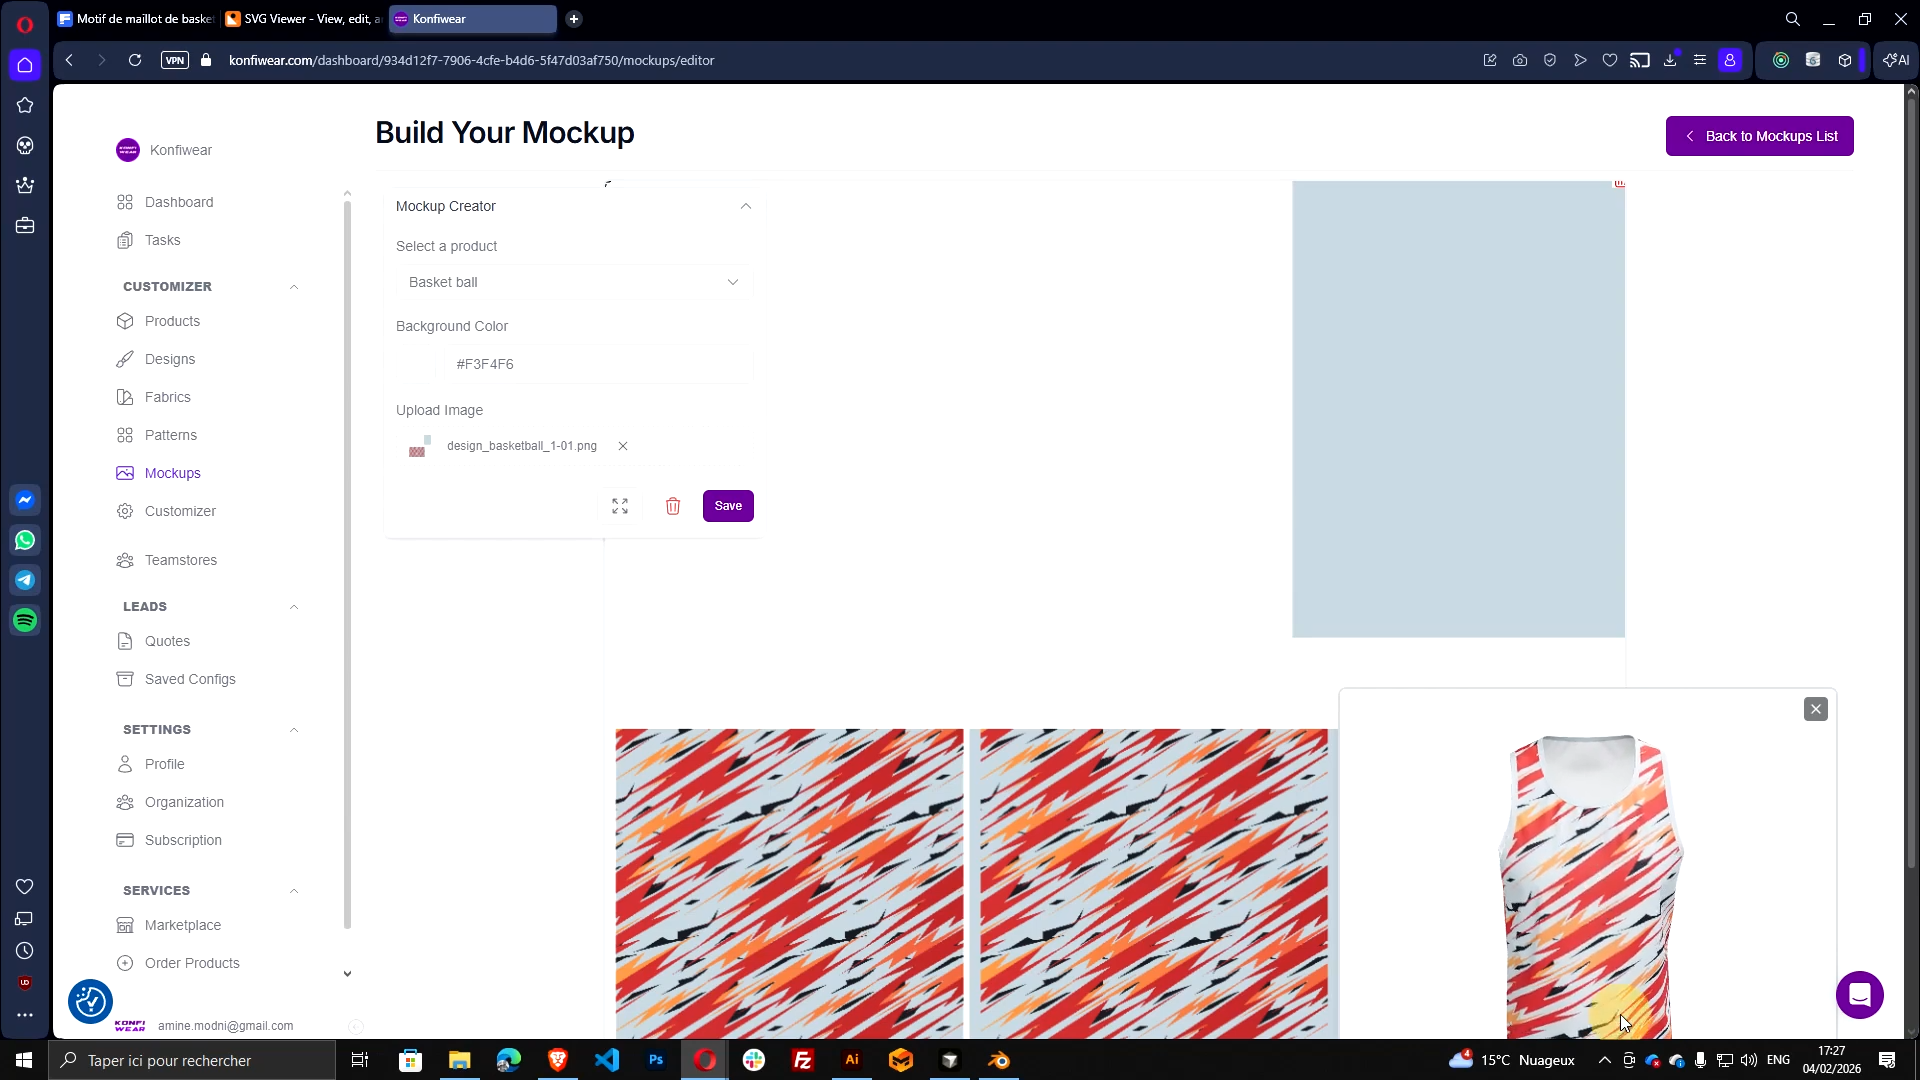
Option B (Recommended): Generate a Preview Using Mockup Designer
This gives a nice "real product" preview:
- In Konfiwear:
- Go to Mockup Designer
- Create a new mockup
- Select your Basketball Jersey model
- Upload your exported PNG
- Position it nicely on the 3D view
- Save and generate the preview
- Download or copy the preview image
For a complete guide on mockup workflows, see: Mockup Approval Workflow in Konfiwear.
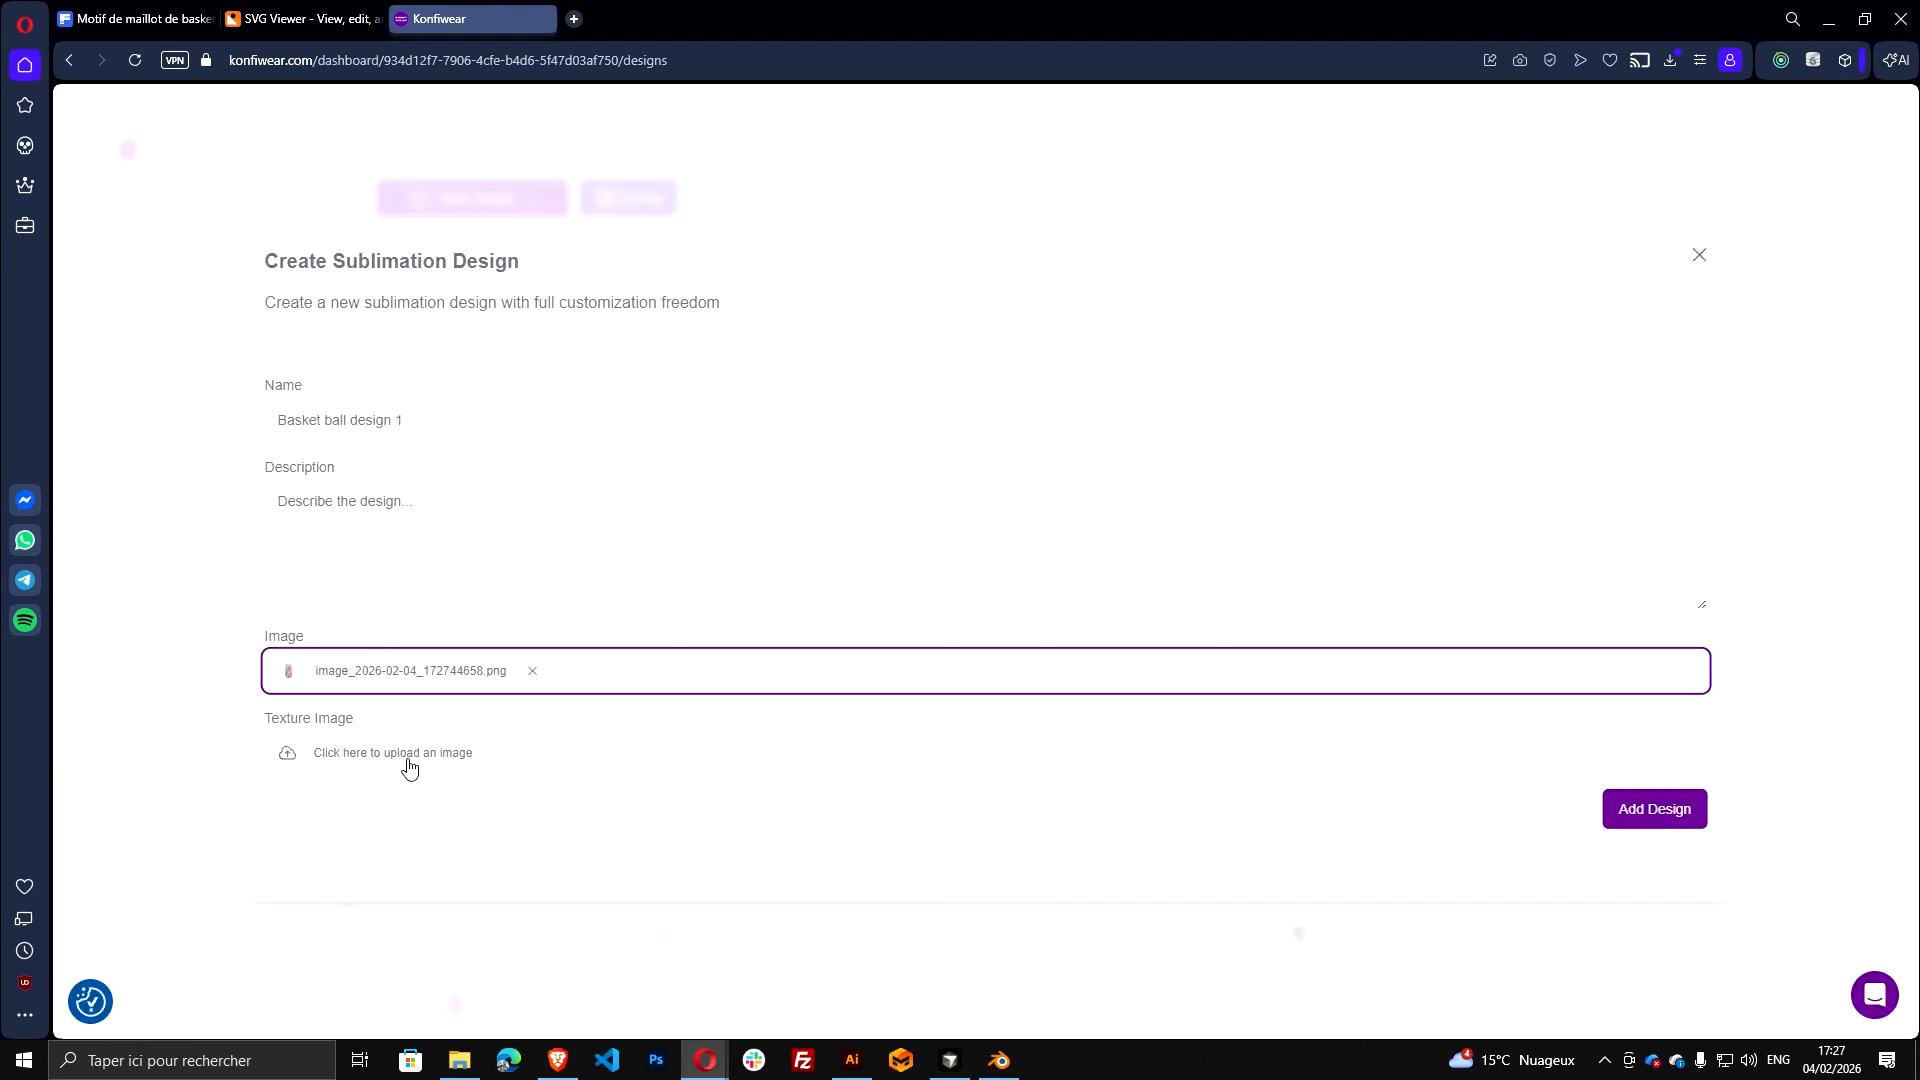
Step 10 — Upload the Design into Konfiwear
Now publish it:
- Go to:
- Instance → Designs
- Click:
- Add New Design
- Choose type:
- Sublimation Design
- Fill:
- Name: e.g.
Basketball Design 1 - Image: upload your preview image (PNG/JPG)
- Texture: upload your cleaned SVG
- Name: e.g.
Click Add Design.
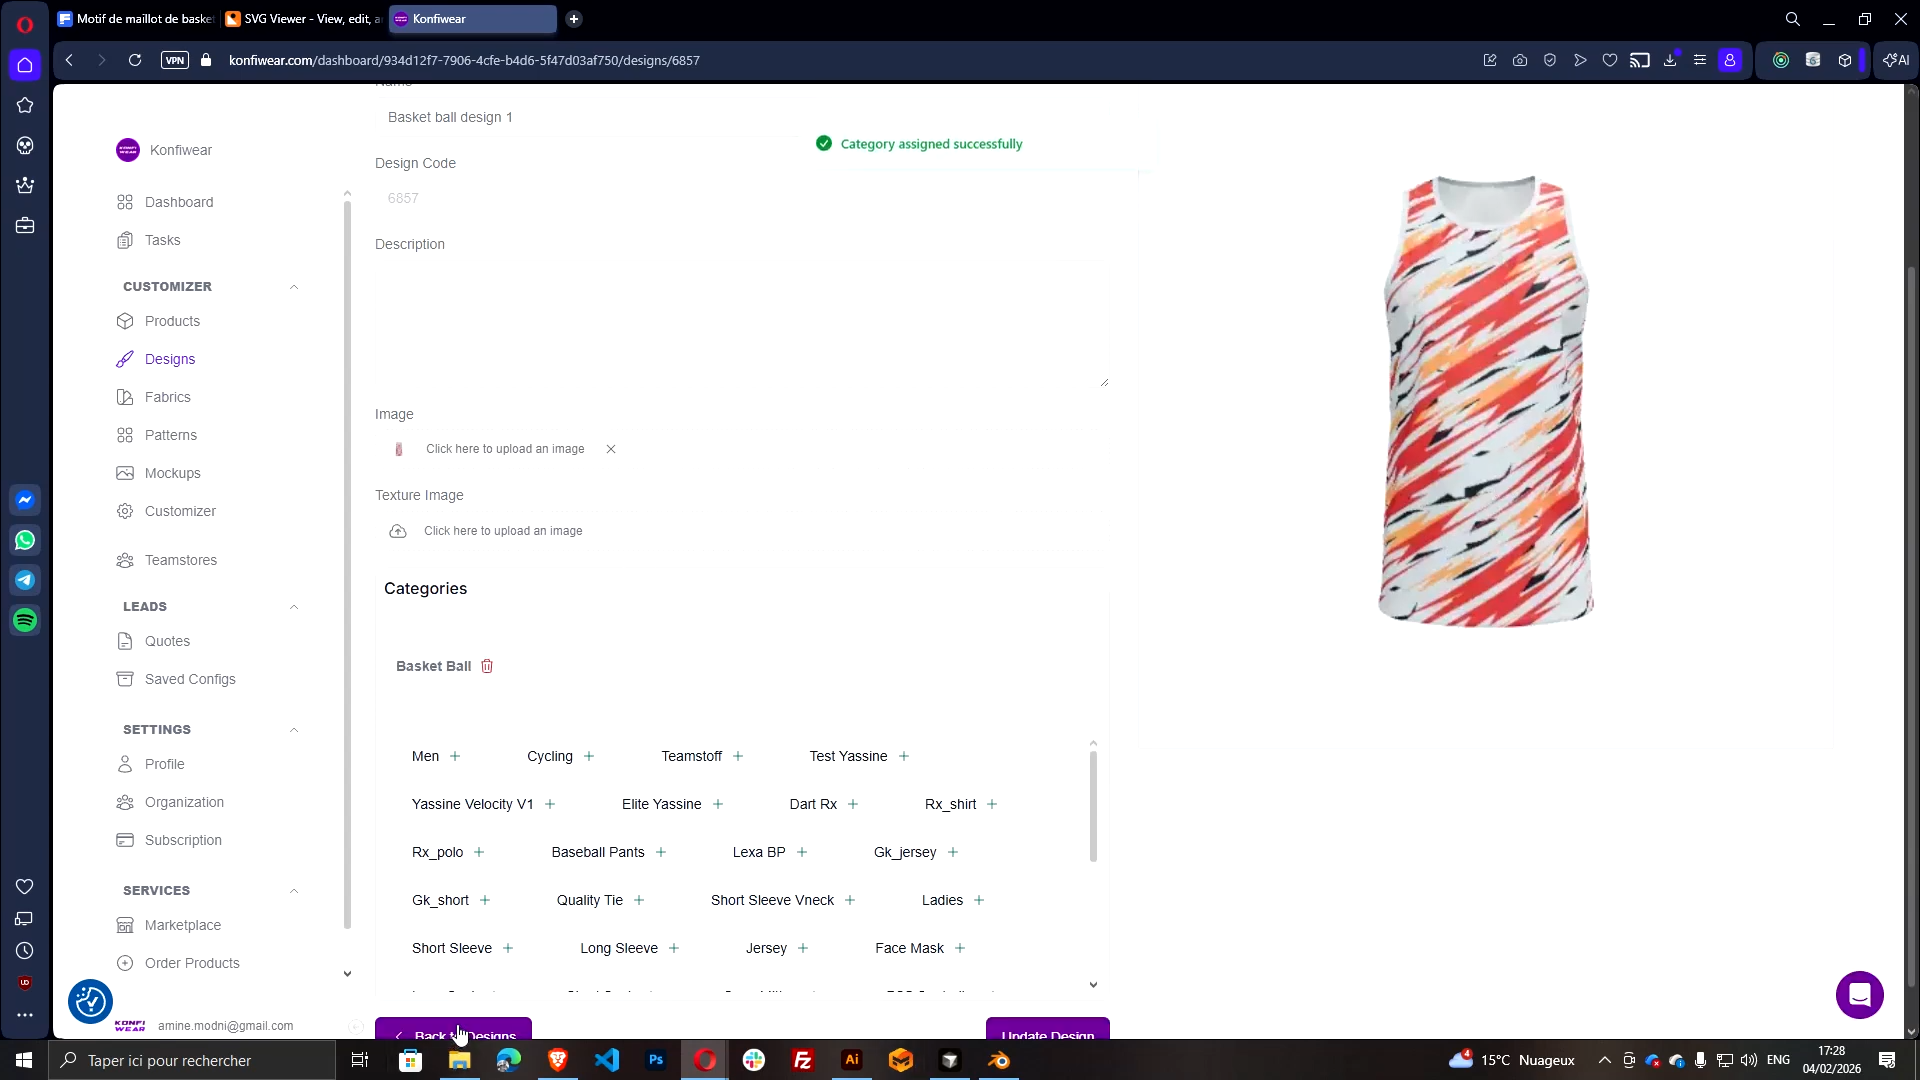
Step 11 — Assign the Correct Category (So It Appears in the Customizer)
After uploading, assign the same category used by your model.
Example:
- If your jersey model is categorized as
Basketball - Then your design must also be categorized as
Basketball
This is what makes it show up inside the Customizer filters.
For more on product categories and filtering, see our Products Documentation.
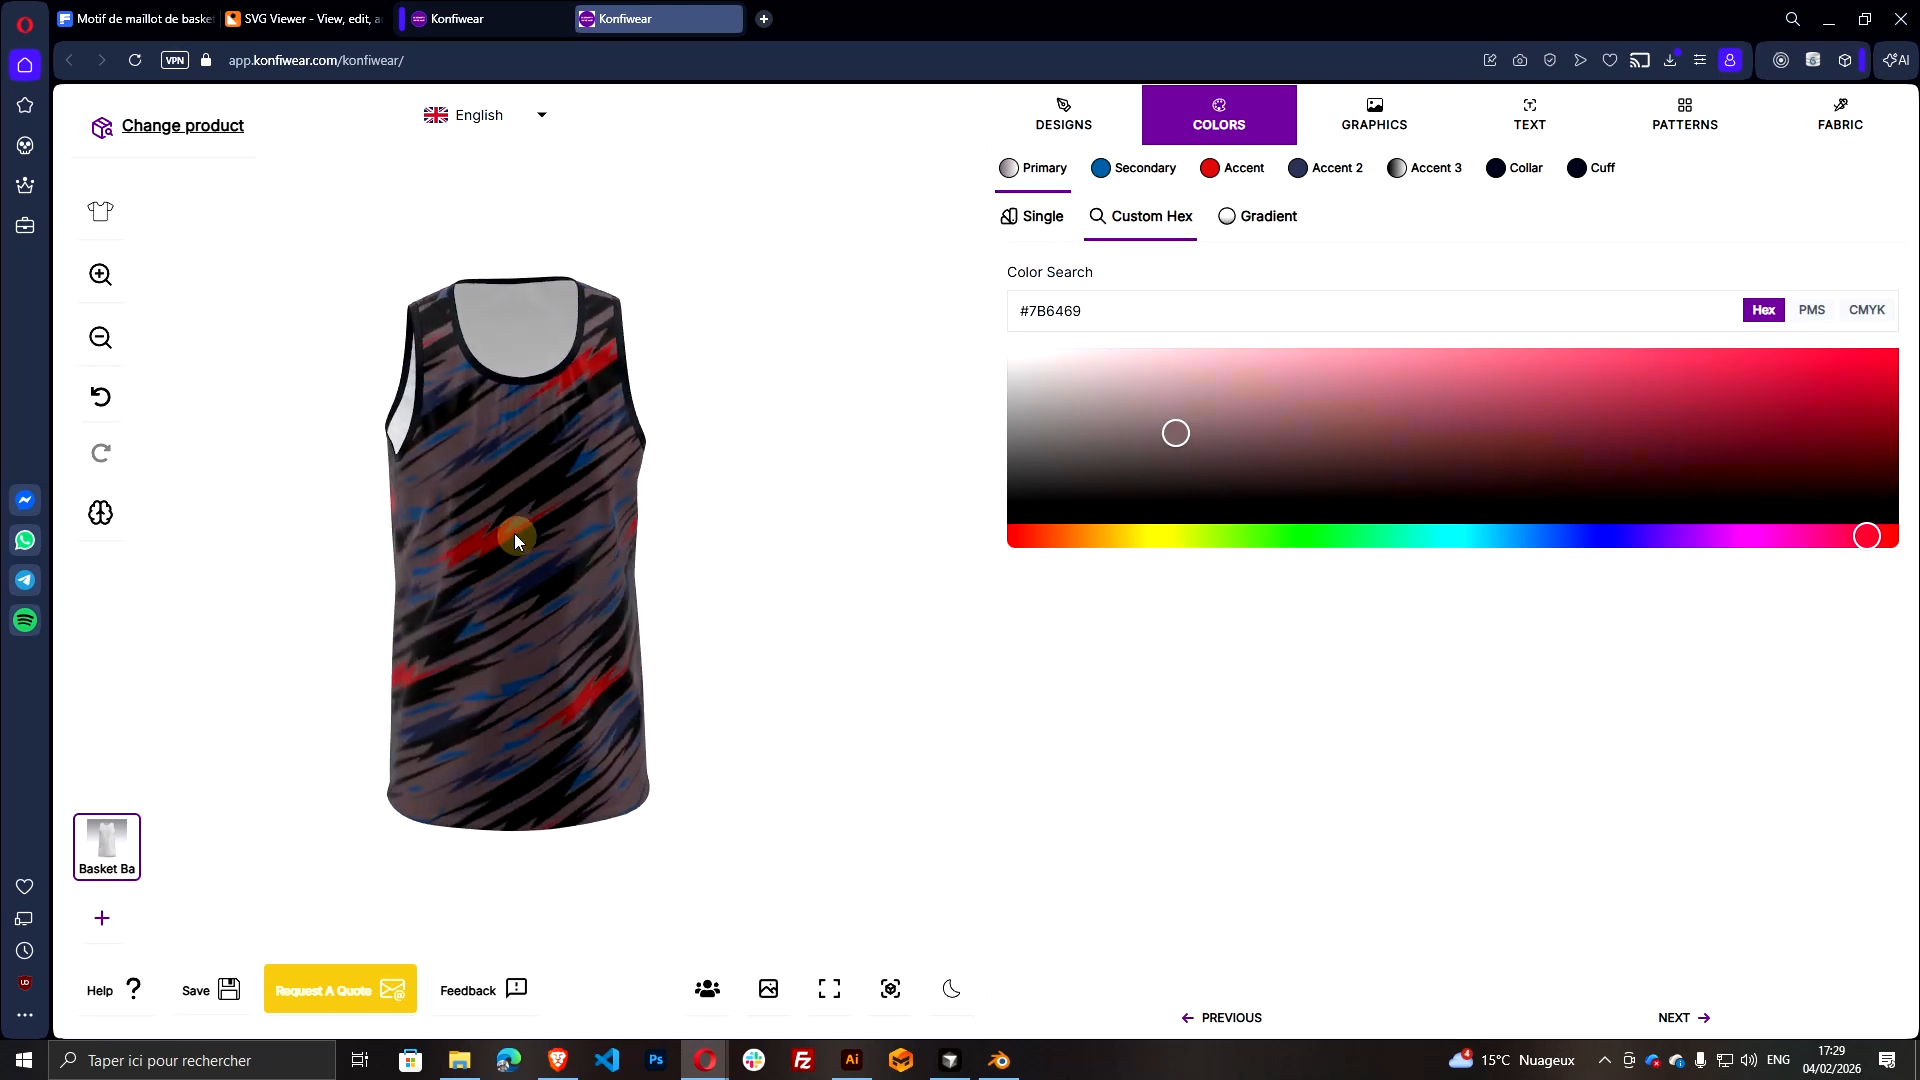
Step 12 — Test Inside the Konfiwear 3D Customizer
- Go to the Customizer
- Select the basketball jersey product
- Open your new design from the design library
Now test the color controls:
- Change
primary - Change
secondary - Change
accent,accent2,accent3
If your naming is correct, you'll see live color updates instantly.
Troubleshooting (Quick Fixes)
My Design Shows but Colors Don't Change
- Your SVG IDs likely include suffixes like
primary_1 - Re-open in svgviewer.dev and clean all IDs
The Design Looks Misaligned on the Jersey
- Confirm the Illustrator artboard is 2048×2048
- Confirm you centered the UV at 1024 / 1024
- Confirm you used the exported UV layout as the placement reference
The Design Doesn't Appear in the Customizer
- Confirm you assigned a category that matches the product model category
Need help? Explore our Design Preparation docs for more guides and tips.