When working with custom apparel and sportswear configurators, clean 3D assets are critical. Poor UVs, incorrect mesh structure, or unoptimized materials can break customization, print exports, and production workflows.
If you prefer watching, start with the video tutorial below:
In this tutorial, we'll walk through the complete pipeline:
- Exporting a garment from CLO3D
- Preparing and cleaning the model in Blender
- Exporting a production-ready GLB
- Importing the product into the Configurator
- Creating previews and mockups
This workflow is optimized for real-time 3D customization and print-ready output.
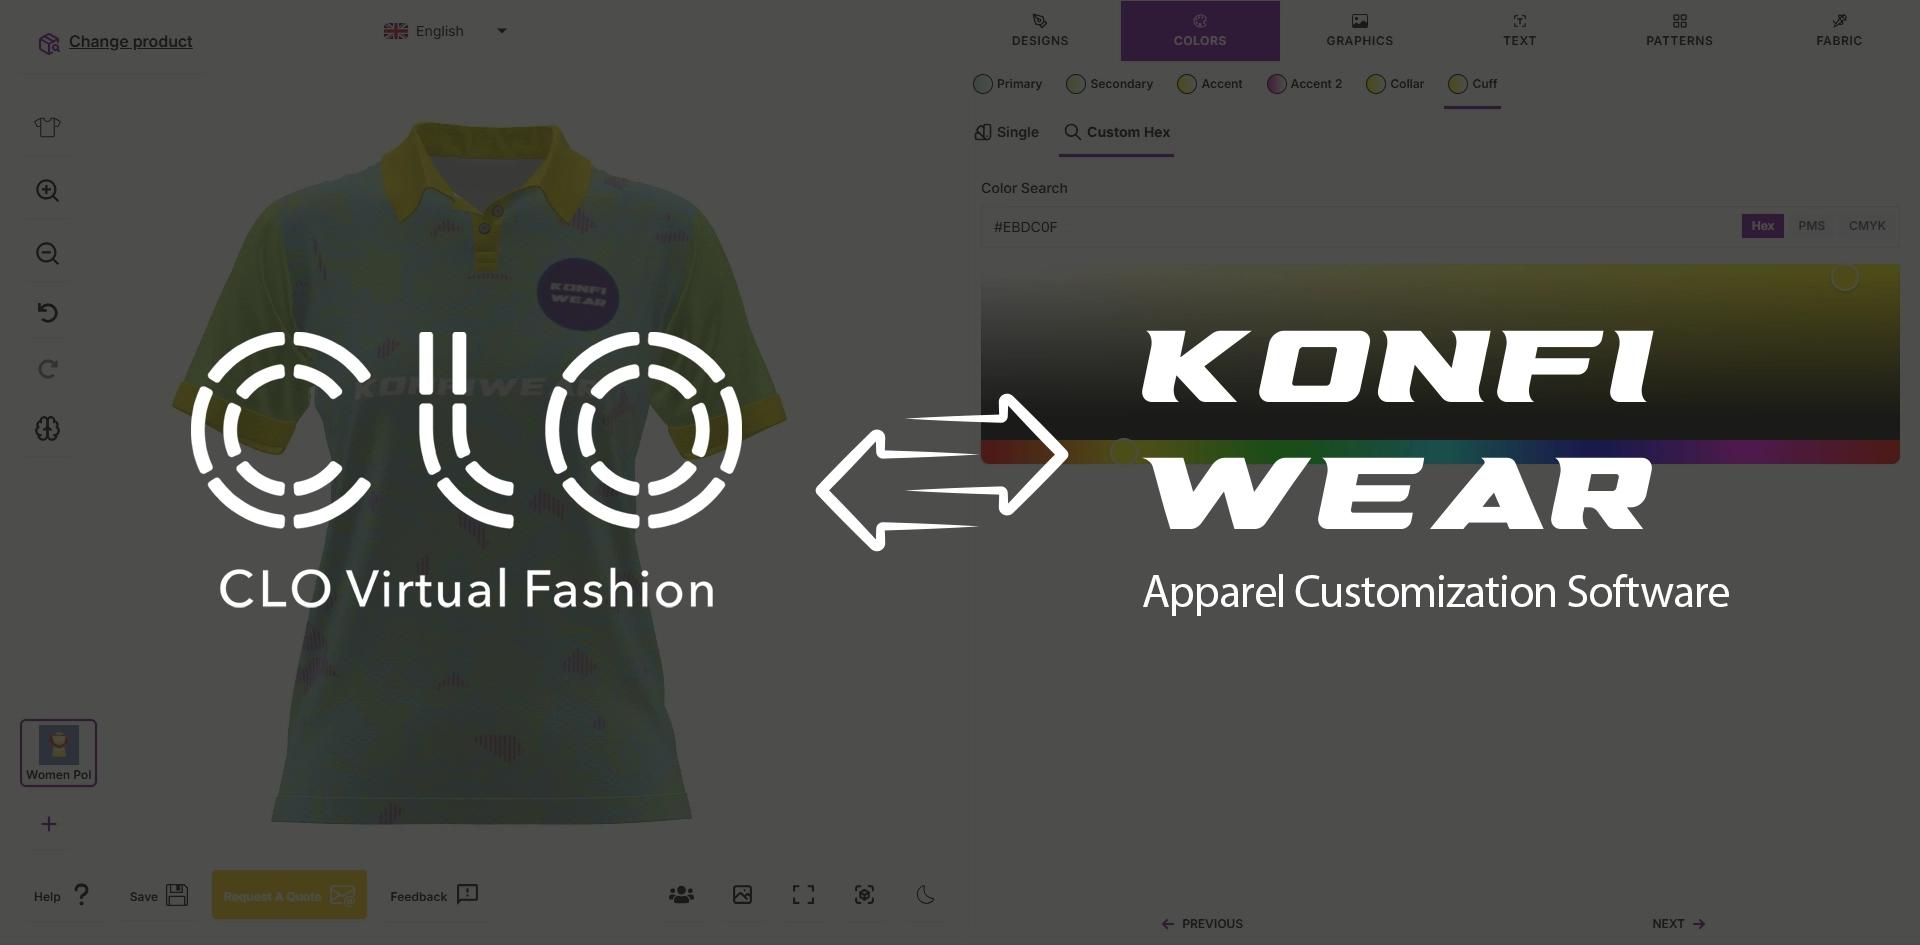
Step 1: Exporting the Garment from CLO3D
Start by preparing your garment inside CLO3D.
Before exporting, make sure that:
- All UVs are properly laid out
- UVs are contained inside the 0–1 UV space
- UVs are clean and reset
- No overlapping or unused UV islands remain
Export Settings (FBX)
Export the model as an FBX file using these settings:
- Unified UV Coordinates
- Export as Multiple Objects
- Leave other settings as default
For detailed export options, refer to the official CLO3D FBX Import/Export documentation.
Step 2: Importing the FBX into Blender
Open Blender and import your FBX file via File → Import → FBX.
At this stage, do not rush. Most configuration issues come from incorrect structure here.
Critical Rule: One Material = One UV Name
All mesh parts that share the same material must also share the same UV name.
Why this matters:
- The configurator uses UVs to generate print files
- Shared materials with different UV names cause broken exports
Step 3: Merging Meshes by Material
In Blender:
- Identify parts using the same material
- Select them together
- Go to Object → Join (or press
Ctrl+J) — see Blender Join documentation
Repeat this for:
- Main fabric panels
- Sleeves and collars
- Buttons
Once merged, rename each object clearly :
shirtcollarcuffinteriorbuttons
Clean naming is essential for later configuration and automation.
Step 4: Cleaning Temporary Materials
During UV work, temporary materials are often used.
Now remove them via the Material Slots panel:
- Delete all material slots
- Keep only the button material (if buttons must stay fixed color)
This keeps the GLB lightweight and avoids conflicts in the configurator.
Step 5: UV Mapping and Layout
Switch to the UV Editing workspace.
Use a Reference Texture
Add a reference texture to guide your UV placement:
- Add an Image Texture
- Load the provided UV guide
- Display it in the UV Editor
UV Placement Rules
- Start with back panels
- Then align front panels
- Keep all UVs inside the design area
- Align front and back vertically
- Center everything on the X-axis
Always cross-check in 3D View to ensure nothing is flipped or misaligned. For advanced UV editing techniques, see the Blender UV Editing documentation.
Step 6: Separating Final Elements
Once UVs are finalized, separate the mesh into logical parts.
In Edit Mode:
- Select faces
- Go to Mesh → Separate → By Selection (or press
P)
Create individual objects for:
- Shirt body
- Collar
- Cuffs
- Interior lining
- Buttons
Rename each object immediately to avoid confusion later.
Step 7: Parenting and Scene Cleanup
Now organize the scene:
- Select all objects
- Parent them to the main shirt object (press
Ctrl+P)
Then apply transformations:
Object → Apply → All Transforms (Ctrl+A)
Finally, clean the file by purging orphan data:
File → Clean Up → Unused Data-Blocks
This removes unused meshes, materials, and data blocks.
Save your file.
Step 8: Exporting the Model as GLB
Export the model as a GLB file via File → Export → glTF 2.0.
GLB Export Settings
- ❌ Disable Shape Keys (Draco compression does not support morphTargets)
- Enable Compression (Draco) under the Geometry section
- Save export preset for future use
Step 9: Importing the Product into Konfiwear
Inside Konfiwear dashboard:
- Go to Instances → Products
- Create a new product
- Upload the GLB file
- Add a temporary preview image (screenshot is fine)
- Assign a category (e.g. Polo, Jersey, Jacket)
- Save the product
The product is now available in the system.
Step 10: Creating a Product Preview Mockup
To generate a clean product preview:
- Go to the Mockup section
- Create a new mockup
- Select your product
- Adjust background color or upload an image
- Save and generate the preview
Assign this image back to the product and update it.
Final Result
Your apparel model is now:
- Cleanly structured
- UV-correct
- Production-ready
- Compatible with real-time customization
- Ready for print export and order workflows
This workflow ensures consistency across design, customization, and manufacturing.
Conclusion
By following this CLO3D → Blender → Konfiwear pipeline, you eliminate common issues like broken UVs, incorrect exports, and misaligned print files.
This process is ideal for:
- Sportswear brands
- Teamwear manufacturers
- Custom apparel platforms
- Print-on-demand workflows
If you want help preparing your first product or automating this pipeline, feel free to reach out.
🔗 Need more details? Visit our Products Documentation for setup guides and technical specifications.