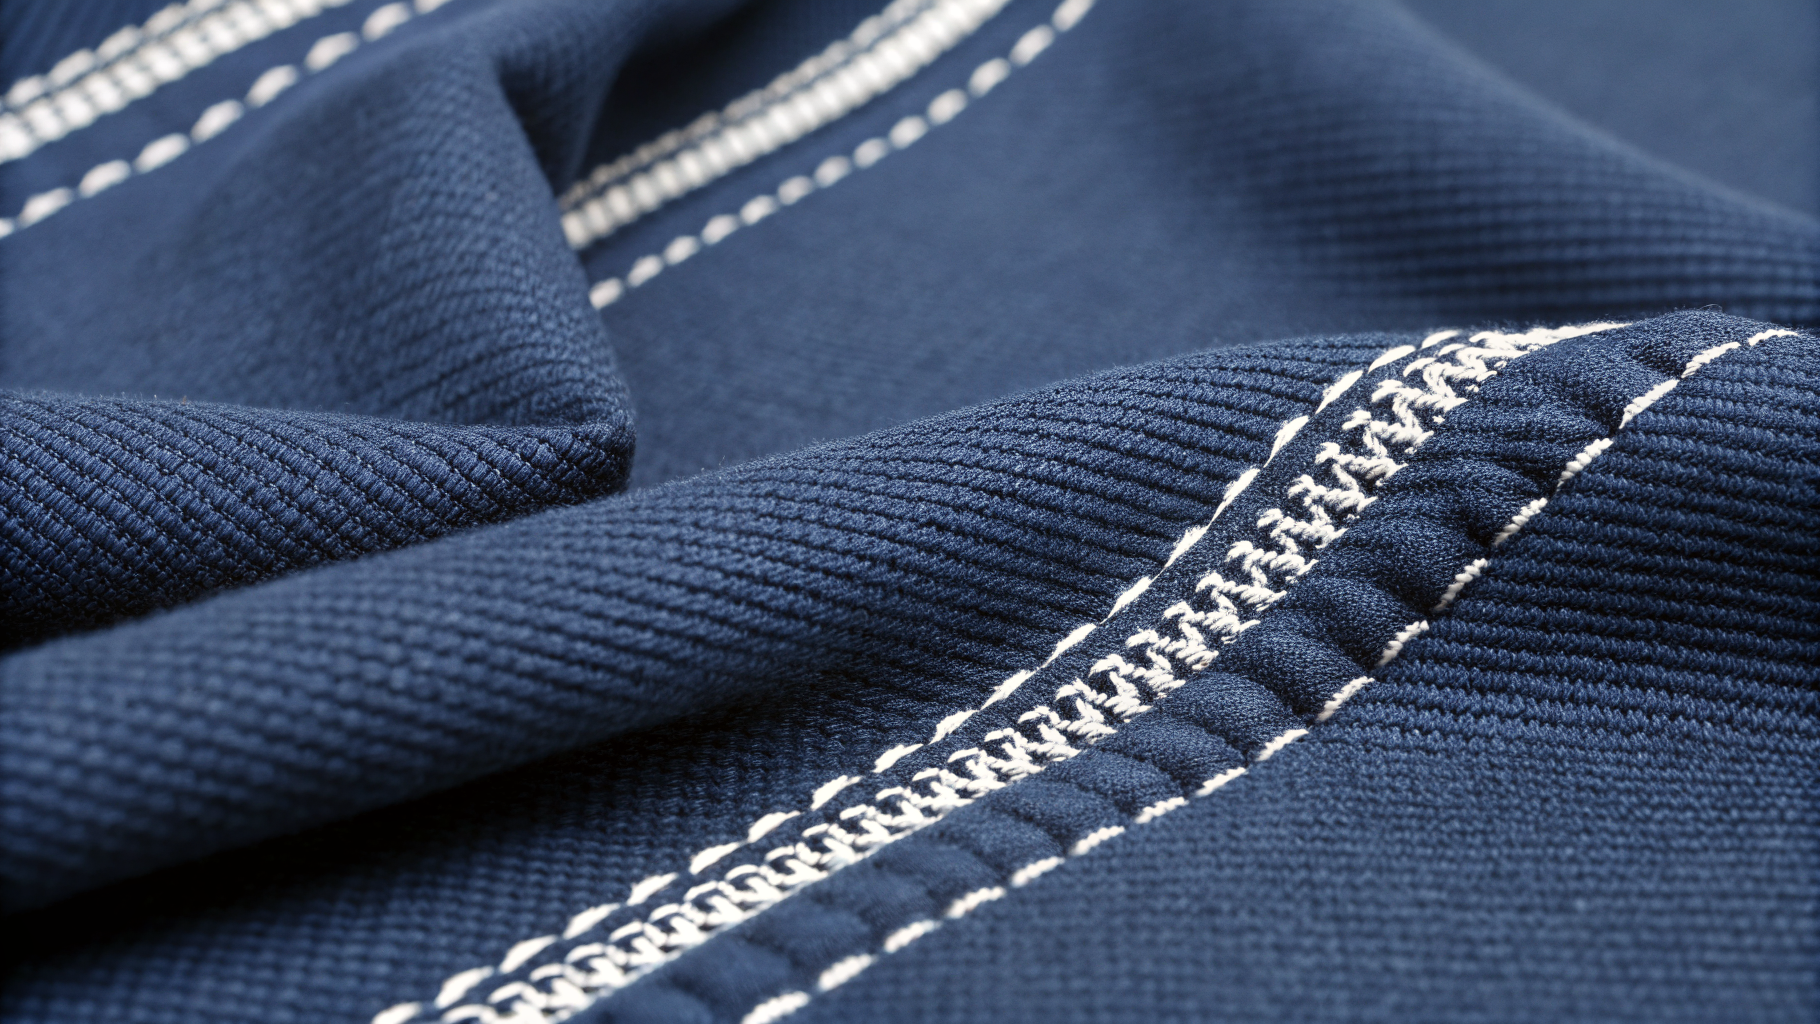
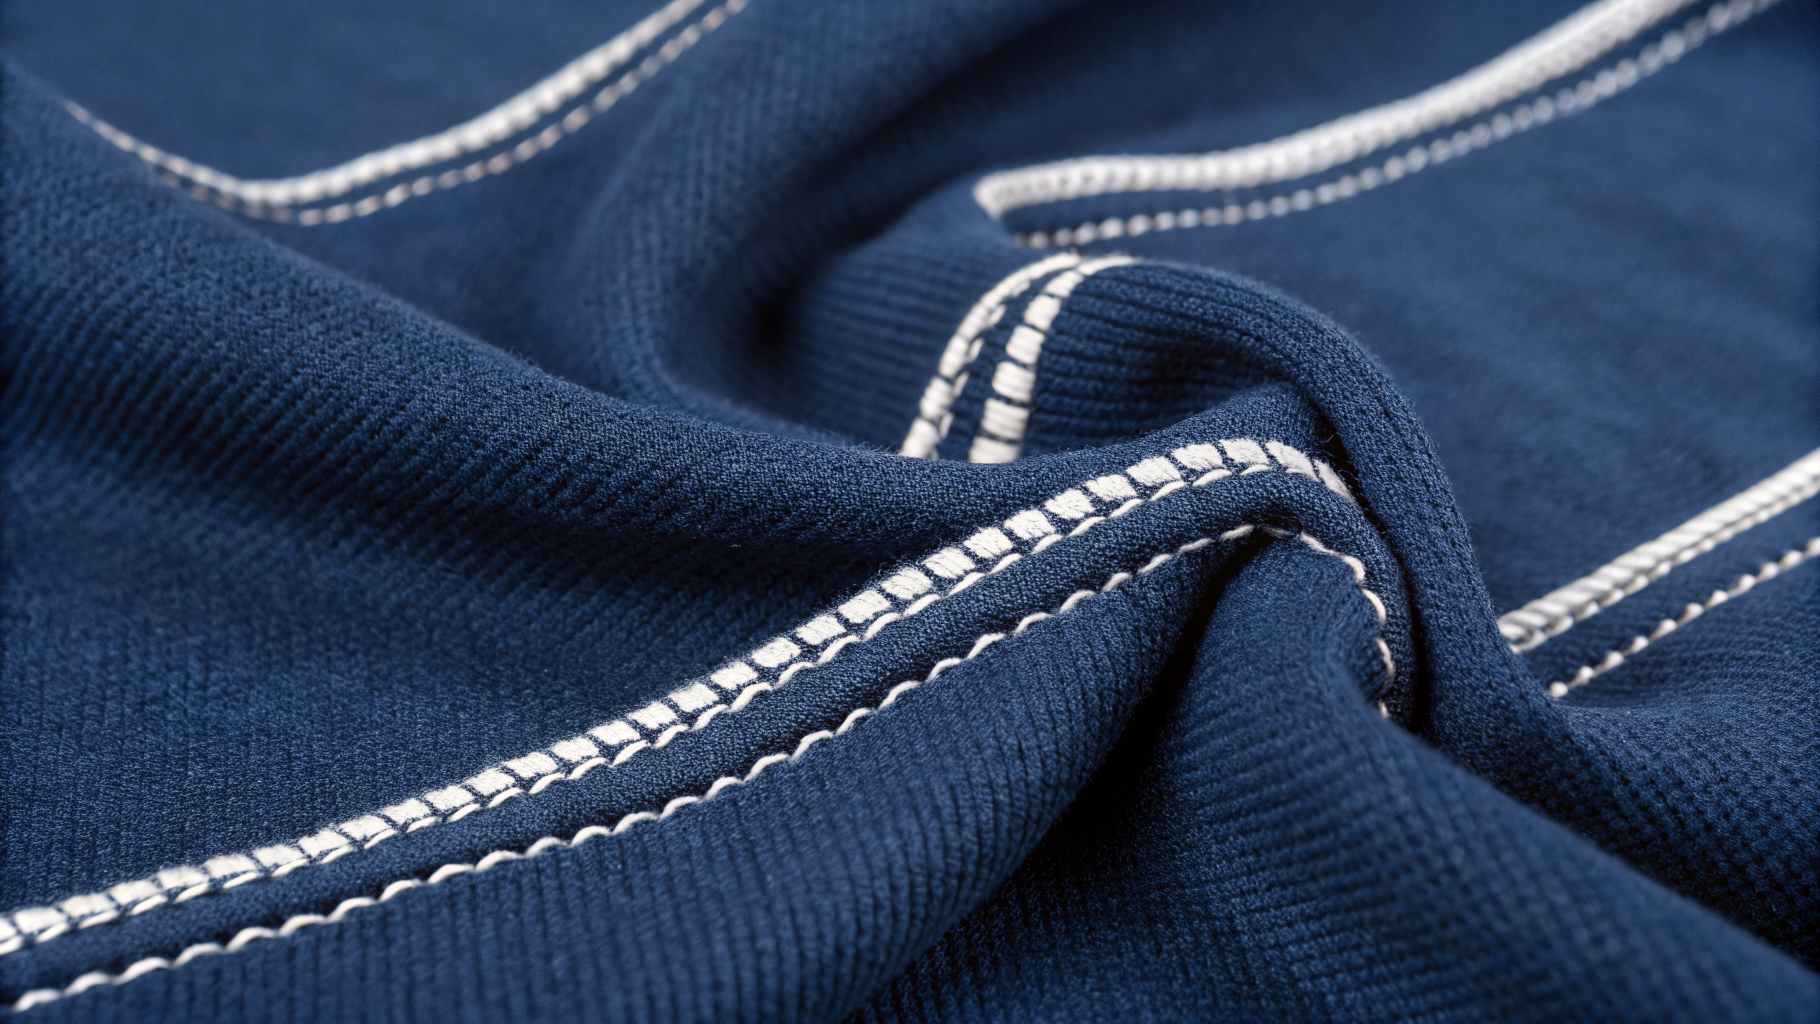
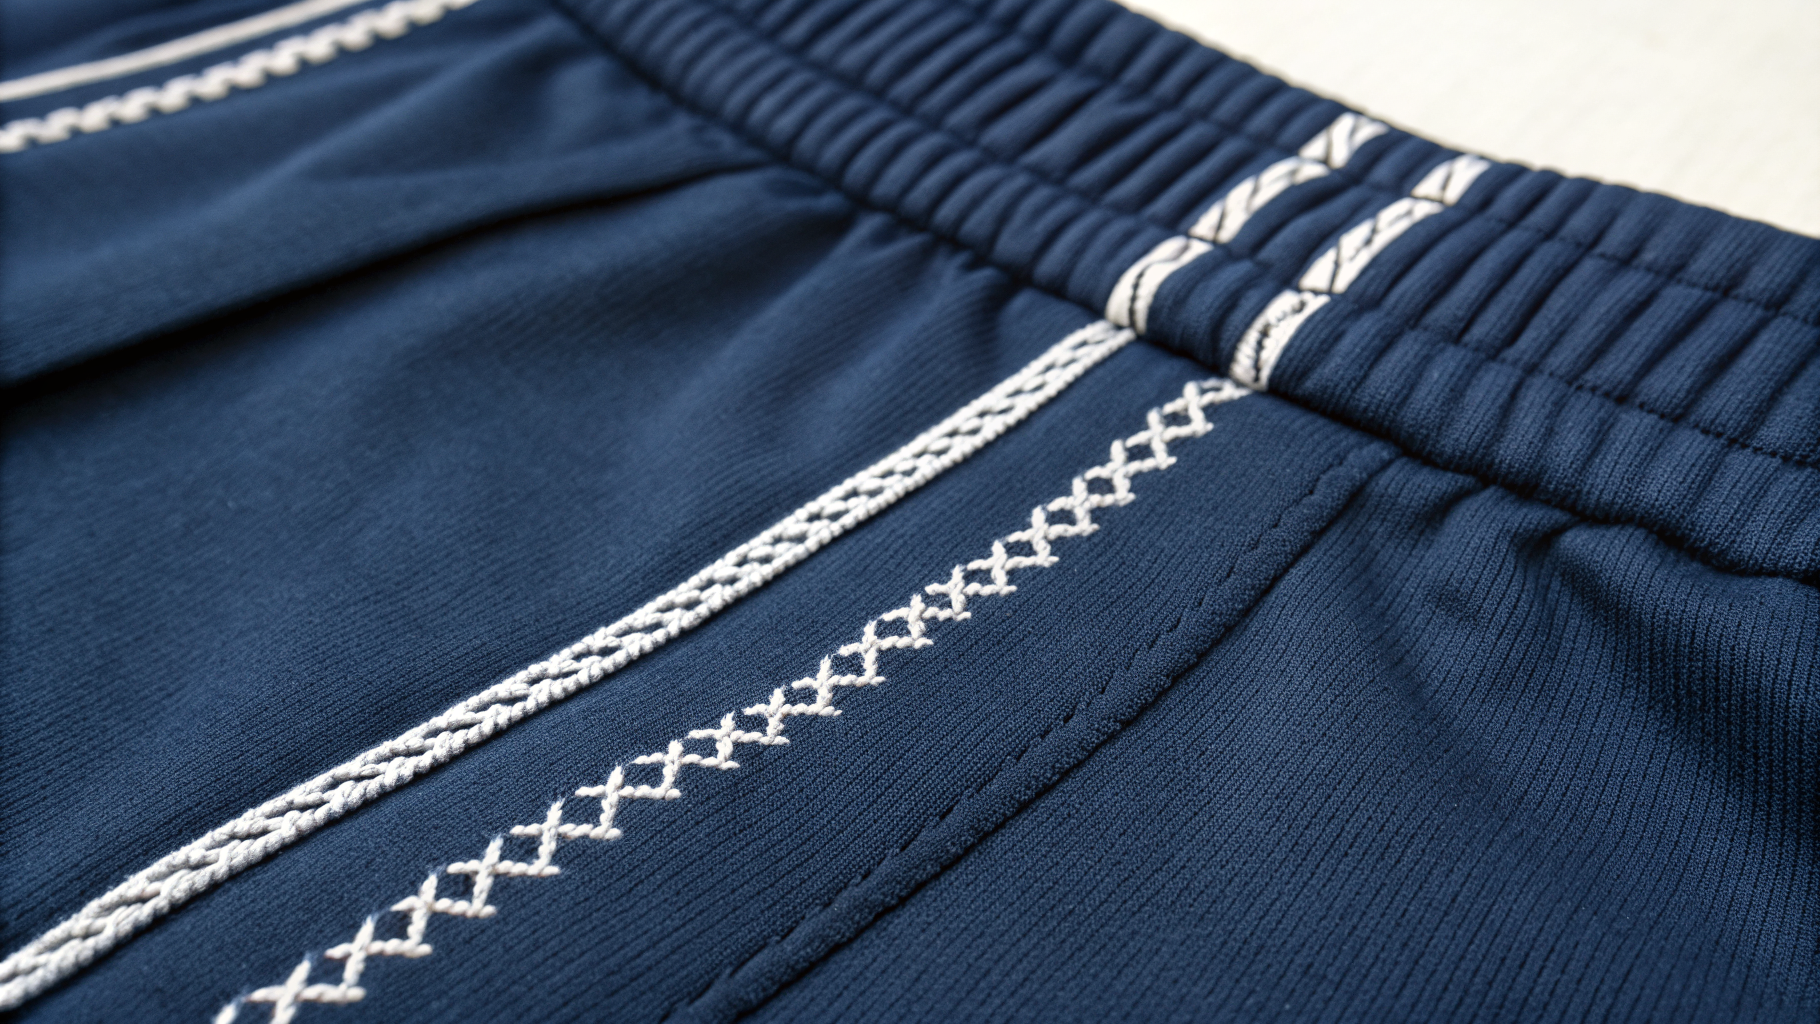
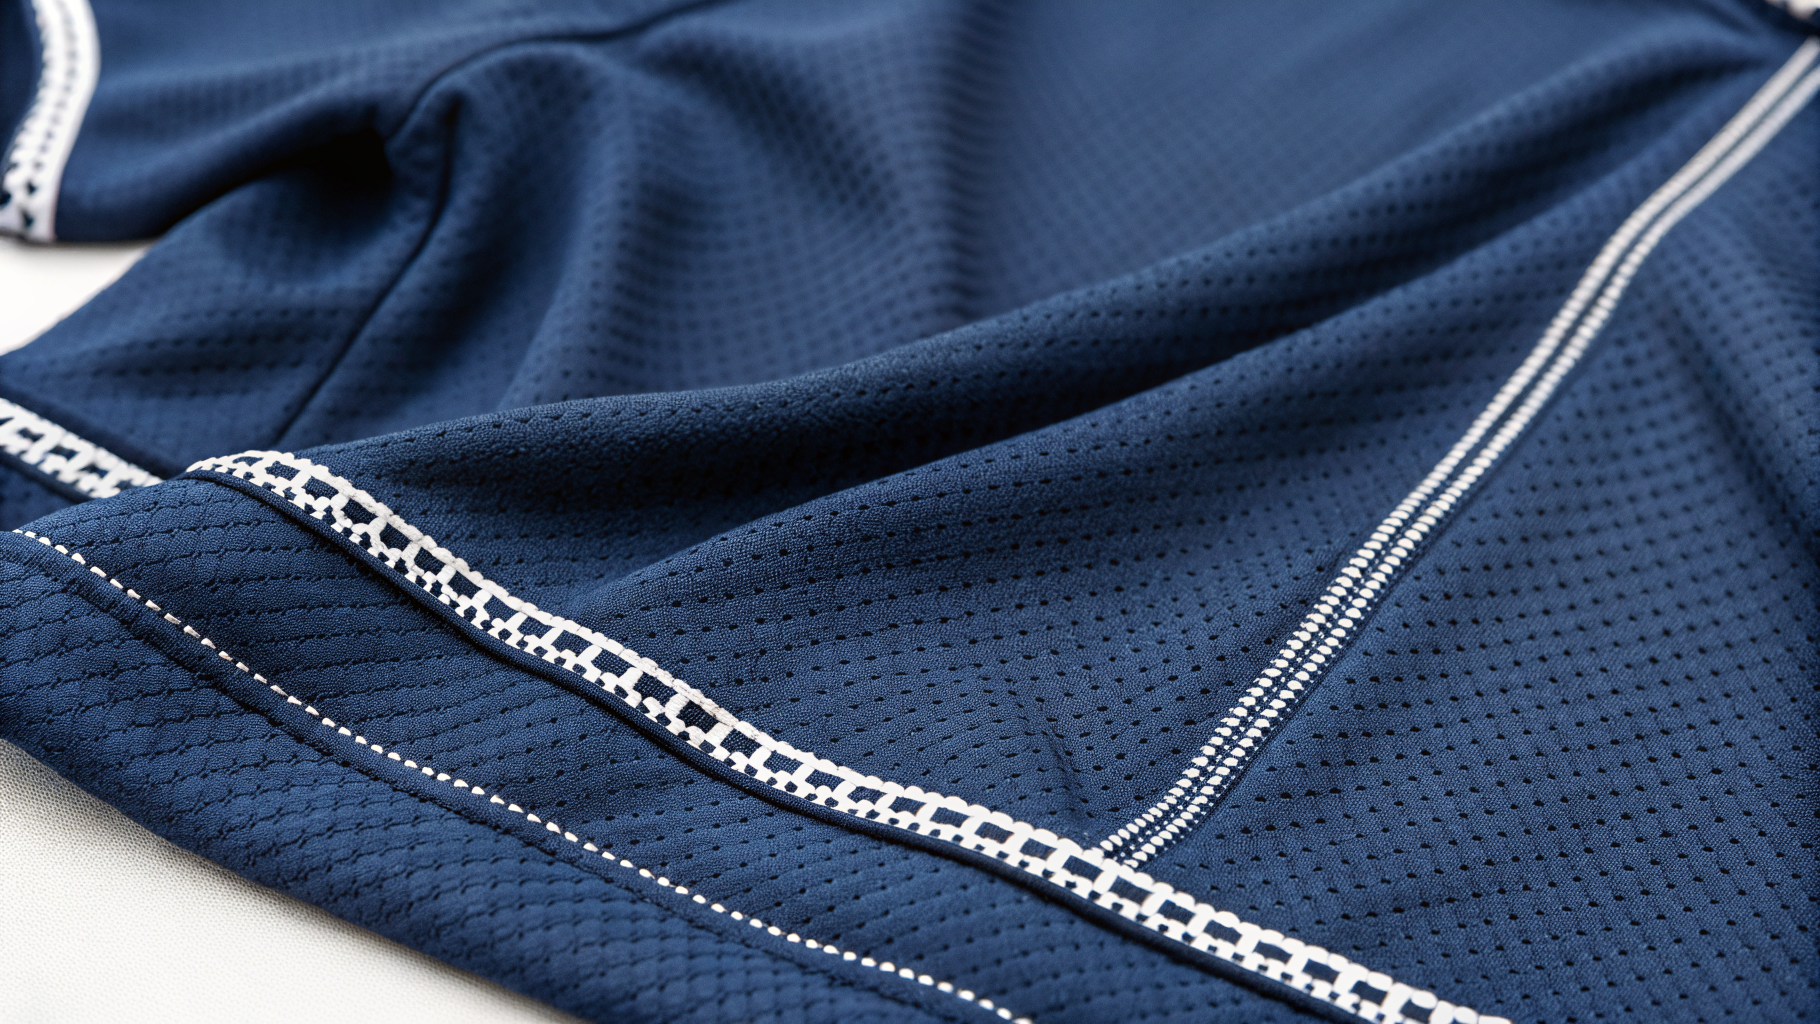
A practical apparel stitch reference for teams building custom jerseys, uniforms, and performance apparel — from first sample to production floor.
Every stitch choice on a sportswear order affects three things a production manager actually cares about: stretch recovery under game conditions, seam durability across a season, and how clean the garment looks once logos, numbers, and sponsor marks are applied. This guide breaks down the stitch families, seam applications, and construction calls that come up most often when specifying custom teamwear — so your techpacks hold up from design to press.
Pair this with our sportswear fabric selection guide when you are locking fabric and seam construction together, and the custom apparel manufacturing process when stitch specs need to sit inside a full production workflow.
How to Use This Guide
This stitch guide provides a fast workflow for choosing the right stitch when a custom sportswear order moves from design to production.
1. Start with fabric behavior
- Wovens (twills, canvas team jackets) usually favor lockstitch or chainstitch construction.
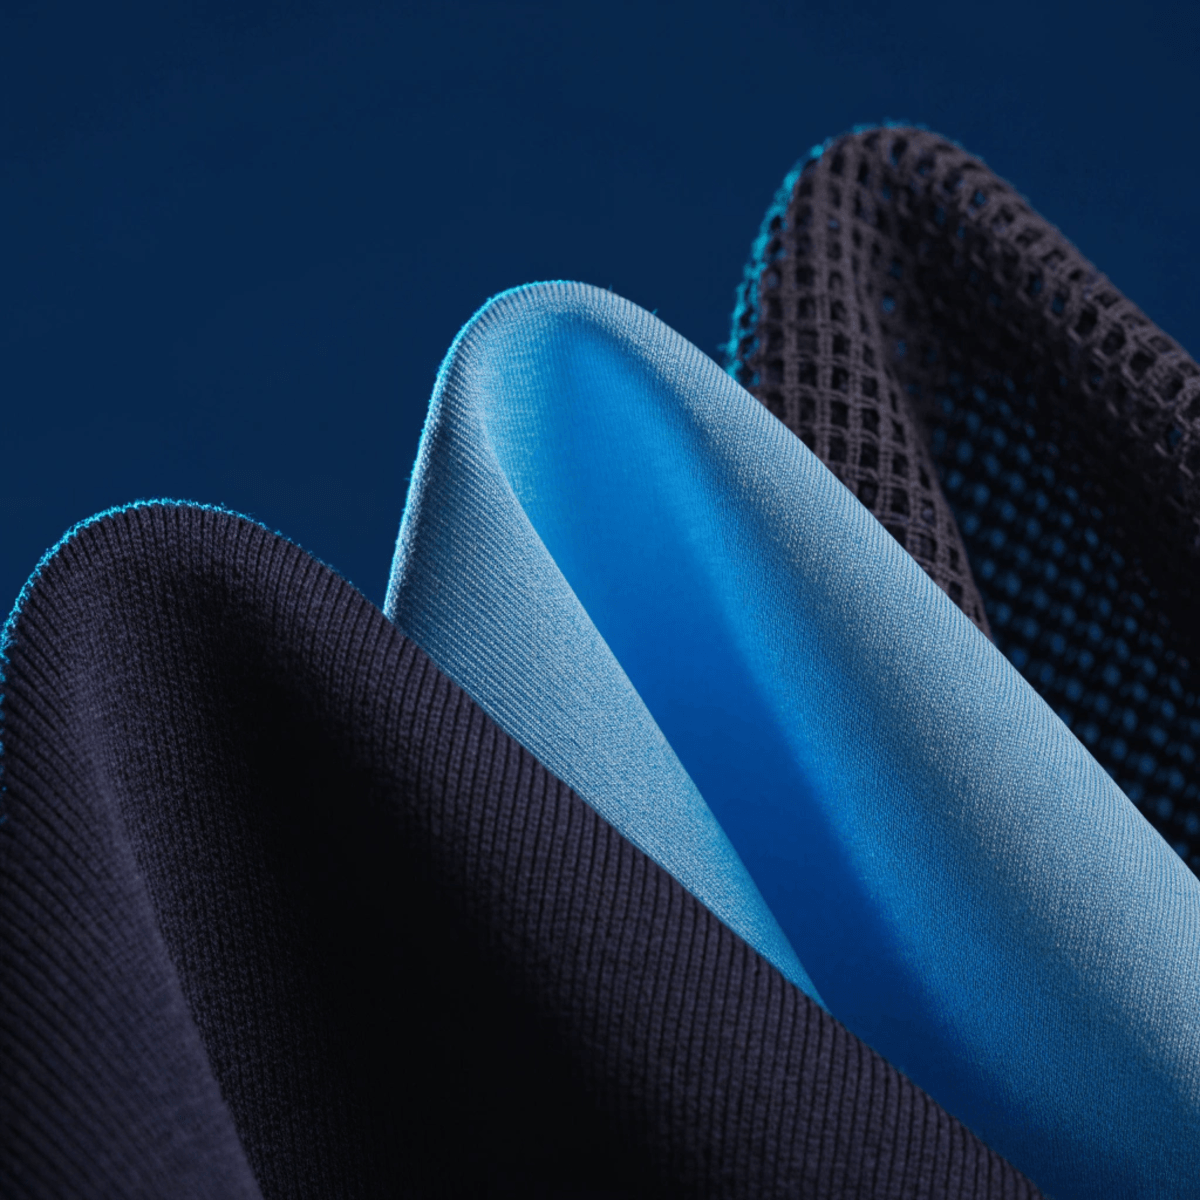
- Performance knits — jerseys, compression layers, leggings — usually require stretch-friendly options such as overlock, coverstitch, or flatlock. For stretch, recovery, and GSM decisions that drive those calls, see the complete sportswear fabric guide.
- Heavyweight pieces (outerwear, padded gear) may need stronger thread, larger needles, and extra reinforcement.
2. Match the stitch to the seam
- Construction seams: choose for strength and stability under repeated movement.
- Hems and cuffs: choose for appearance and stretch recovery.
- Reinforcement points (pocket corners, strap ends, number/logo perimeters): choose bartacks, dense zigzag, or extra topstitching.
3. Check production reality before it hits the techpack
- Confirm machine capability with your production partner before locking the spec.
- Document stitch type, SPI, thread color, and seam allowance directly in the techpack.
- Always sample-test before bulk production — especially on anything with a logo, number, or sponsor mark near the seam.
Stitch Classes at a Glance
The main apparel stitch families used in sportswear and custom apparel construction. Class numbers below follow ISO 4915 (Textiles — Stitch types — Classification and terminology). For seam-type terminology used alongside stitch specs, see ISO 4916.
| Class | Stitch Family | Typical Examples | Stretch | Best Use | Key Note |
|---|
| 300 | Lockstitch | 301 straight, 304 zigzag, 308 bartack | Low to medium | woven seams, topstitching, reinforcement | Balanced, clean and very common |
| 400 | Multi-thread chain | 401 chainstitch, 406 coverstitch | Medium to high | hems, elastic application, knit seams | Flexible but chain end must be secured |
| 500 | Overedge | 504 overlock, 516 safety stitch | High | knit seams, edge finishing | Trims and finishes raw edges |
| 600 | Cover / flatseam | 602 flatseam, 605 cover/flatlock | High | activewear, underwear, technical knits | Flat feel against the body |
ISO stitch numbers may vary by machine setup and production partner terminology. Always verify on a sample before locking the techpack.
Core Stitch Types
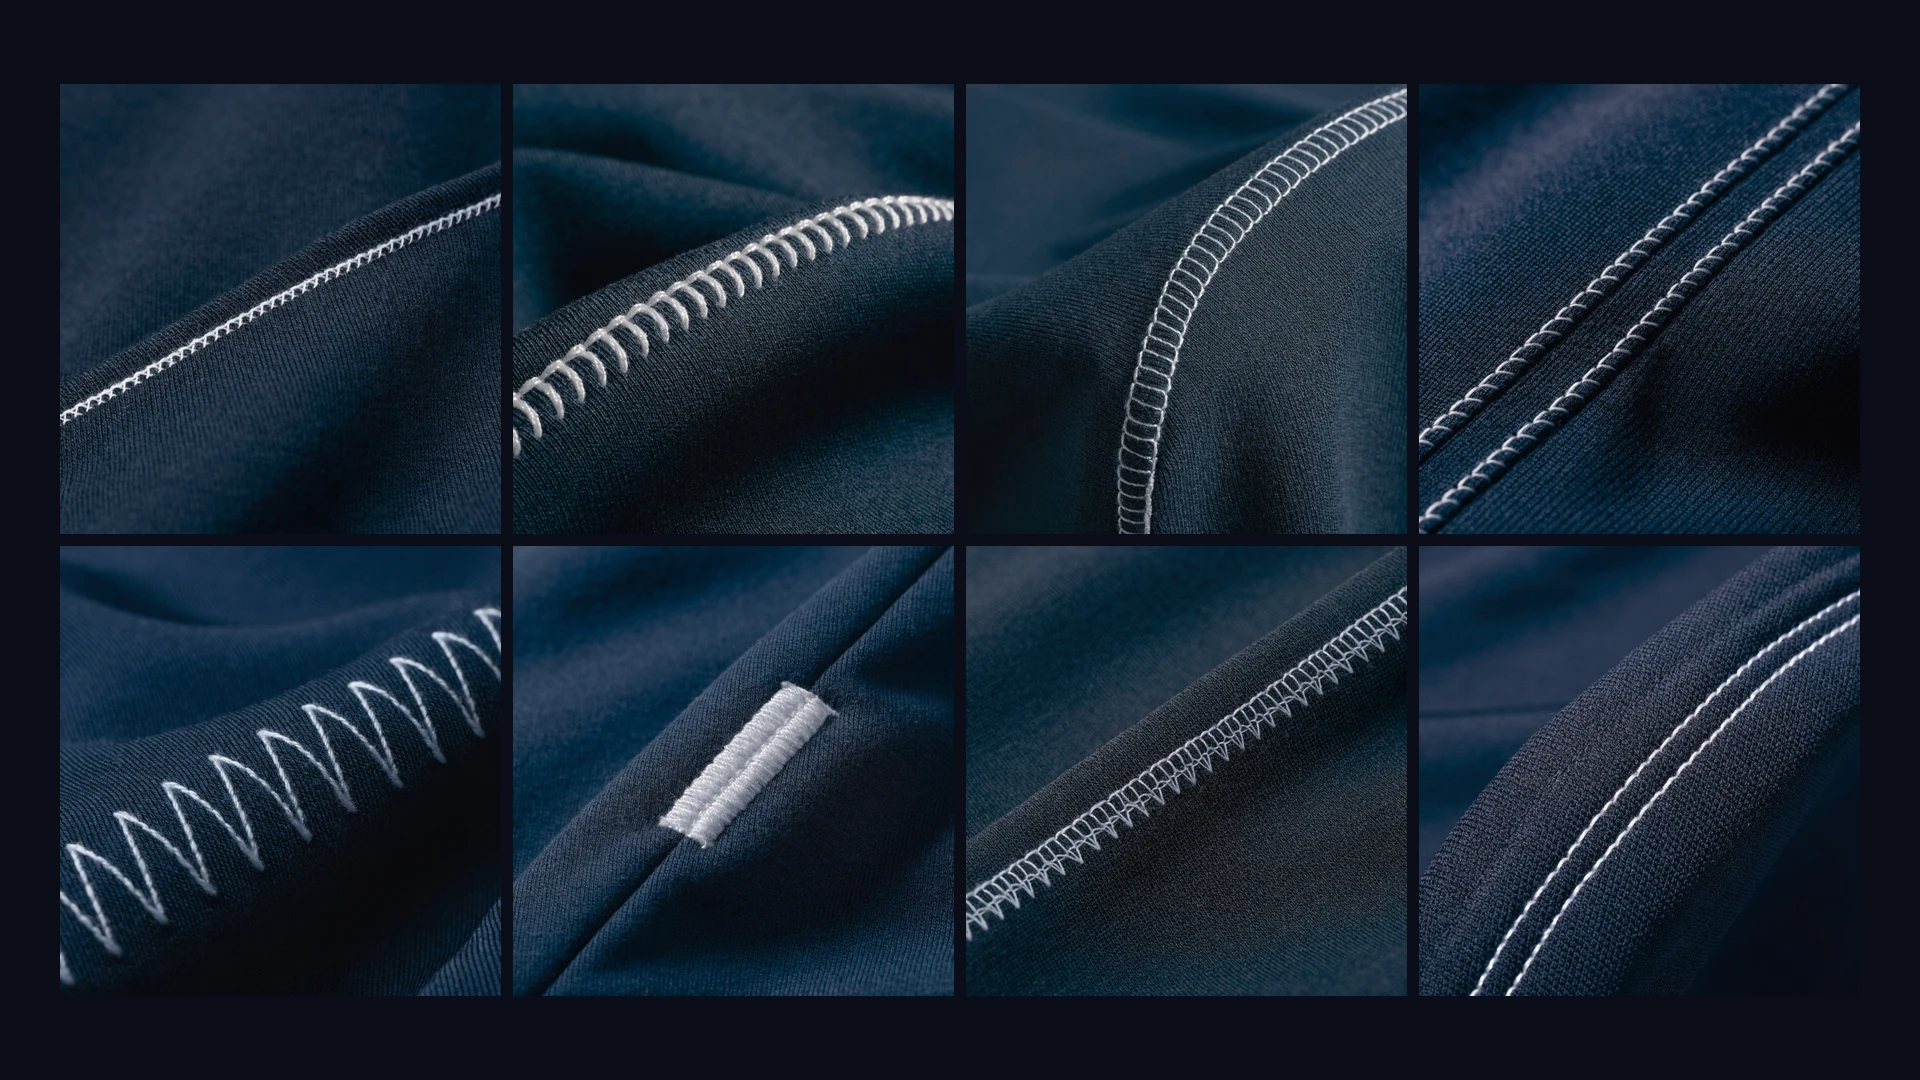
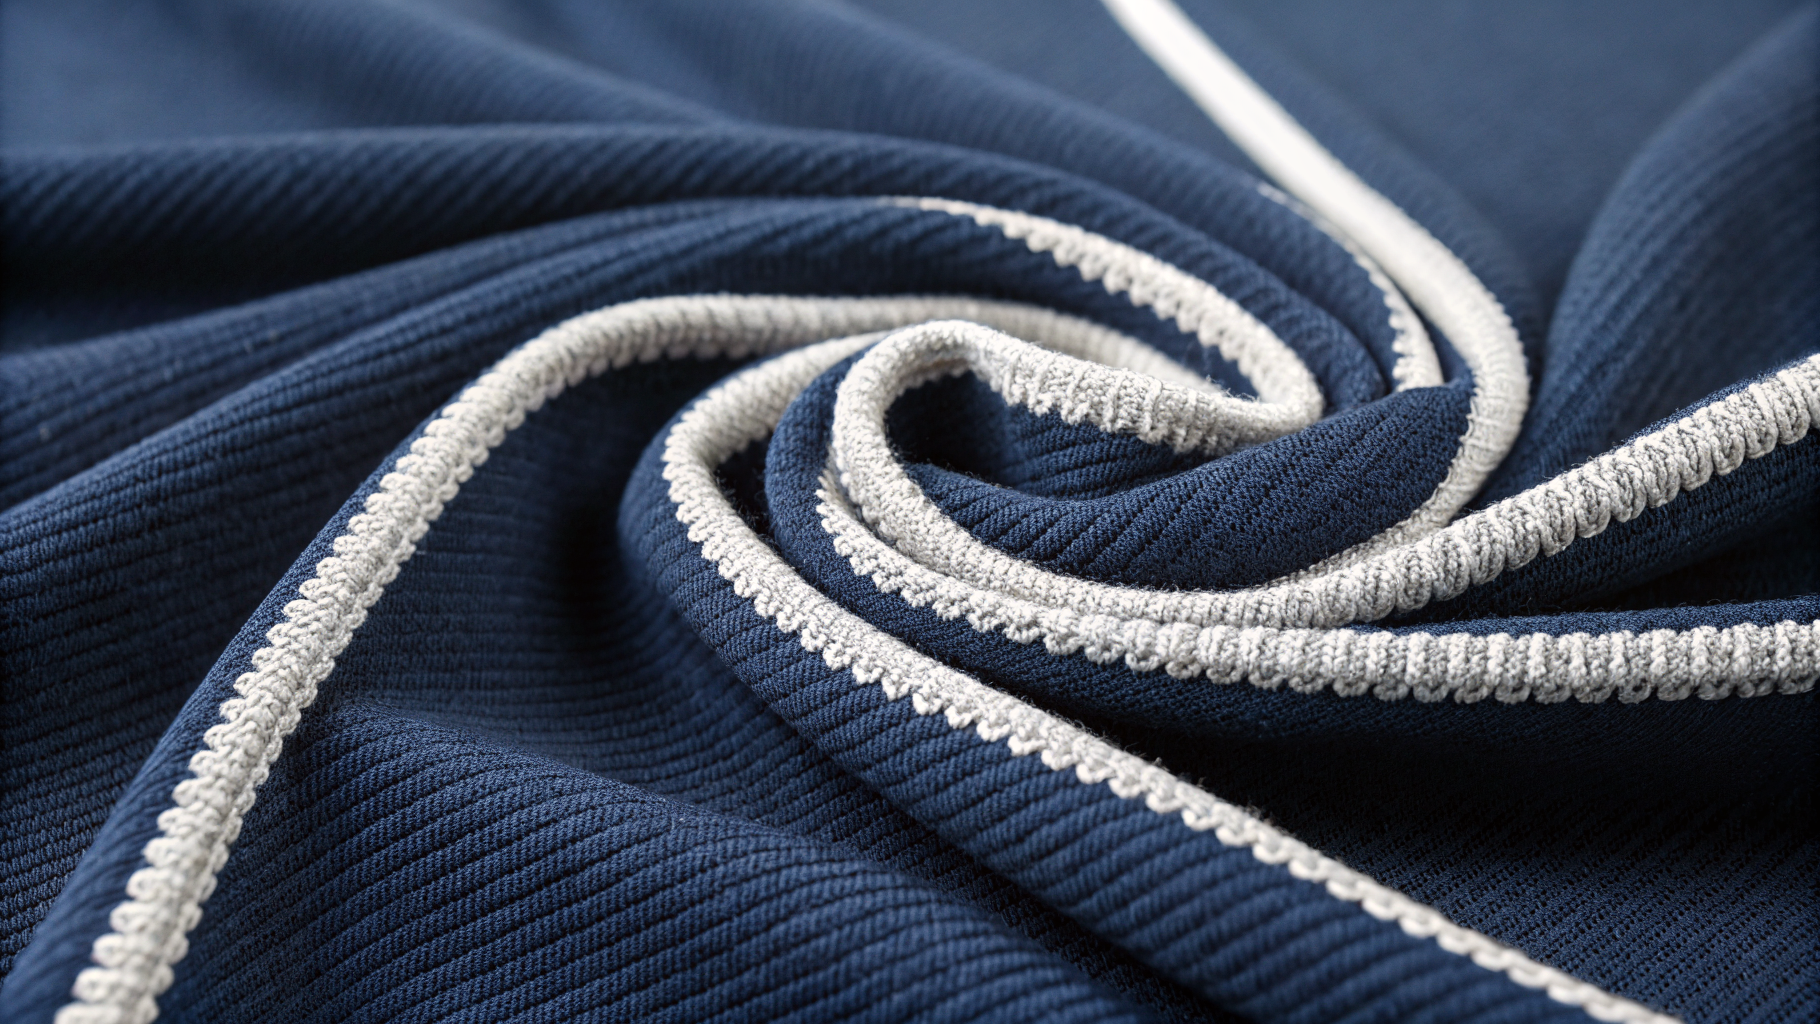
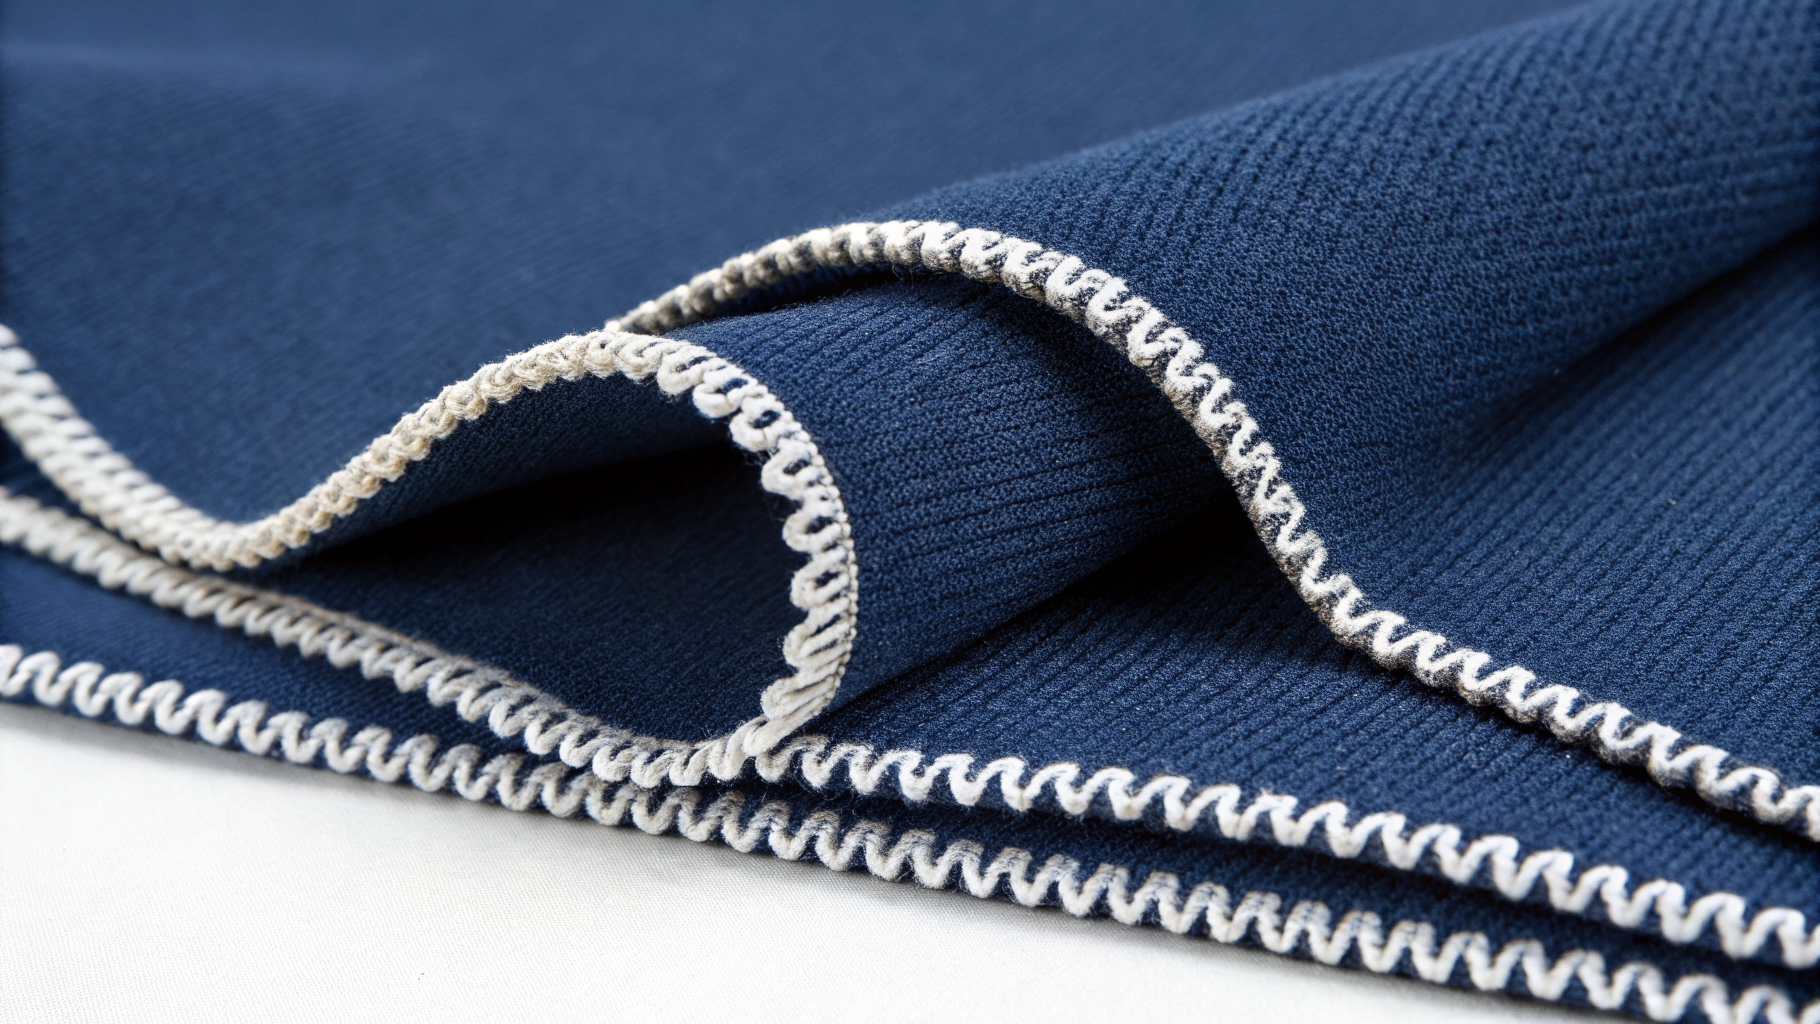
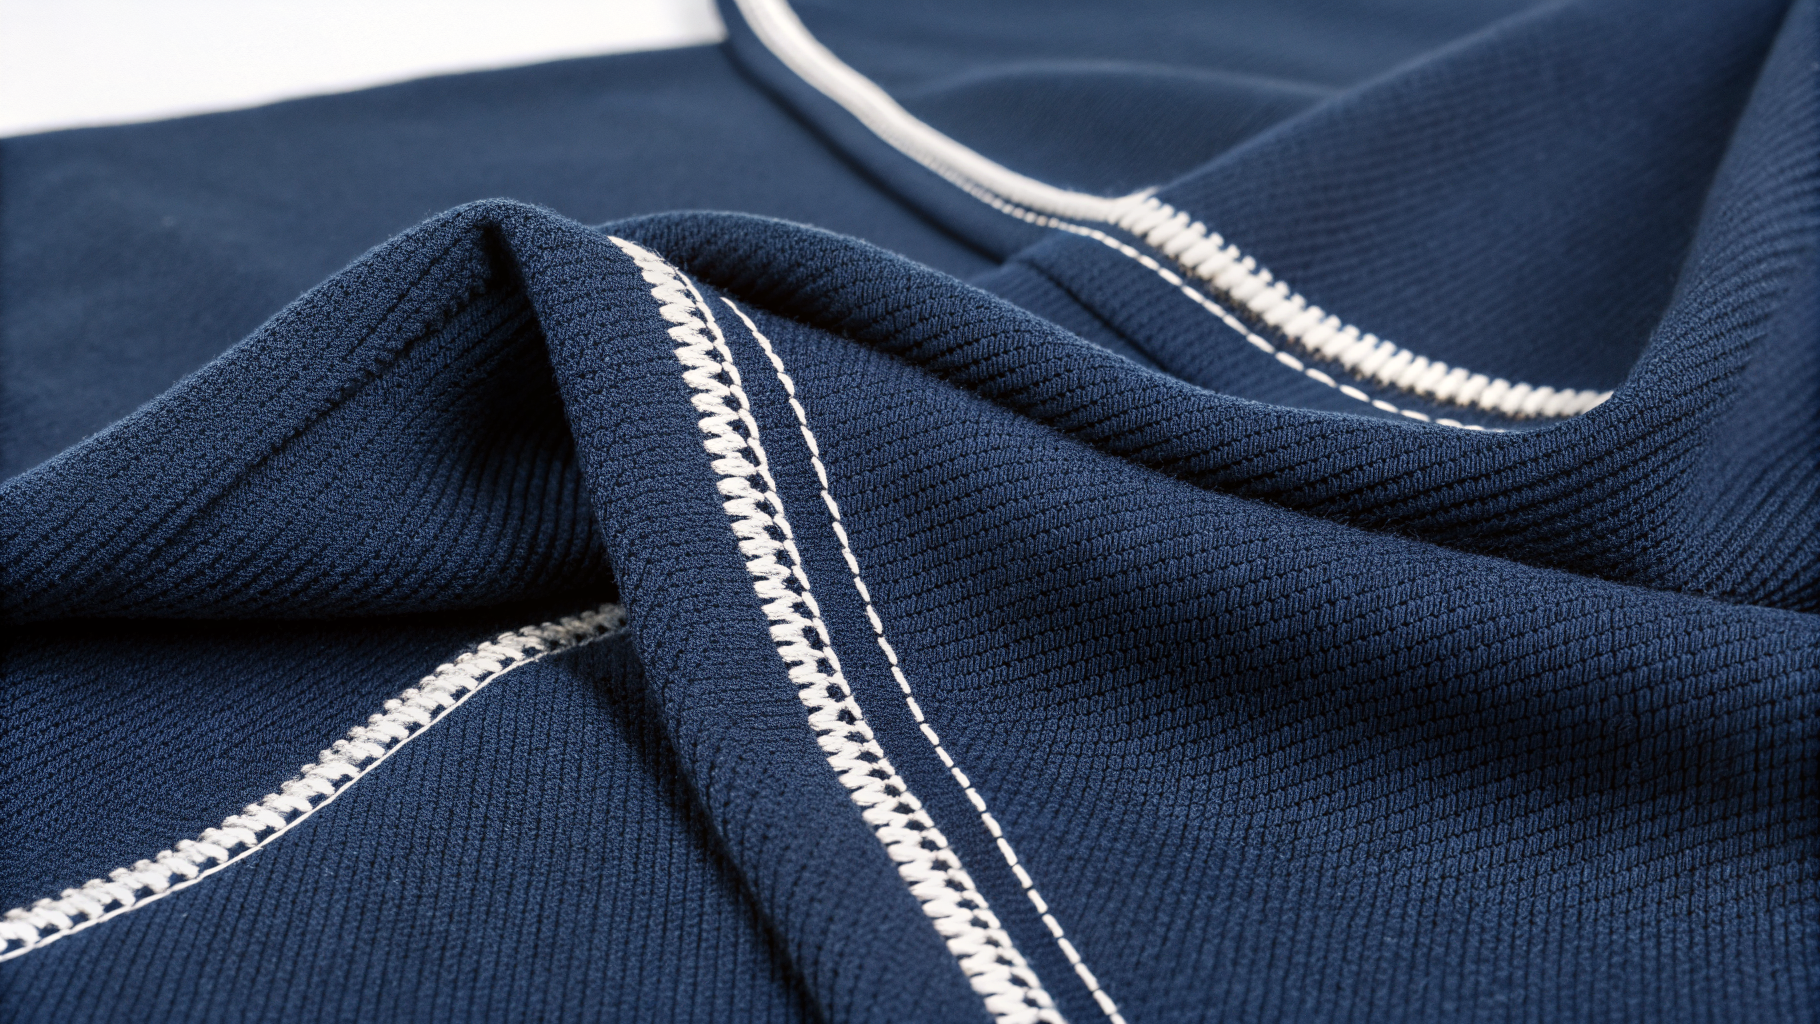
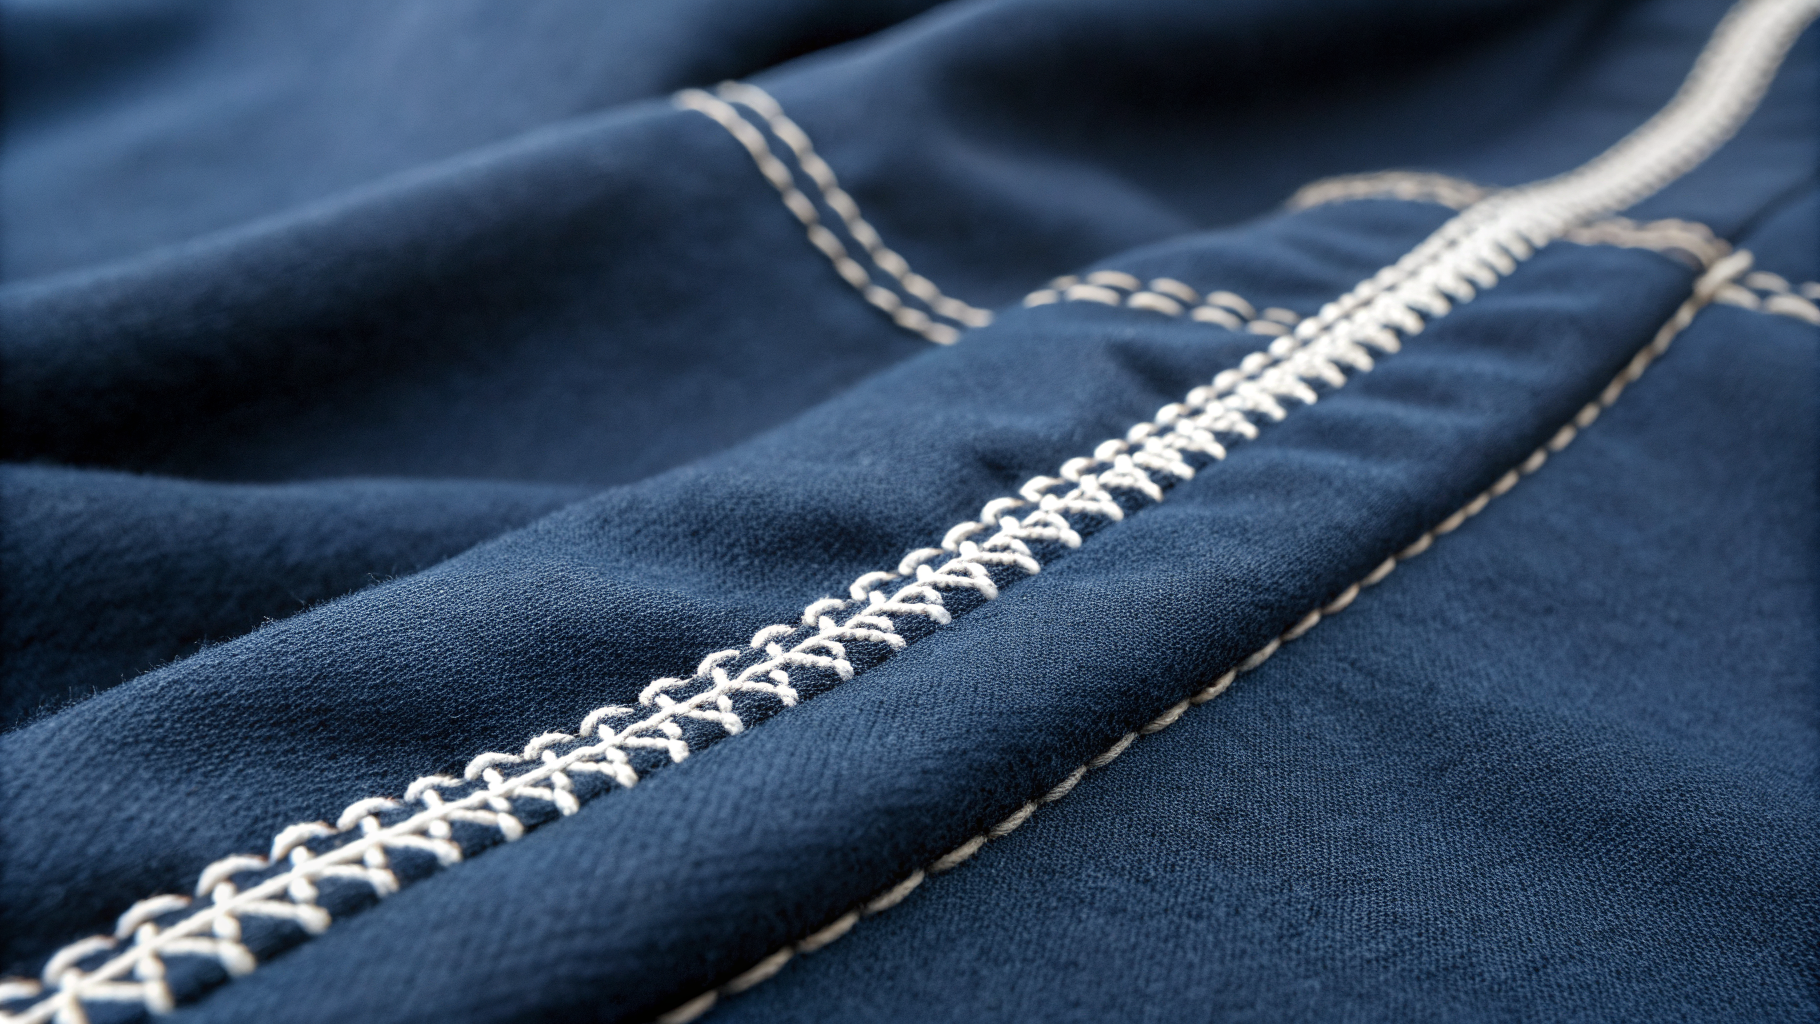
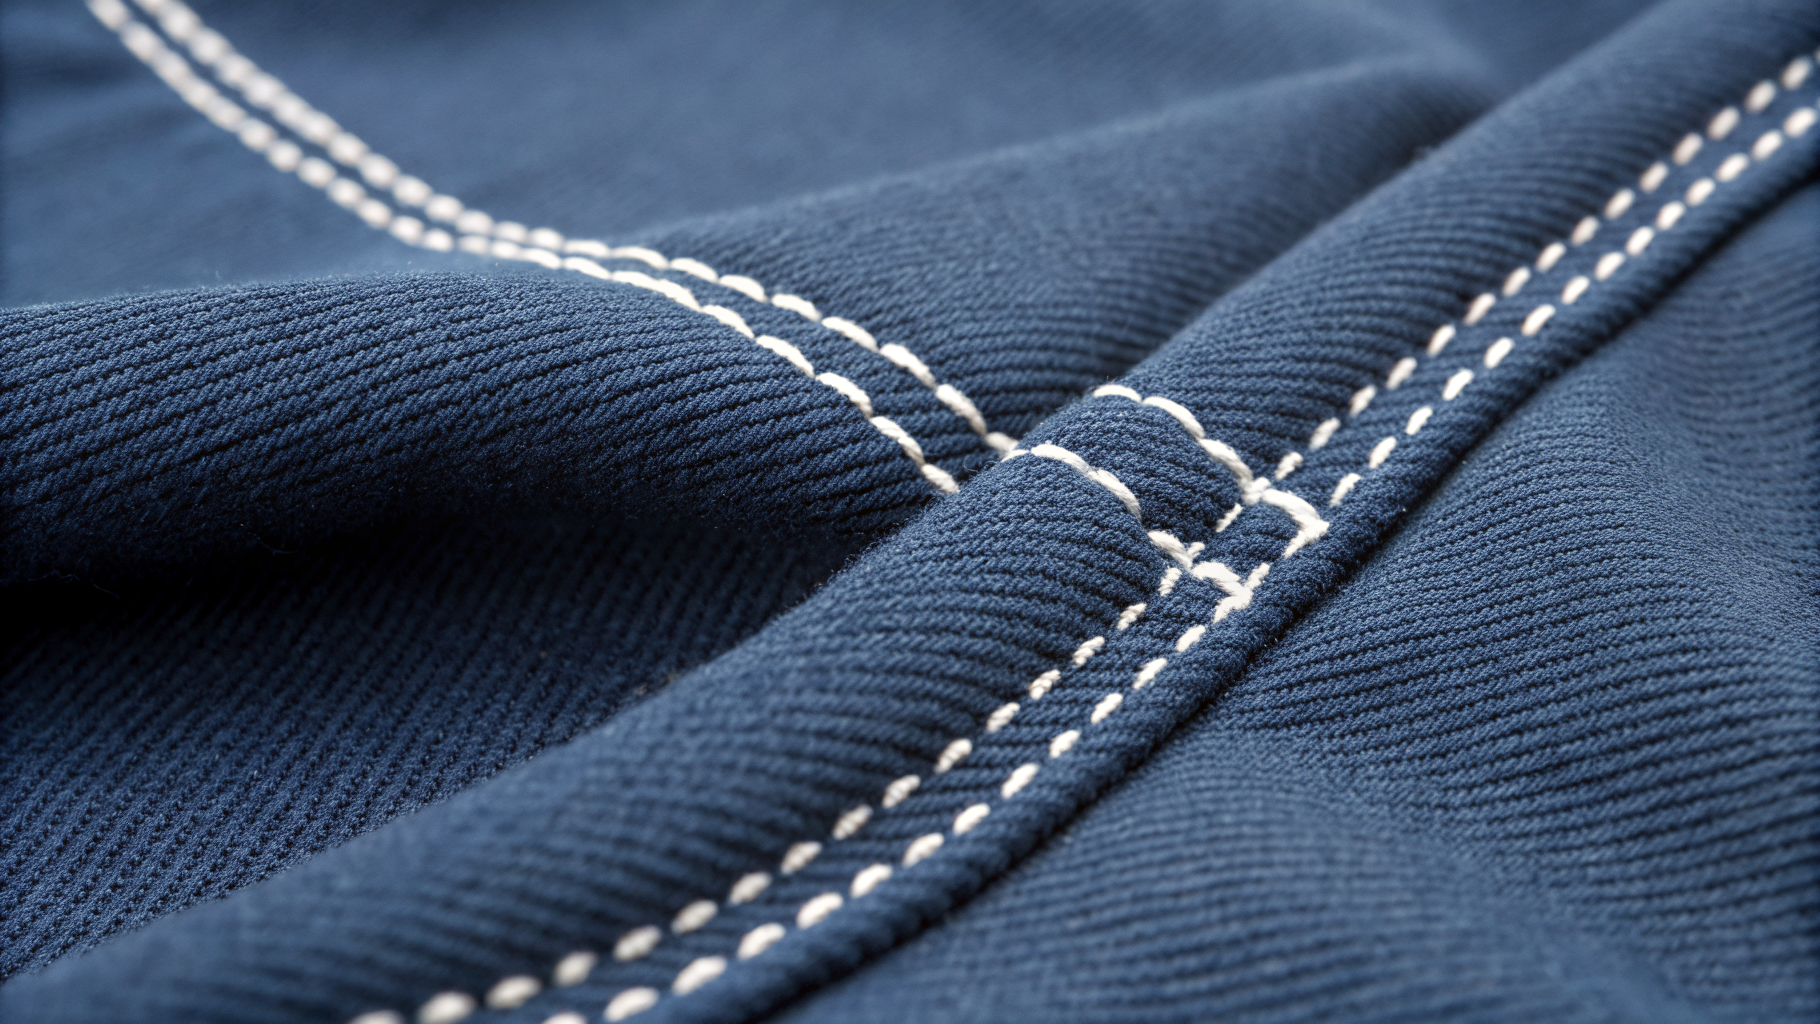
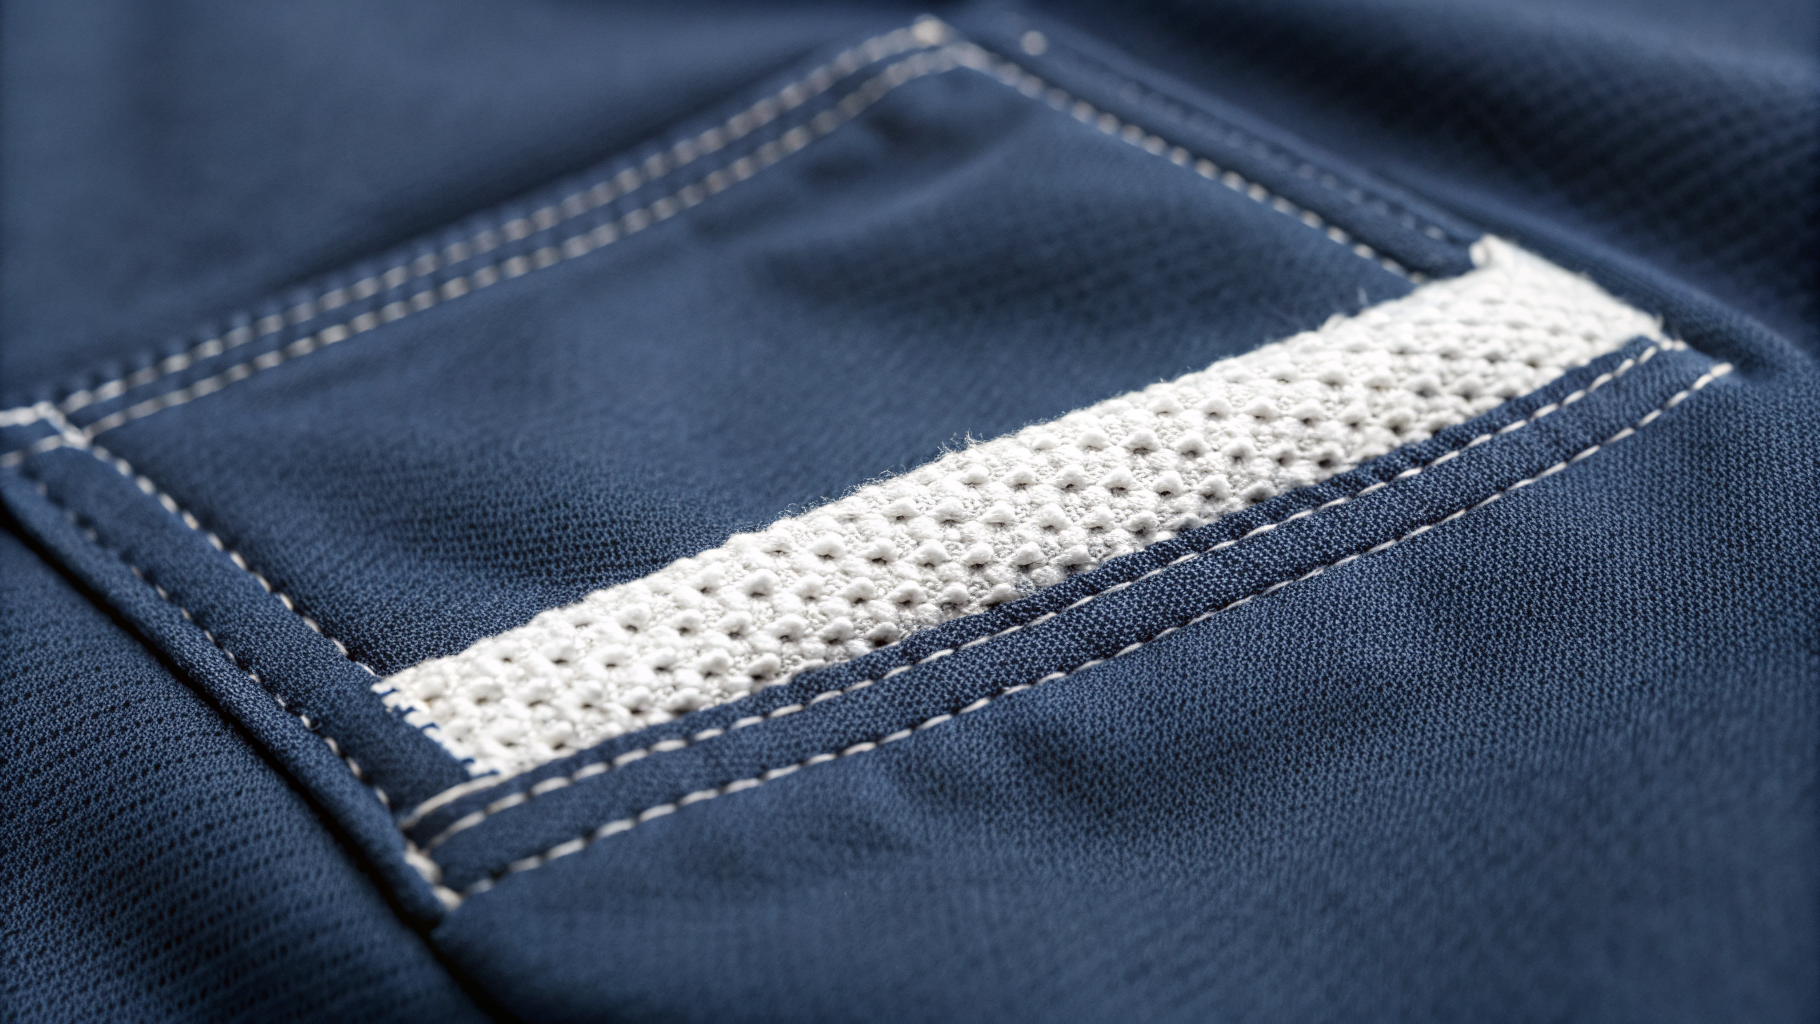
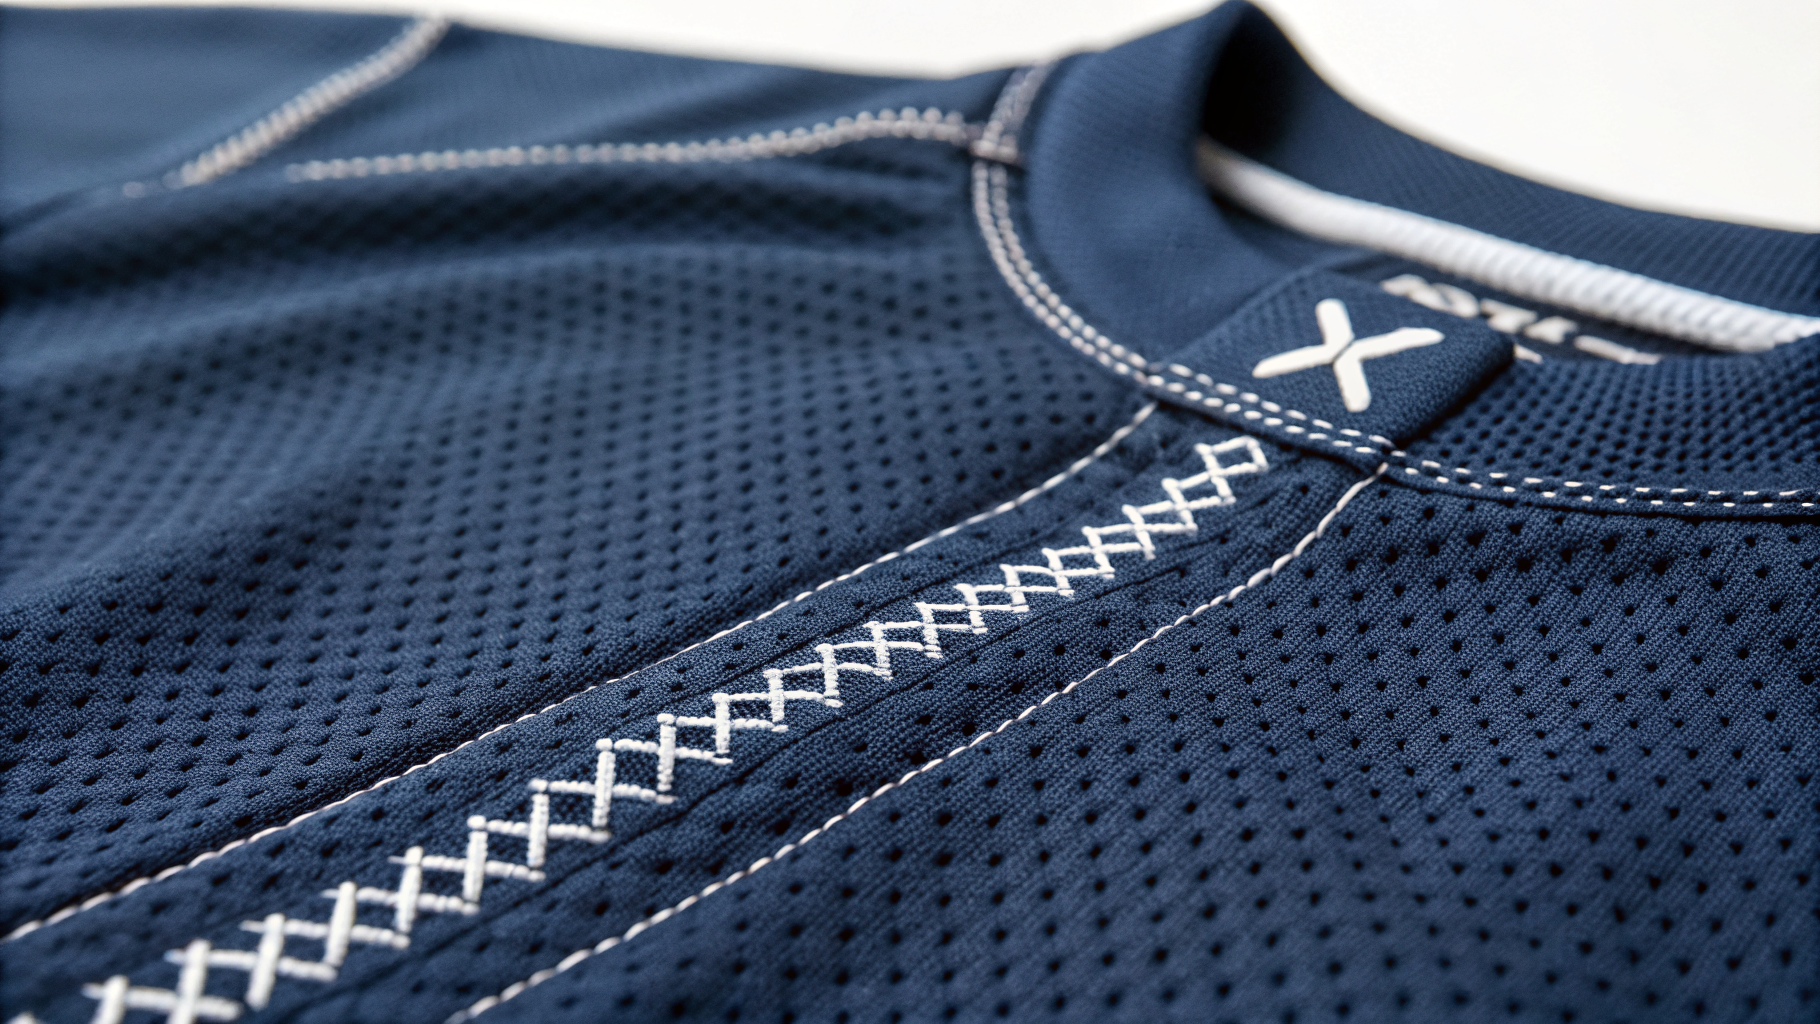
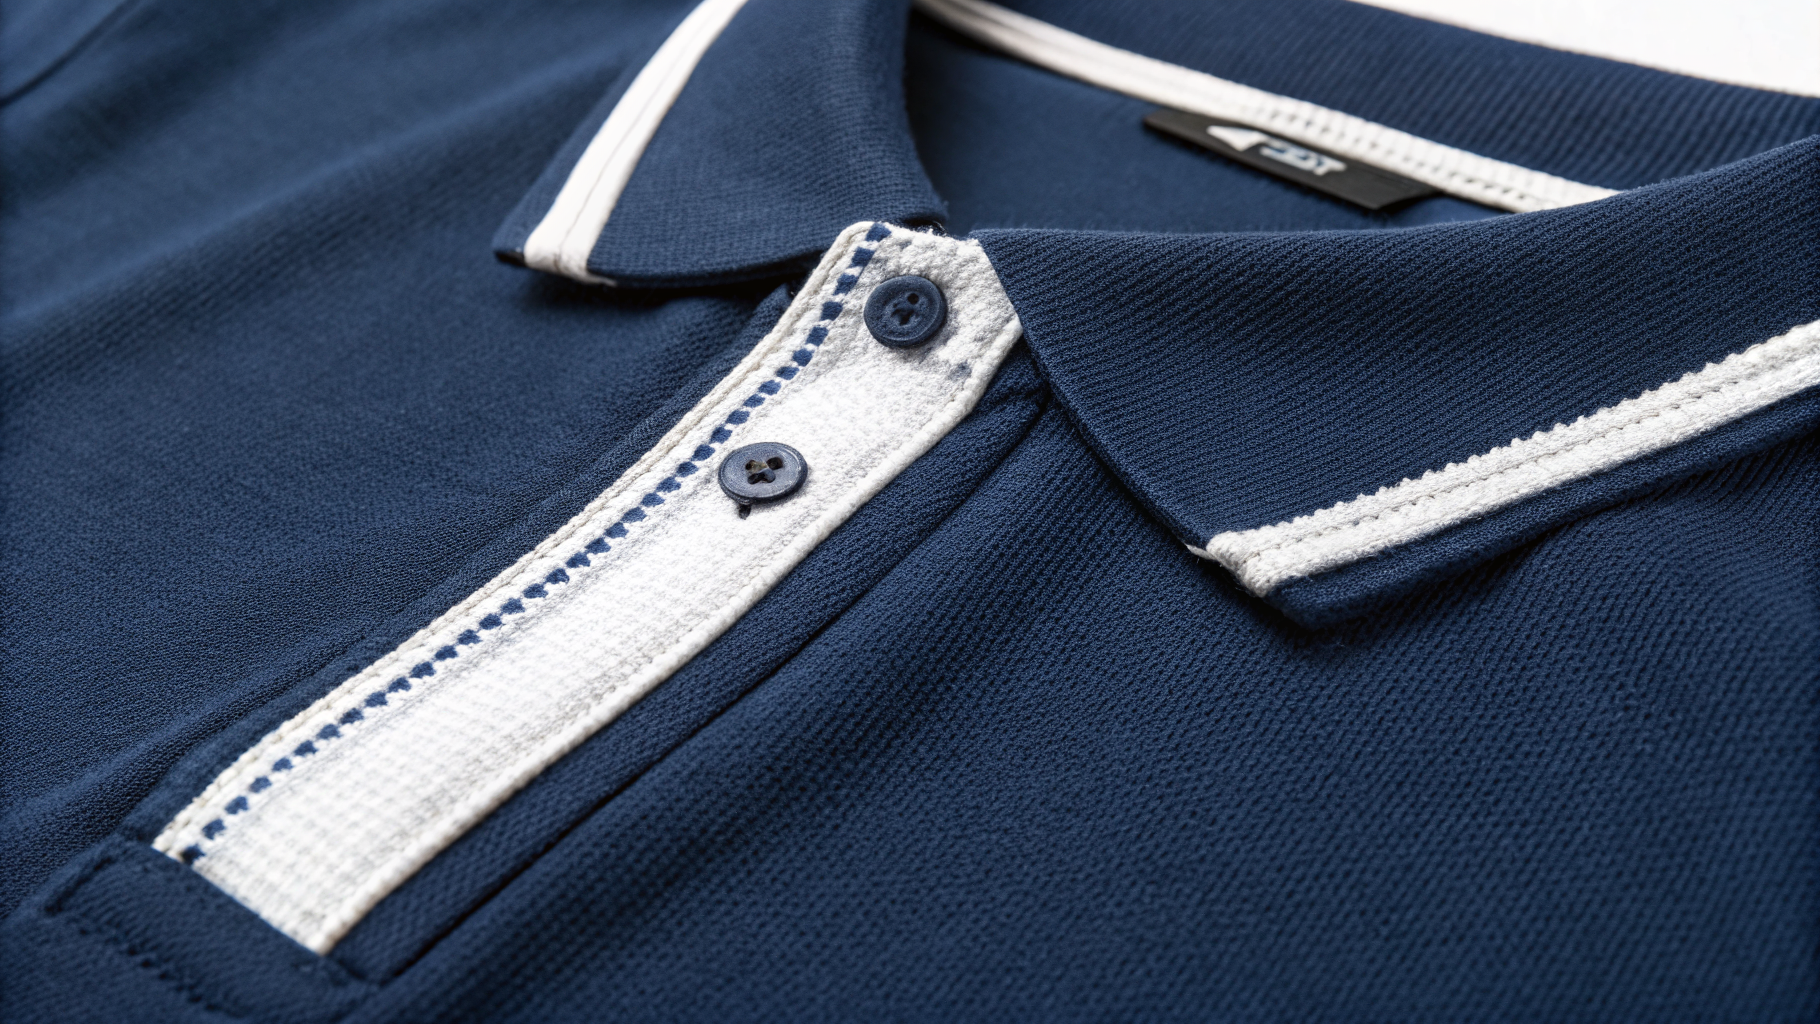
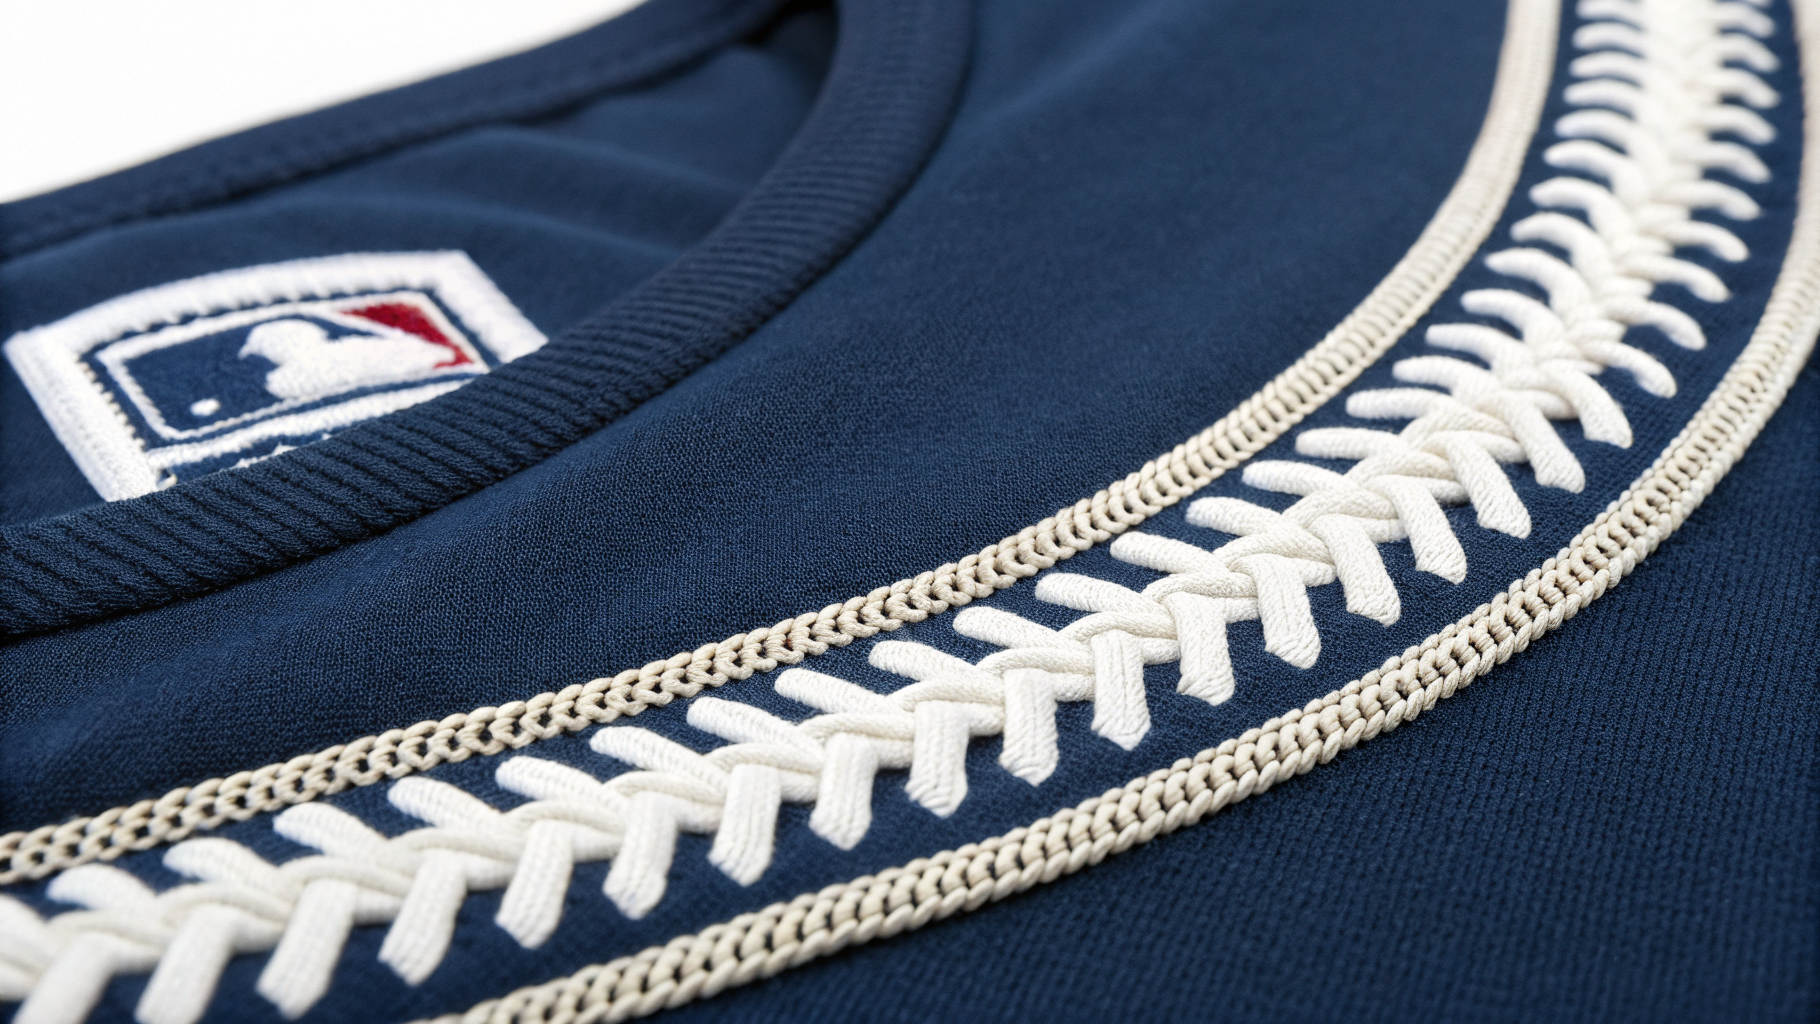
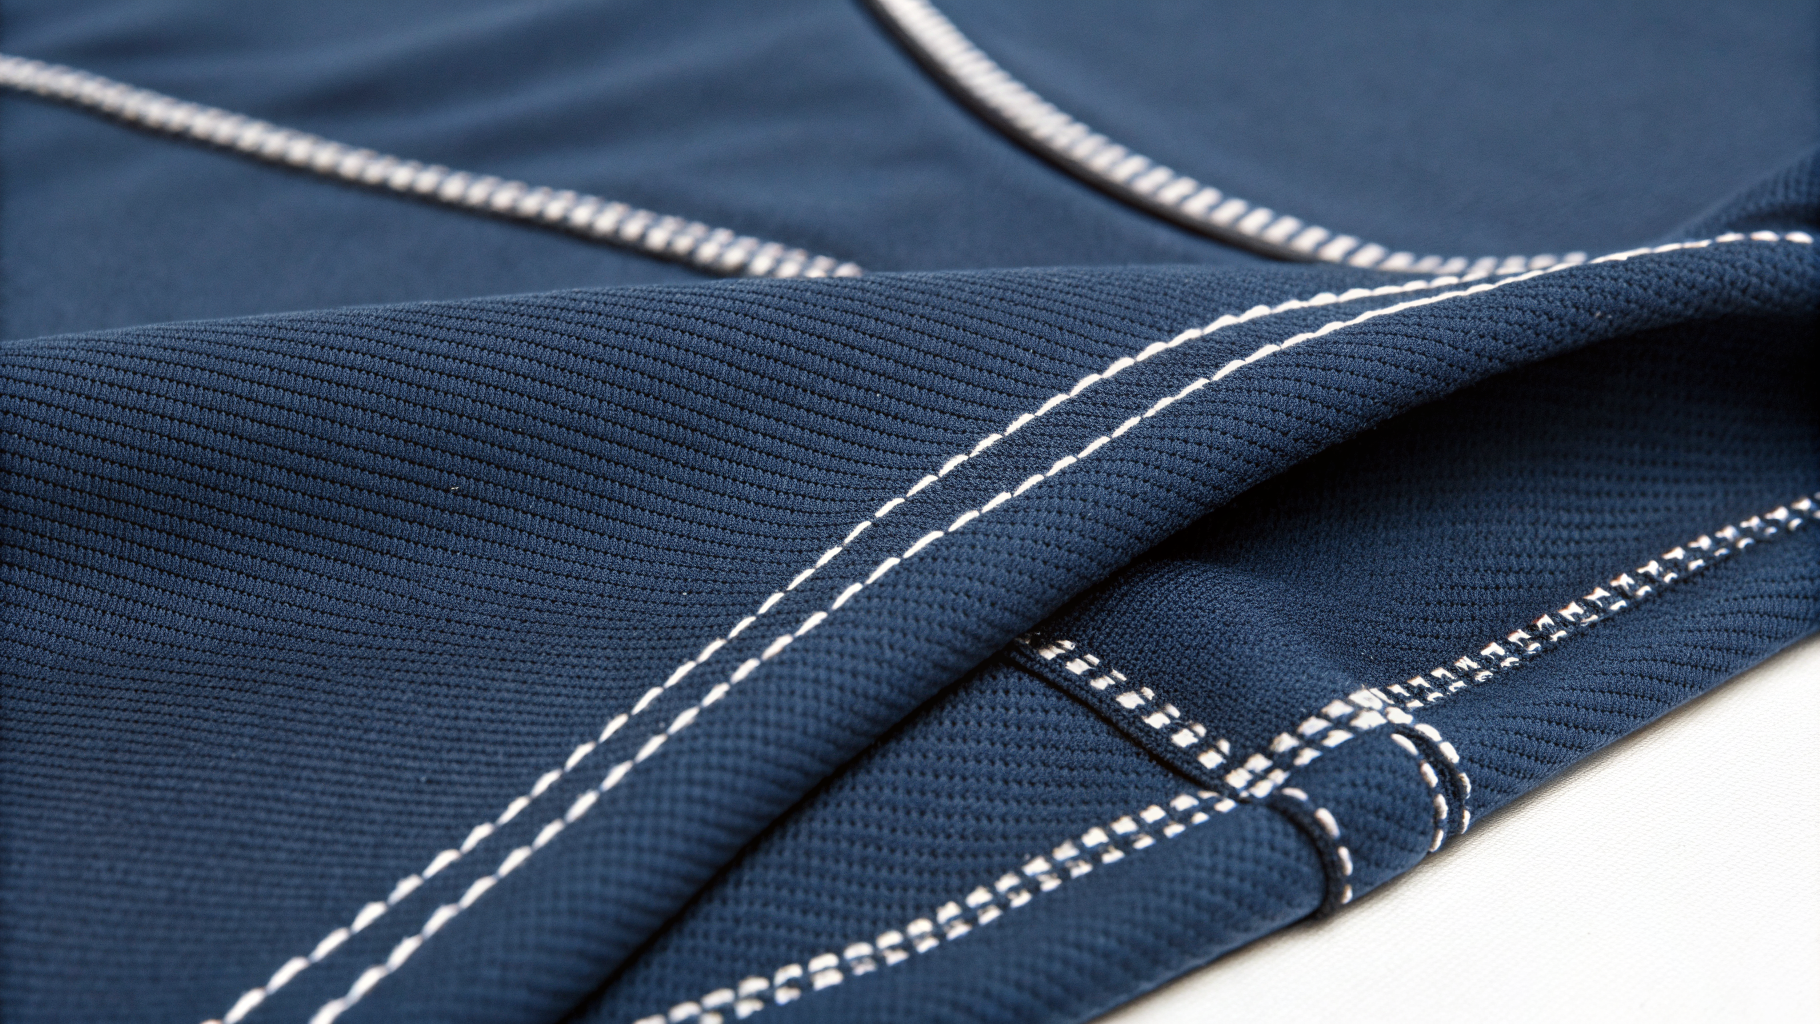
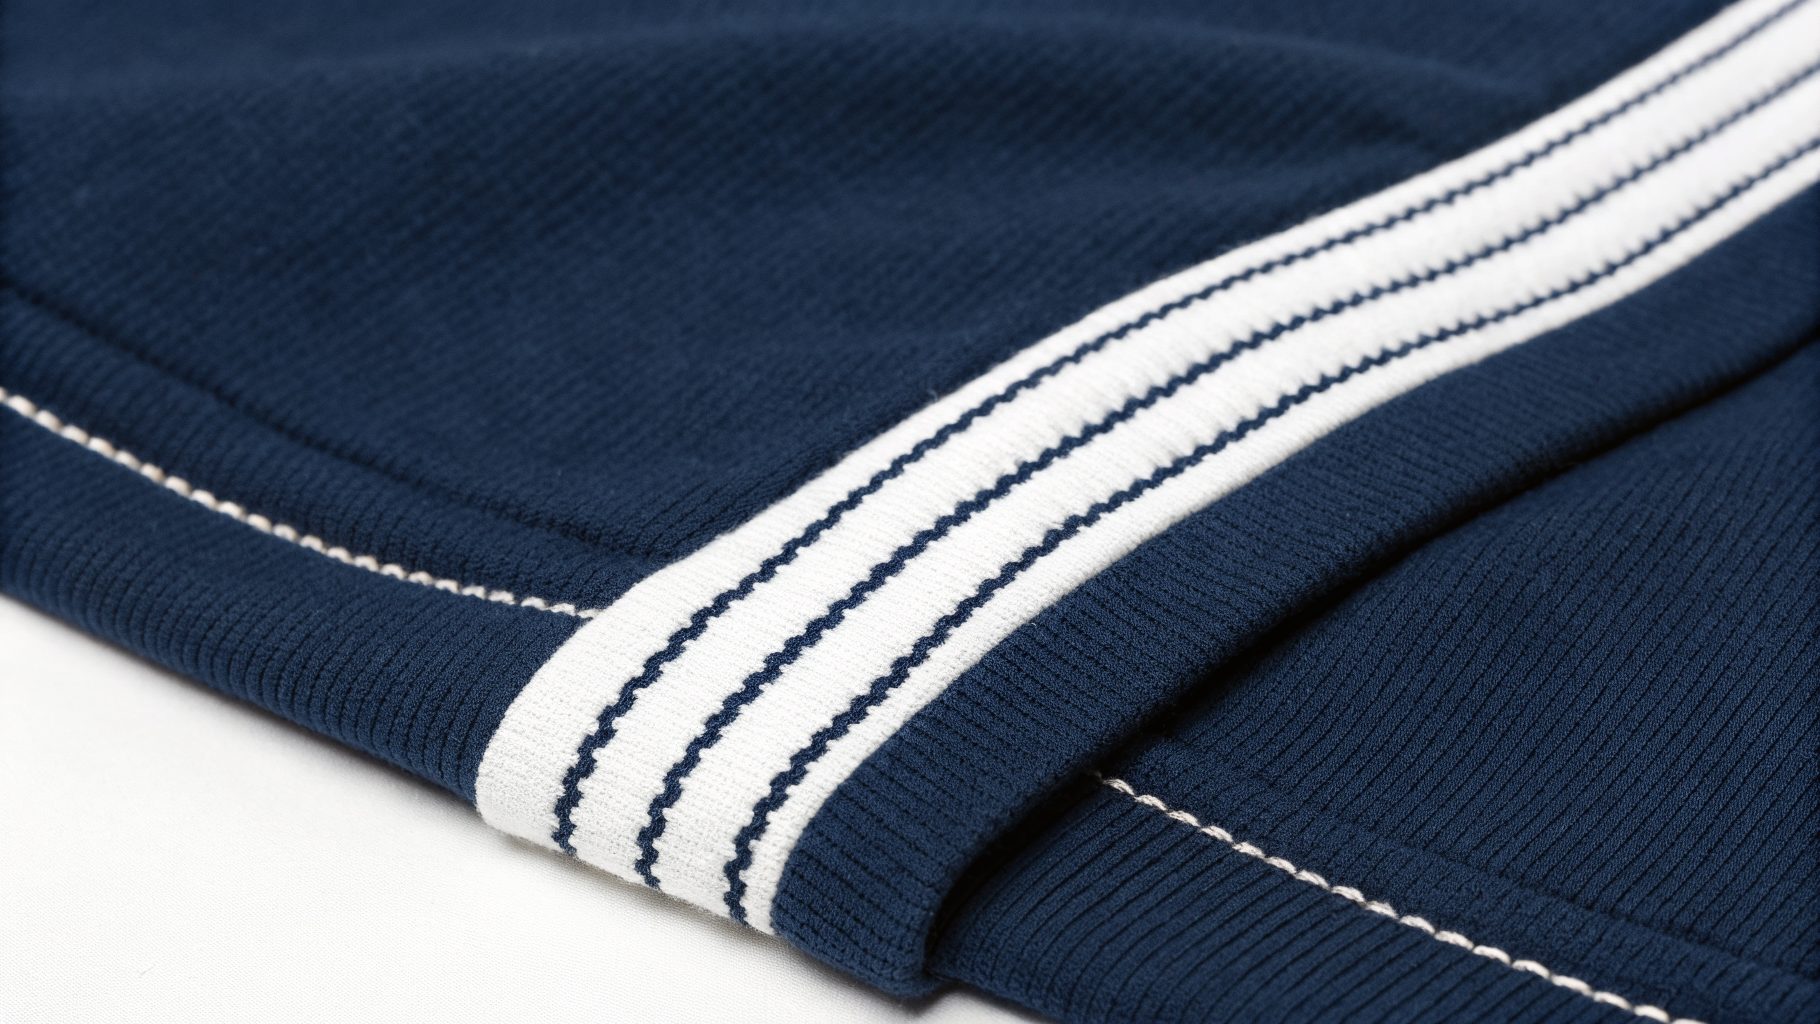
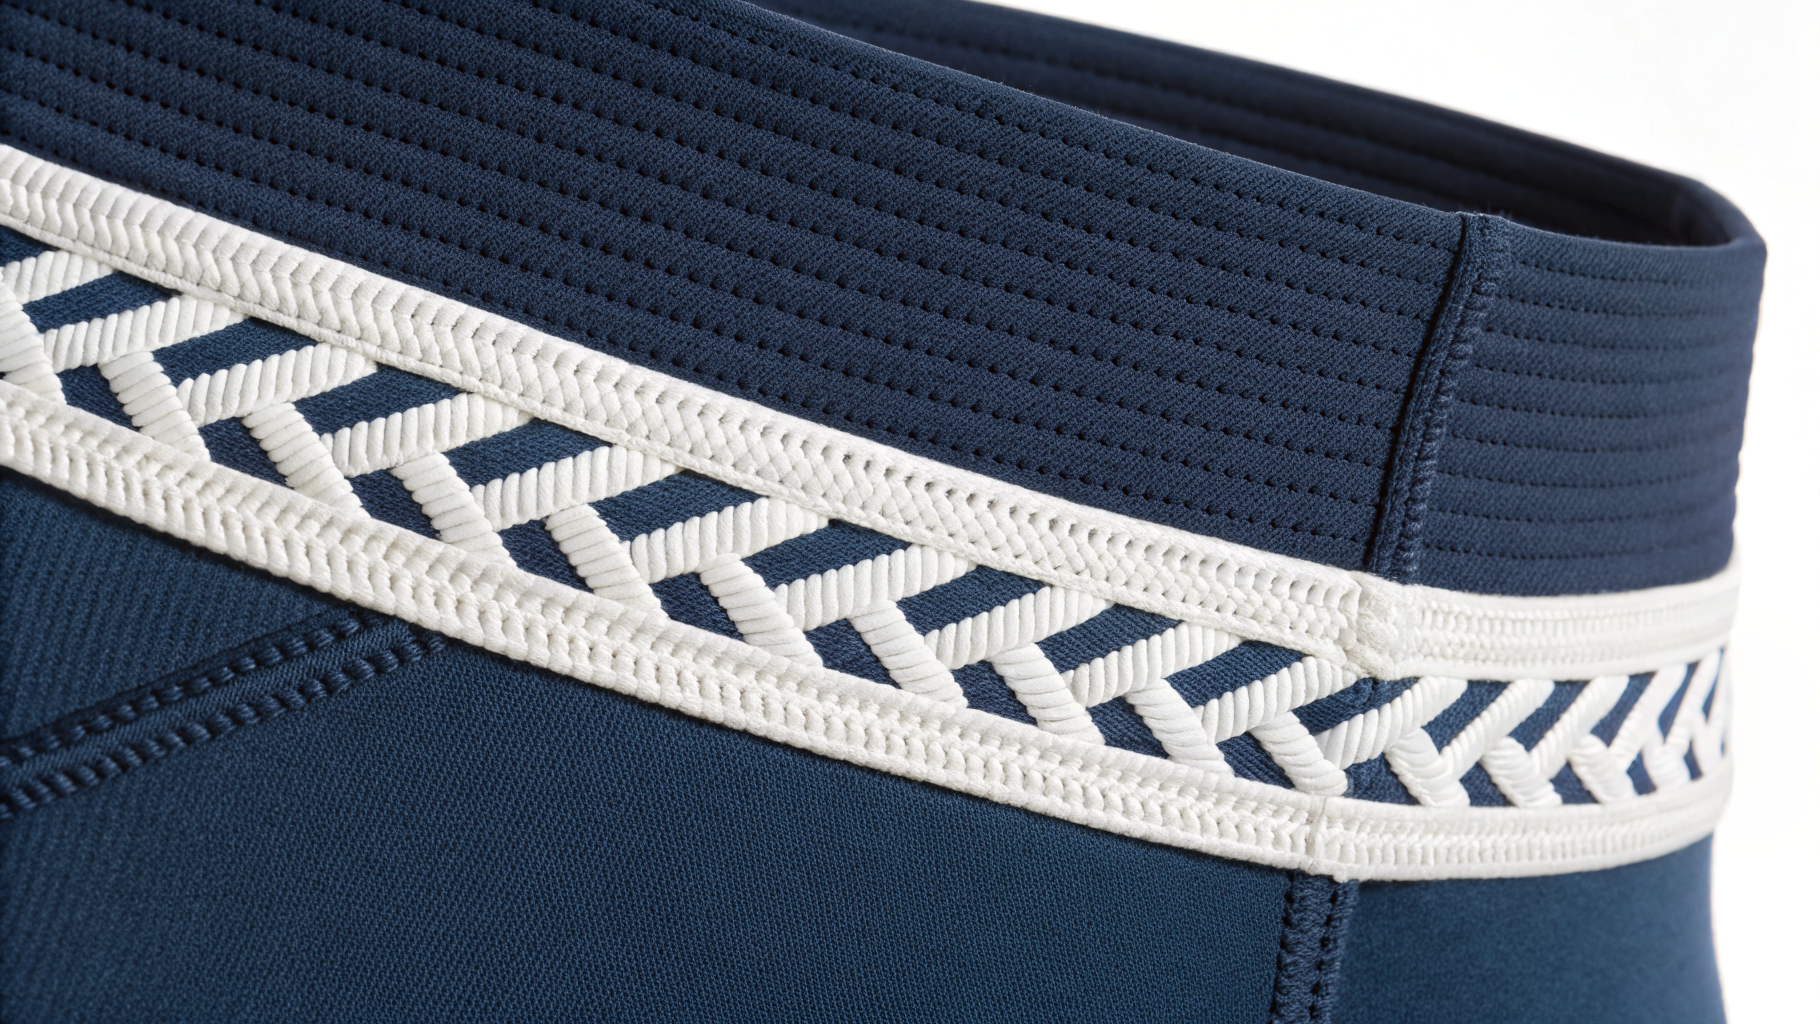
Key stitch constructions every sportswear designer and production manager should recognize. Thumbnails below use the same standardized macro setup: navy technical knit, white thread, soft directional studio lighting, consistent 45° framing.
| Photo | Stitch Type | Category | Key Traits | Best Use | Watch Out |
|---|
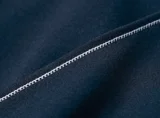 | Lockstitch | 300 class | clean, stable, versatile | woven seams, topstitching | limited stretch |
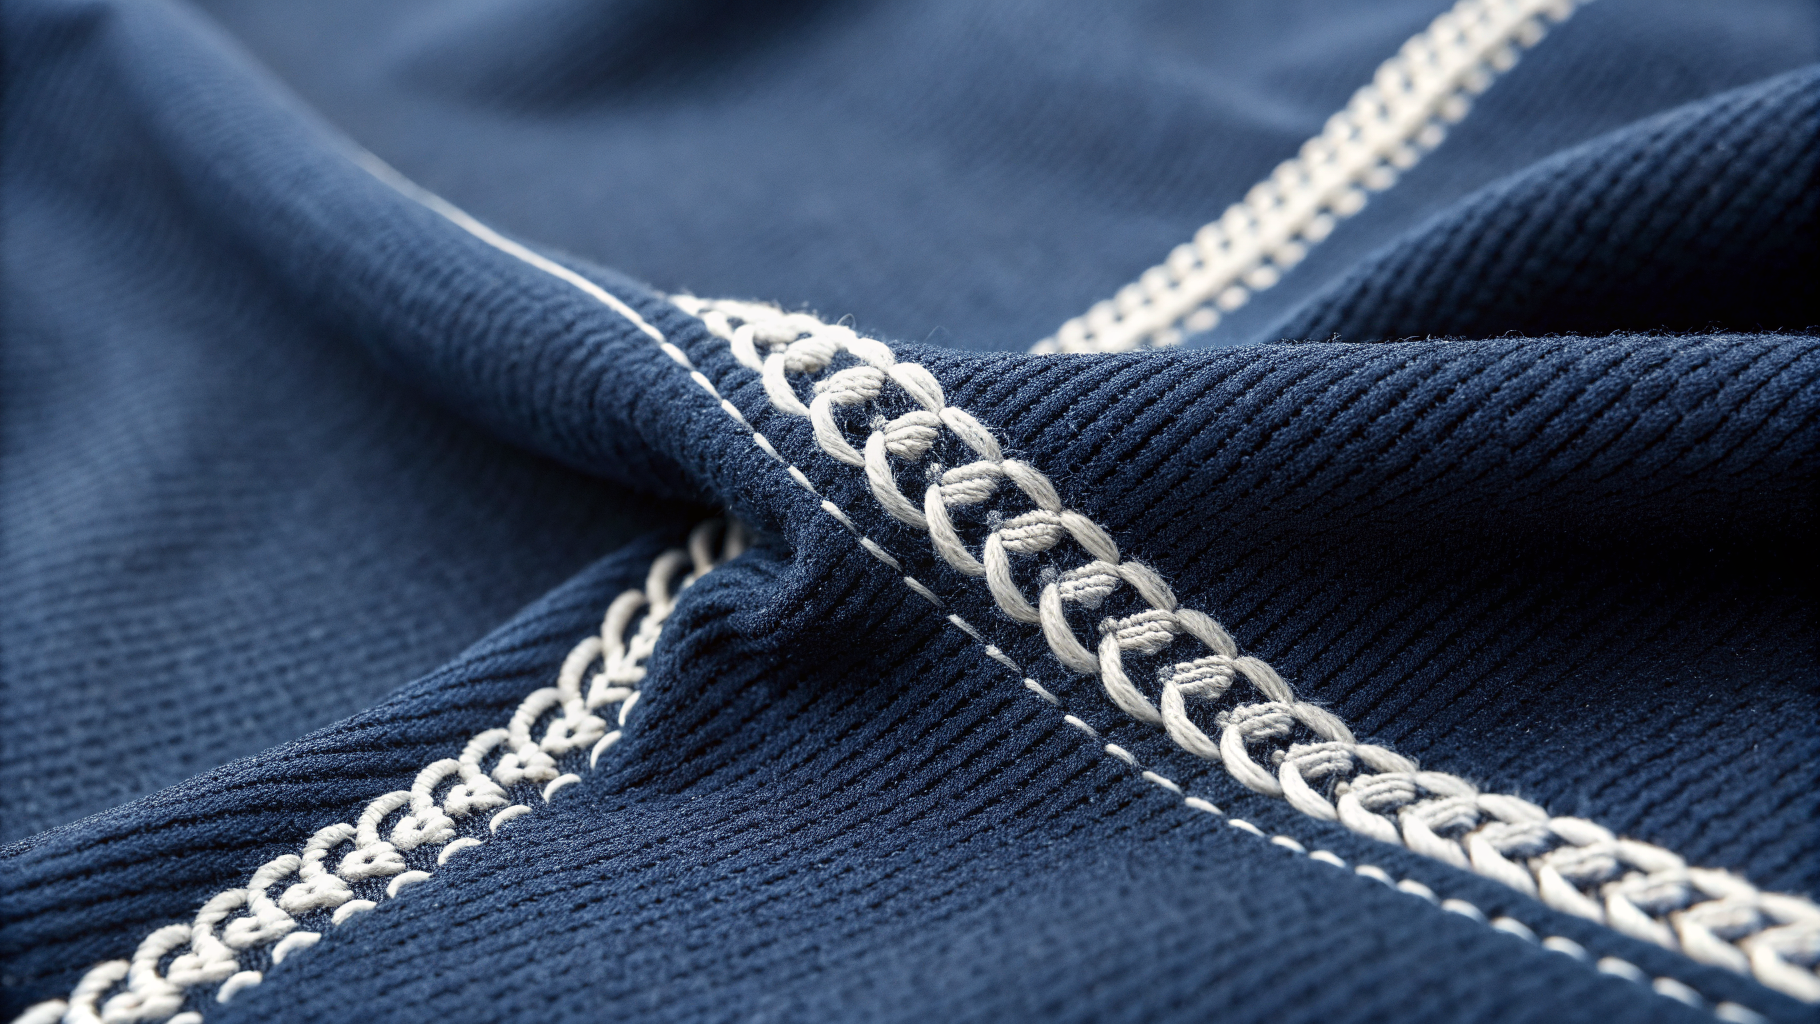
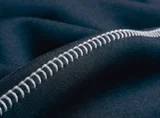 | Chainstitch | 400 class | flexible, rope-like look | side seams, decorative topstitching | can unravel if unsecured |
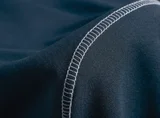 | Overlock | 500 class | trims edge and joins at once | knit seams, edge finishing | not ideal alone for heavy stress points |
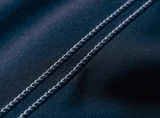 | Coverstitch | 400 / 600 class | parallel top lines, stretch-friendly | jersey hems, cuffs, necklines | needs correct differential feed |
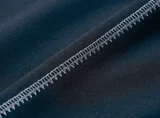 | Flatlock | 600 class | flat, low bulk, athletic look | performance layers, compression gear | not for every woven application |
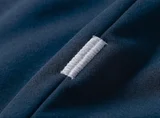 | Bartack | reinforcement stitch | dense and strong | pocket corners, strap ends, logo perimeters | too much density can damage light fabric |
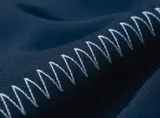 | Zigzag | 300 class | lateral flexibility | elastic insertion, appliqué, light stretch | lower strength than lockstitch |
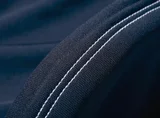 | Twin Needle | stretch hem | double top rows, stretch underside | jersey hems, knit sleeves | tension too tight causes tunneling |
Best Stitch by Garment Zone
Recommended options by seam location — built around how custom sportswear actually gets worn, washed, and stretched.
| Garment Zone | Recommended Stitch | Why It Works | Common Products | Extra Note |
|---|
| Shoulder seam (knit) | overlock + clear tape or cover finish | stretch with stability | jerseys, training tops | stabilize if fabric grows |
| Side seam (woven) | lockstitch 301 | clean and stable | team jackets, woven shorts | add seam finish separately |
| Side seam (knit) | 4-thread overlock 504 | fast, flexible, durable | tees, leggings, hoodies | check seam grin |
| Armhole / sleeve join | overlock or safety stitch | handles movement well | jerseys and training wear | match seam allowance to bulk |
| Inseam | chainstitch or safety stitch | strong under stress | track pants, workwear-style teamwear | reinforce high-stress zones |
| Crotch seam | safety stitch / chain + overedge | strength plus flexibility | performance bottoms | sample-test for failure points |
| Hem | coverstitch or twin needle | clean finished look | jerseys, training kits | adjust tension to prevent tunneling |
| Pocket opening | bartack + topstitch | reinforces entry point | outerwear, staff uniforms | verify stitch density |
| Zipper area | lockstitch + topstitch | precision and control | warmups, jackets | test bulk around layers |
Stretch, Strength & Appearance Comparison
Use this matrix to compare performance trade-offs when specifying seams for on-field or on-court garments.
| Photo | Stitch | Appearance | Stretch | Strength | Bulk | Best For |
|---|
| Lockstitch | clean classic | low | high | low | woven seams and topstitching |
| Chainstitch | roped / flexible | medium | high | medium | inseams and track-pant seams |
| Overlock | technical inside finish | high | medium | low | knit assembly and edge finishing |
| Coverstitch | sporty parallel lines | high | medium | low | hems and elastic zones |
| Flatlock | flat athletic seam | high | medium | very low | performance layers and base layers |
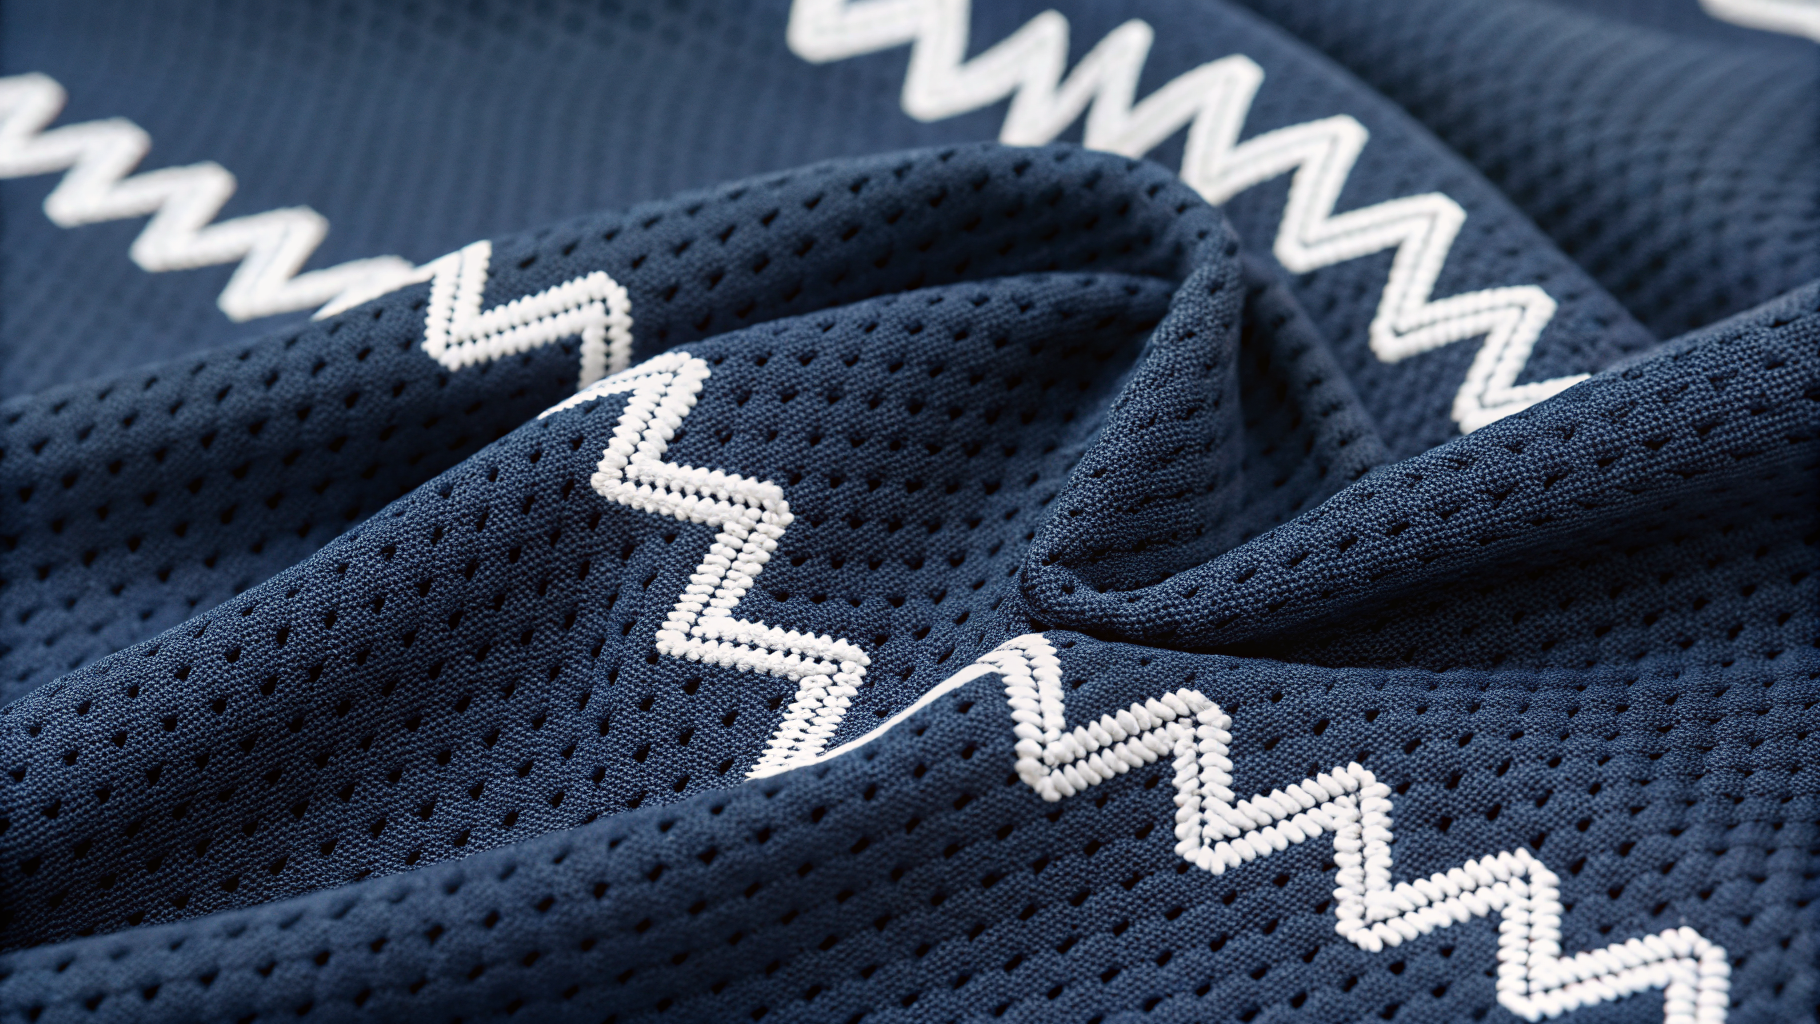
| Zigzag | visible utilitarian | medium to high | low to medium | low | elastic insertion, appliqué, light stretch |
| Bartack | dense reinforcement | very low | very high | medium | stress points |
Rule of thumb: choose stretch first for knits, choose strength first for stress points, and choose appearance first for visible topstitching near logos and numbers.
Thread, Needle & Machine Basics
Small setup choices strongly affect stitch quality — and how clean a printed or embroidered mark looks once it sits near a seam.
1. Common Thread Choices
| Thread Type | Key Benefit | Best Use |
|---|
| Spun polyester | versatile, cost-effective | general construction |
| Core-spun polyester | strong with good sewing performance | outerwear, higher-stress seams |
| Textured polyester | soft stretch performance | overlock and coverstitch on knits |
| Woolly nylon | soft and extensible | loopers, activewear, base layers |
2. Needle Guide
| Needle Type | Best For |
|---|
| Universal | standard woven fabrics |
| Ballpoint | knit fabrics |
| Stretch | elastic knits and performance fabrics |
| Denim / heavy twill | dense woven layers |
3. Quick Machine Notes
- Use correct SPI (stitches per inch) for the product and fabric weight.
- Reduce tension issues before increasing thread size.
- Test skipped stitches, seam puckering, and seam stretch on samples — before they show up around a printed logo.
- Heavy topstitching may require a larger needle and thicker thread.
Product Type Stitch Selection Matrix
A fast starting point for the garment categories most common in custom sportswear orders.
| Product Type | Main Seam | Hem / Edge | Reinforcement | Best Notes |
|---|
| Jersey / team top | 4-thread overlock | coverstitch | bartack at stress points only if needed | prioritize stretch recovery |
| Hoodie / training top | overlock or safety stitch | coverstitch / twin needle | bartack at pocket corners | manage bulk at rib joins |
| Track pants / joggers | chainstitch or lockstitch | chainstitch / lockstitch hem | bartack | strong thread and stretch-appropriate needle |
| Woven team jacket | lockstitch | narrow hem or lockstitch finish | light bartack if needed | keep seams neat and low bulk |
| Leggings / compression gear | overlock or flatlock | coverstitch / flatlock | secure elastic joins | test seam recovery |
| Outerwear / warmup jacket | lockstitch + topstitch | lockstitch | bartack | control multiple layers |
| Base layer / soft performance fabric | overlock / zigzag | coverstitch or picot elastic application | minimal dense reinforcement | soft thread matters |
Common Mistakes & Quality Issues
Most stitch problems come from mismatch, setup, or skipping the sample stage — and they show up fastest on garments that get washed, stretched, and worn hard.
| Issue | Likely Cause | What to Check |
|---|
| Seam popping on knits | stitch has too little stretch | switch to overlock, coverstitch, or better thread setup |
| Skipped stitches | wrong needle, worn needle, or timing issue | change needle type and verify machine setup |
| Seam puckering | tension imbalance or unsuitable thread / needle | reduce tension, test thread size, review fabric stability |
| Wavy knit hems | incorrect differential feed or excessive stretch during sewing | adjust differential feed and handling |
| Bartack damage on light fabric | density too high for fabric weight | reduce stitch density or add reinforcement backing |
| Visible tunneling on twin-needle hems | tension too tight or fabric unsupported | loosen tension and stabilize hem |
| Overlock seam grin | seam too loose or not enough bite | adjust width, tension, and seam allowance |
| Unraveling chain end | chain not secured | lock or hide chain tail |
Always sample-test: Check after sewing, washing, and wear simulation whenever possible — especially before a bulk teamwear run.
Questions for Your Production Partner
Use these before approving development or bulk production on a custom sportswear order.
Ask Your Production Partner
- Which stitch types and machines do you run in-house?
- Can you provide stitch samples on the actual fabric?
- What thread types and ticket sizes do you recommend?
- Can you match topstitch color and SPI consistently across a full roster order?
- How do you reinforce high-stress zones — pocket corners, strap ends, number placements?
- Do you test seam strength or wash performance?
Before Approval
- Review inside and outside seam appearance.
- Check stretch, recovery, and seam cracking.
- Confirm hem quality after washing.
- Verify bartack placement and density.
- Compare the sample against the techpack.
- Approve only after wear and fit review.
Note: This guide is an educational design and sourcing resource. Stitch names, machine setups, and ISO references may vary by production partner, machine type, and product category. Performance depends on fabric, thread, needle, SPI, and workmanship. Always verify stitch suitability through sampling and production testing before bulk manufacture.
Comprehensive Stitch Library
Production-relevant stitches for custom sportswear and team apparel. Each entry shows a 16:9 macro close-up beside the key production notes.
Class 300 — Lockstitches
Essential straight, zigzag, and lockstitch-based constructions used across apparel production.
Single-Needle Lockstitch
Class 300 · Balanced stitch, clean top and bottom · Best for woven seams and topstitching · Industry standard basic stitch
Double-Needle Lockstitch
Class 300 · Two parallel rows, neat finish · Best for hems and sportswear detailing · Adds stability and visual structure
Zigzag Stitch
Class 300 · Lateral flexibility, edge securing · Best for stretch inserts, appliqué, elastic application · Versatile sample-room stitch
Three-Step Zigzag
Class 300 · Stretch-friendly, wider hold · Best for attaching elastic and activewear seams · Reduces thread breakage on stretch fabrics
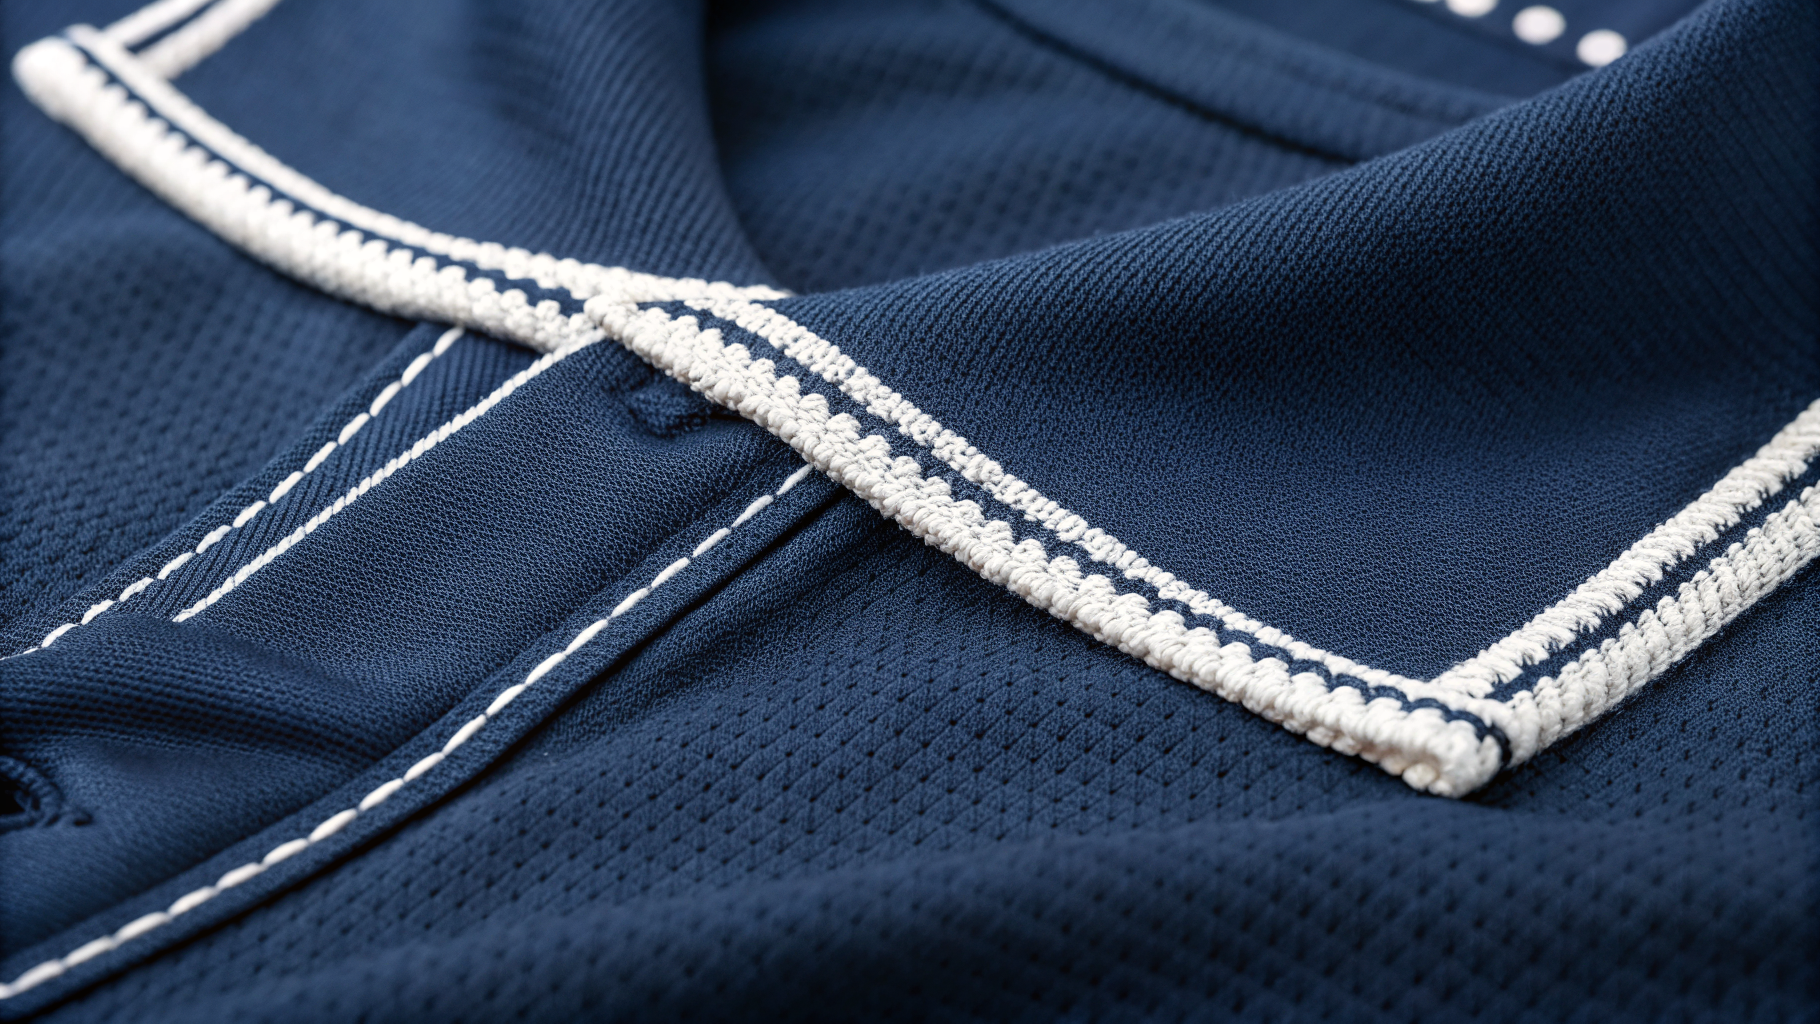
Edge / Top Stitch
Class 300 · Visible clean line, precise placement · Best for collars, plackets, pocket edges · Improves appearance and edge control
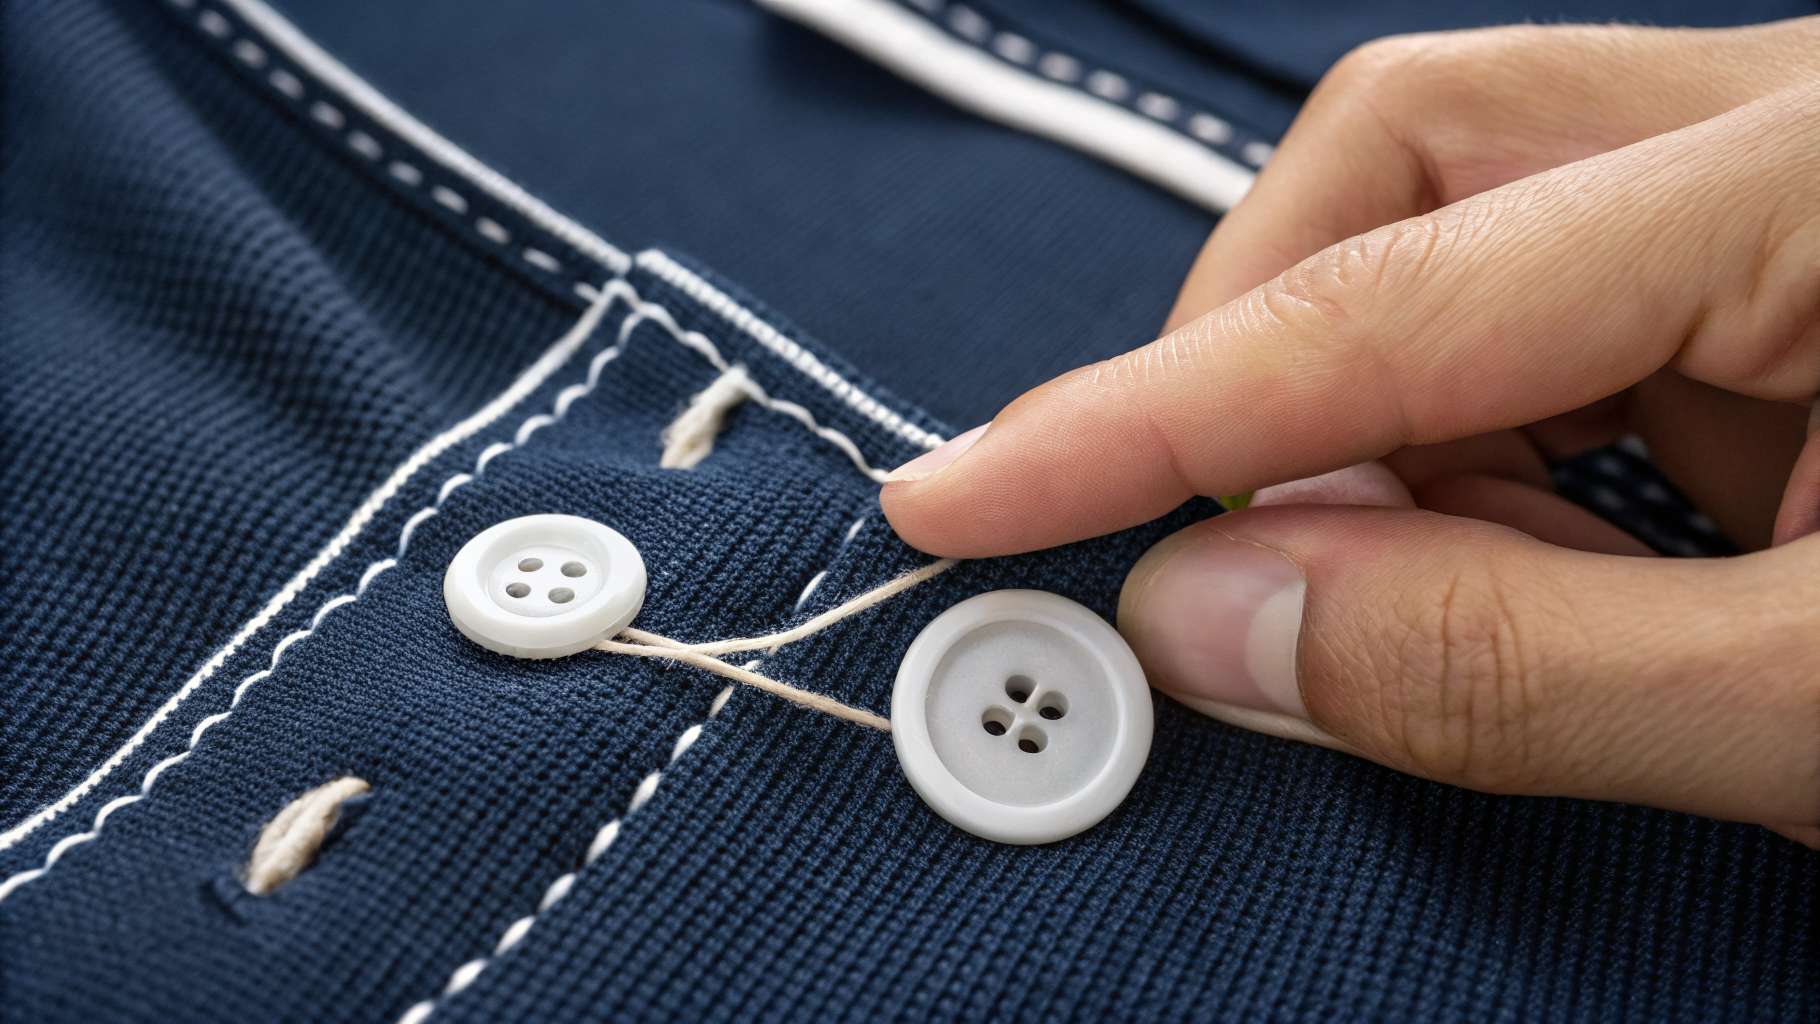
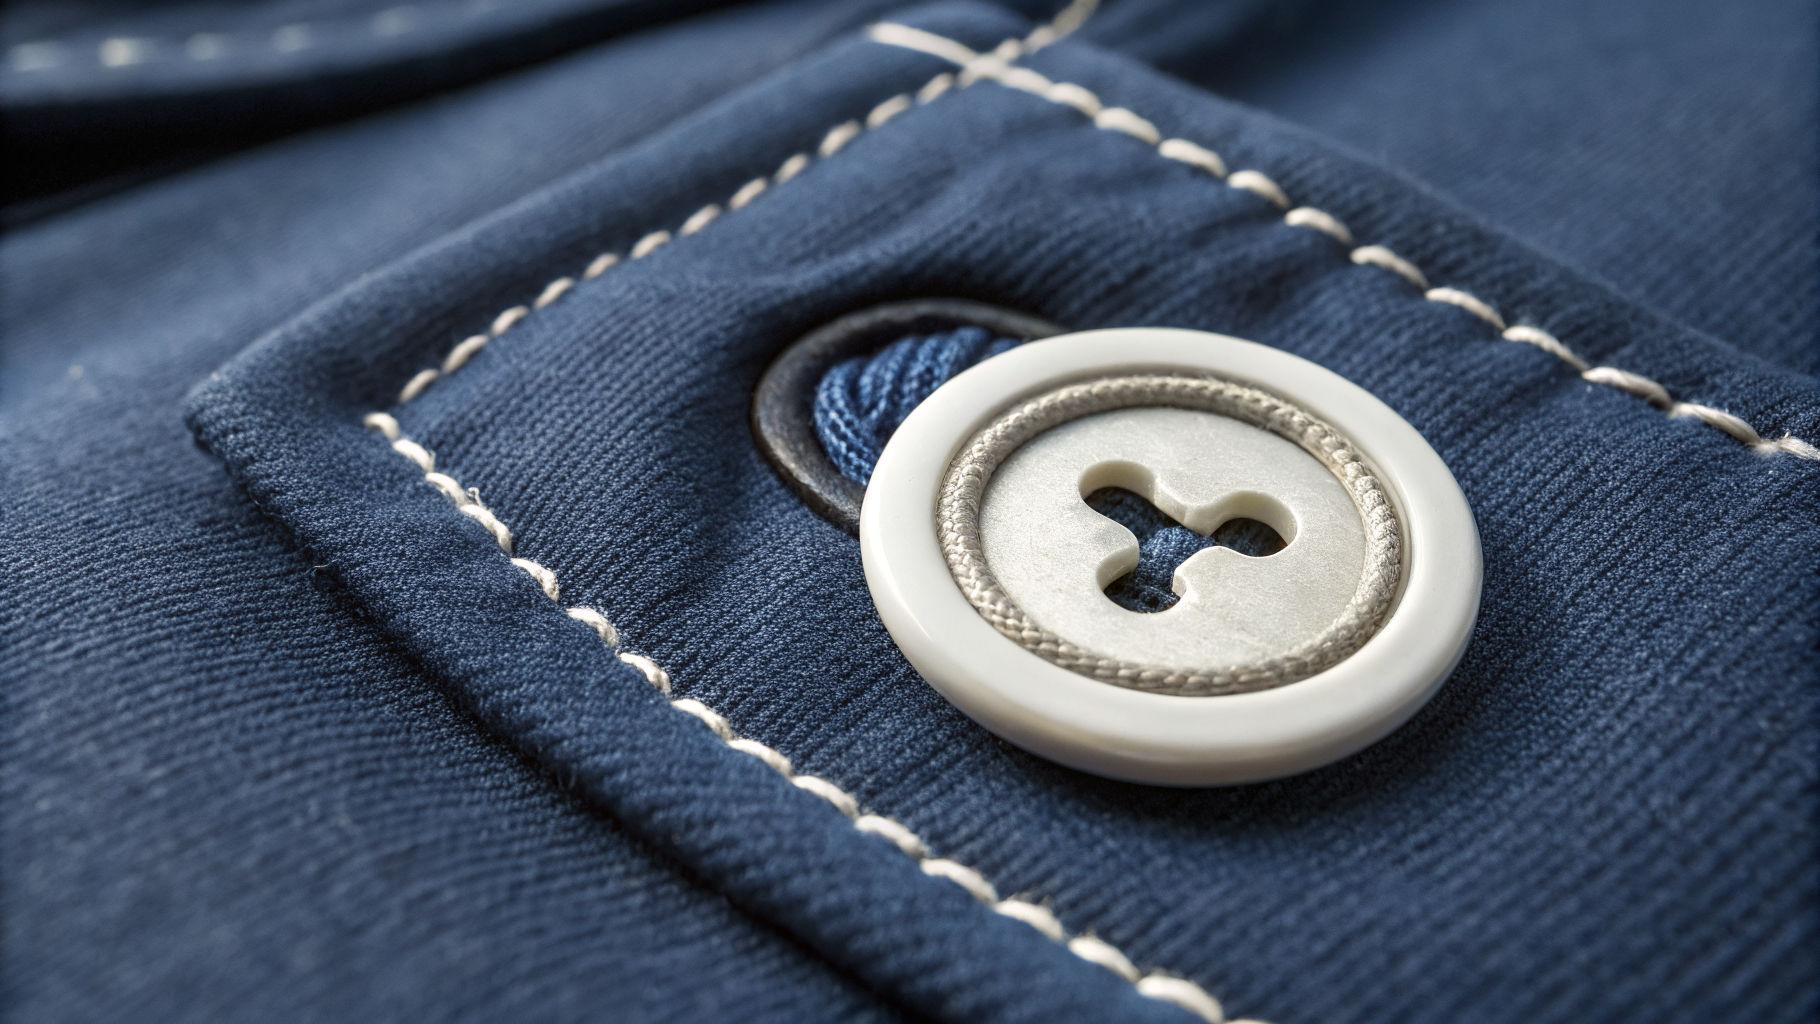
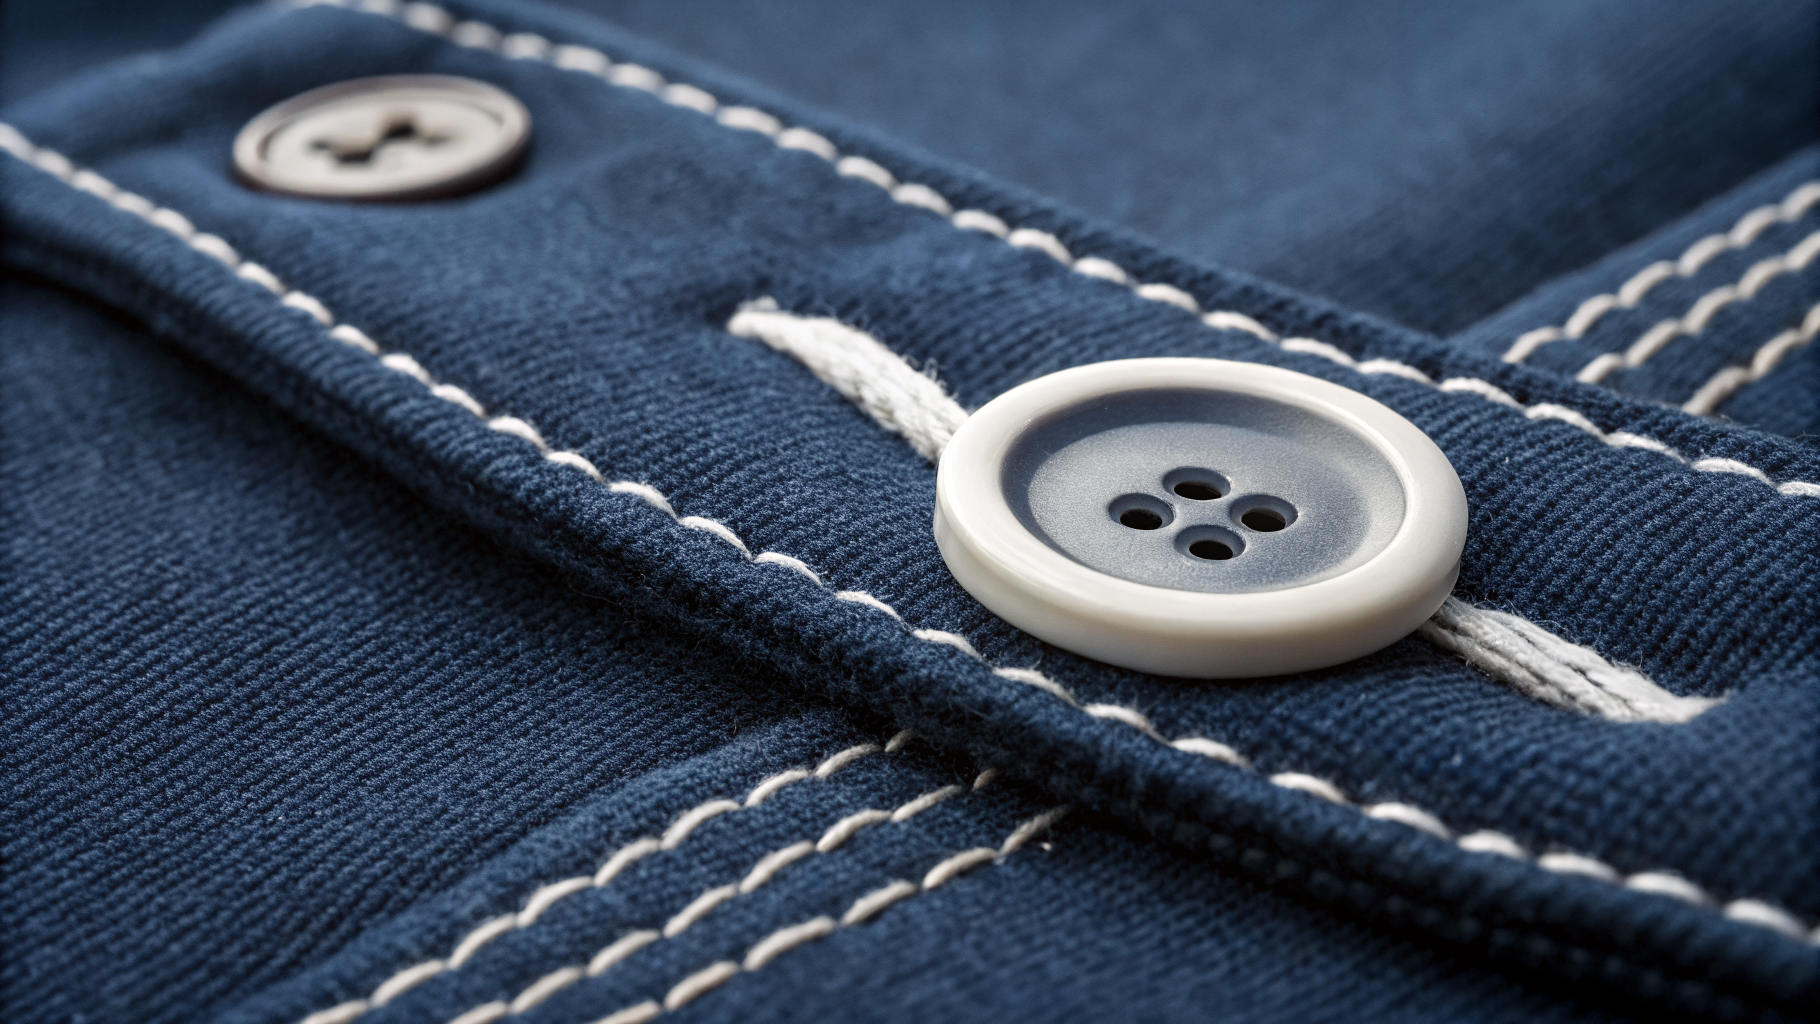
Class 300 · Secure button attachment · Best for polos and coaching wear · Verify shank height and attachment strength
Class 400 — Chainstitches
Multi-thread chainstitches used for speed, flexibility, and durable seam construction.
Two-Thread Chainstitch
Class 400 · Chain underside, flexible seam · Best for lightweight teamwear seams and fast assembly · Faster than many lockstitches
Double Chainstitch
Class 400 · Strong chain formation, good mobility · Best for side seams and workwear-style teamwear · Common in industrial teamwear sewing
Feed-Off-Arm Chainstitch
Class 400 · Tubular seam construction · Best for inseams, sleeves, side seams · Ideal for closed tubular parts
Multi-Needle Chainstitch
Class 400 · Parallel stitch rows, efficient construction · Best for waistbands, decorative rows, reinforcement · Useful for repeated parallel stitching
Cover Chain / Bottom Chain Finish
Class 400 · Chain underside with clean upper look · Best for sportswear seams and knit assembly · Flexibility helps movement
Class 500 — Overedge Stitches
Serger and overlock stitch constructions for edge finishing, seam joining, and knitwear.
Two-Thread Overlock
Class 500 · Light edge finish, low bulk · Best for lightweight knits and edge cleanup · Best for light materials
Three-Thread Overlock
Class 500 · Standard edge finish, moderate strength · Best for knit seams and seam finishing · Common basic serger stitch
Four-Thread Overlock
Class 500 · Seam join plus edge finish · Best for jerseys, leggings, tees · Strong and flexible for knits
Five-Thread Safety Stitch
Class 500 · Combined chain and overedge seam · Best for track pants, uniforms, workwear · Strong production stitch for stress areas
Mock Safety Stitch
Class 500 · Neat secure seam appearance · Best for ready-to-wear seams and knitwear · Production-friendly alternative
Reinforcement & Utility Stitches
Functional stitches used to secure closures, stress points, and construction details.
Bartack
Reinforcement · Dense short stitch cluster · Best for pocket corners, strap ends, stress points · Critical for durability
Box-X Stitch
Reinforcement · Crossed structural pattern · Best for straps, tabs, utility details · Distributes tension well
Closure · Rectangular slit with stitched edge · Best for polos, cuffs, light garments · Suited to flat small buttons
Closure · Rounded end, stronger opening · Best for coaching jackets and heavier team outerwear · Works well for thicker buttons
Closure · Secure hold, controlled shank · Best for polos and outerwear · Test pull strength in production
Belt Loop Tack Stitch
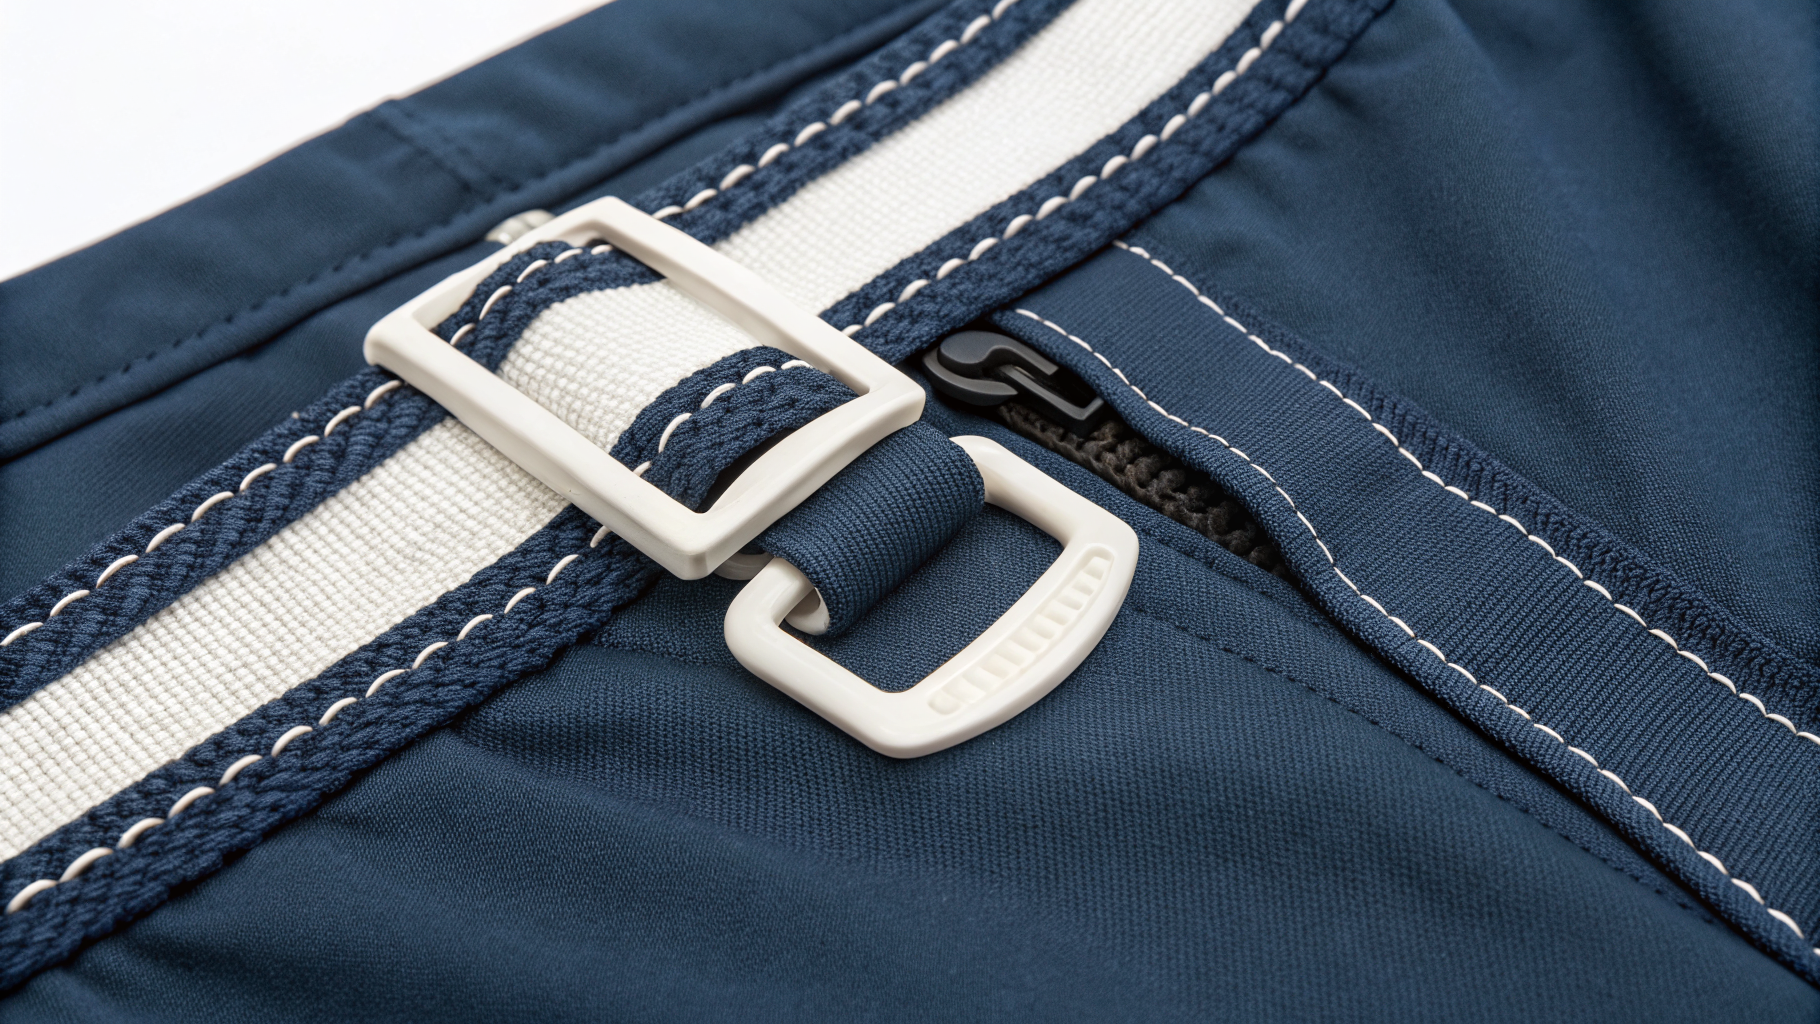
Reinforcement · Compact end lock · Best for track pant belt loops and workwear · Keeps loop ends secure
Crests, Patches & Decoration
Stitches used for logos, crests, appliqué edges, and badge finishing on custom teamwear.
Satin Stitch
Decorative · Dense filled stitch coverage · Best for appliqué edges, embroidery accents, crest detailing · Clean decorative coverage
Merrow Edge Stitch
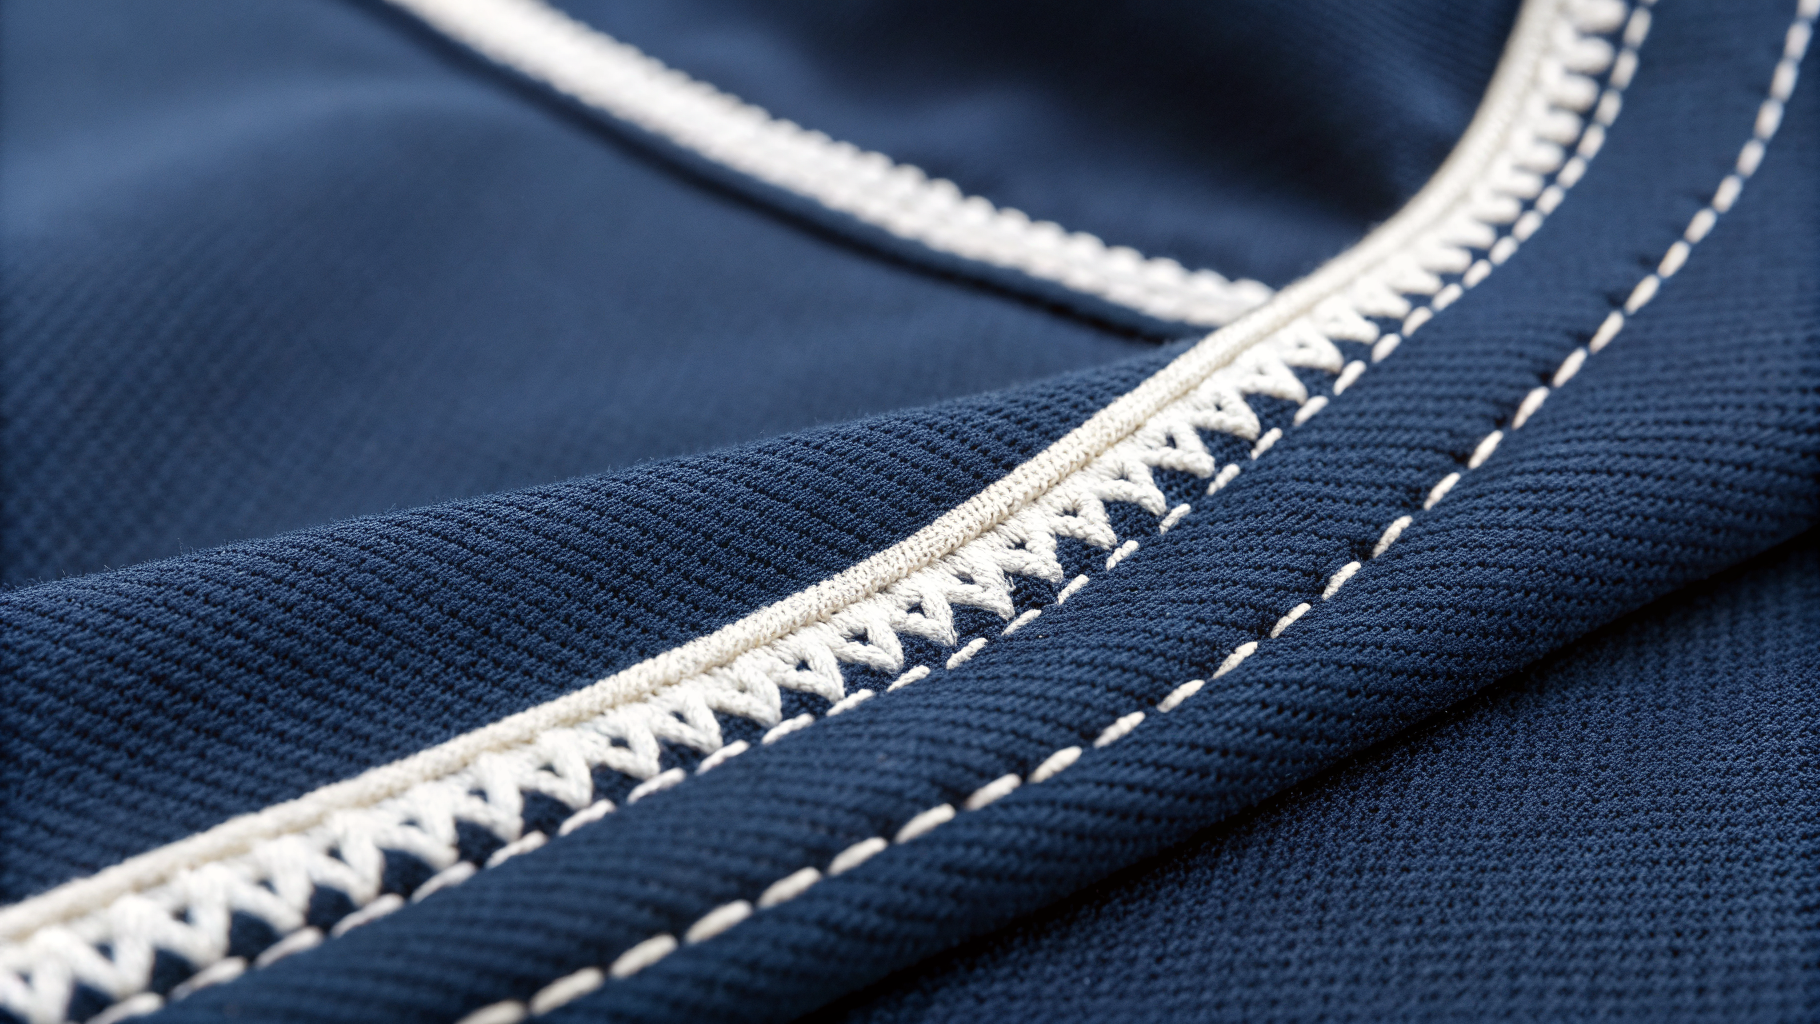
Specialty · Wrapped decorative edge · Best for patches, badges, and team emblems · Strong edge definition
Stretch, Activewear & Specialty Stitches
Stitch options for knitwear, technical garments, and padded team gear — the constructions that show up most in performance sportswear.
Flatlock Stitch
Stretch · Low bulk seam, seam spread visual · Best for leggings, base layers, sportswear · Minimizes chafing
Twin-Needle Hem Stitch
Stretch · Double top rows with zigzag underside · Best for jersey hems and knit sleeves · Easy stretch hem appearance
Elastic Application Zigzag
Stretch · Secures elastic with flexibility · Best for compression gear and waistbands · Common sample-room solution
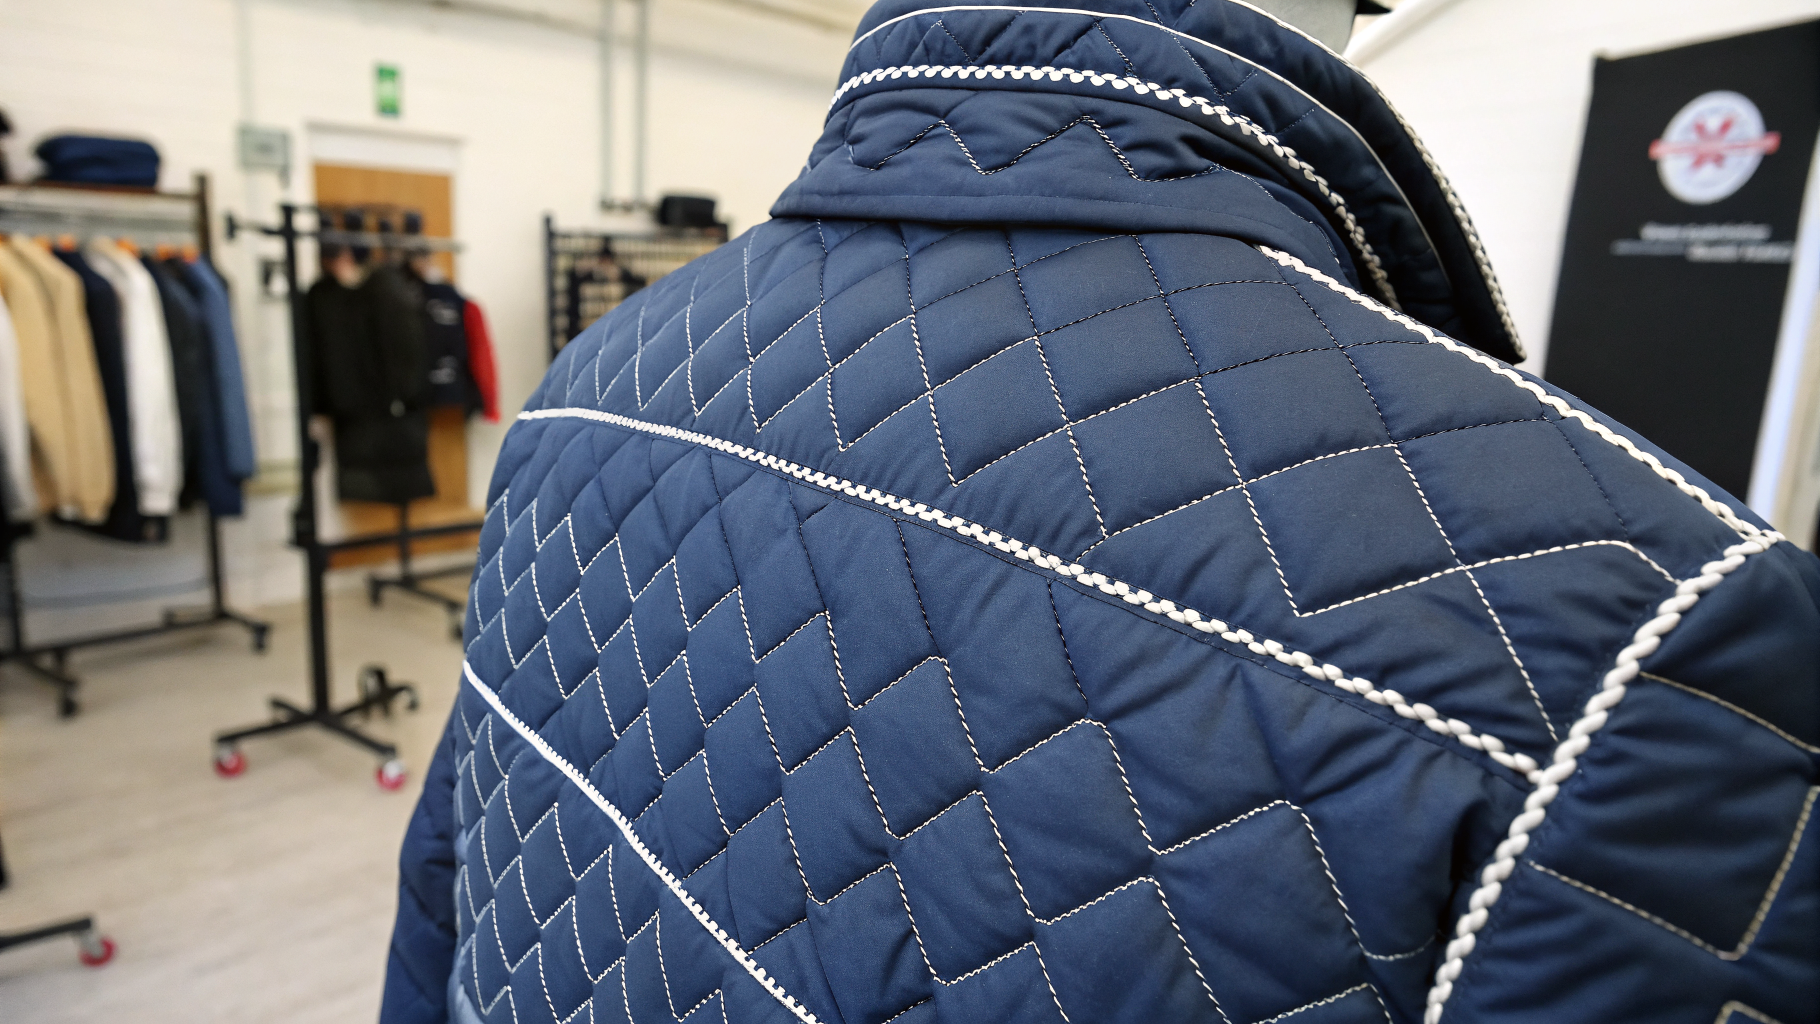
Quilting Stitch
Specialty · Stitched layered hold · Best for padded gear and insulated team outerwear · Secures batting or layers
From Stitch Spec to Production File
Getting the apparel stitch construction right is only half the job — it has to make it into the file your production partner actually sews from. When a design is finalized in Konfiwear's 3D product configurator, it generates production-ready output automatically, so stitch, seam, and placement specs don't get lost in translation between design and the sewing floor.
That handoff is the same control point covered in our 3D configurator custom apparel process and the sewing/assembly stage of the full manufacturing process guide. If you are still building the jersey artwork itself, start with how to create a jersey design, then lock stitch and seam specs before bulk.
Related reading
Ready to connect design approval to production files? Start a 14-day free trial — no credit card required.
Q&A
Question: What's the fastest way to pick the right stitch for a custom sportswear order?
Short answer: Use the guide's 3-step workflow, then confirm with sampling.
- Start with fabric behavior: wovens lean lockstitch/chainstitch; performance knits favor overlock, coverstitch, or flatlock; heavy pieces may need stronger thread, larger needles, and extra reinforcement.
- Match stitch to seam: construction seams need strength/stability; hems/cuffs need stretch and clean appearance; stress points take bartacks, dense zigzag, or extra topstitching.
- Check production reality: confirm machine capability, and document stitch type, SPI, thread color, and seam allowance in the techpack. Always sample-test, especially near logos/numbers/sponsor marks.
- Quick checklist: fabric type, stretch need, seam location, appearance goal, thread/needle, partner capability, wear/wash test.
Question: When should I choose overlock, coverstitch, or flatlock on knits?
Short answer: Pick based on seam role and desired look/feel.
- Overlock (Class 500): Best for joining knit panels and finishing raw edges in jerseys, tees, and leggings. It trims and joins in one pass with high stretch. Not ideal alone for extreme stress points; watch for seam grin and adjust width/tension.
- Coverstitch (Class 400/600): Ideal for visible hems, cuffs, and necklines on jerseys; gives parallel top lines with stretch. Requires correct differential feed to prevent tunneling or wavy hems.
- Flatlock (Class 600): Use when you want a flat, low-bulk, athletic seam (compression/base layers). Great against skin to minimize chafing, but not the go-to for most woven applications.
Question: Which stitches should I spec by garment zone to balance stretch, strength, and appearance?
Short answer: Map the seam location to a proven construction.
- Shoulder seam (knit): Overlock with clear tape or cover finish for stretch plus stability; stabilize if fabric "grows."
- Side seam: Woven—301 lockstitch (finish edges separately). Knit—4-thread overlock 504 for fast, flexible durability; check for grin.
- Armhole/sleeve join: Overlock or safety stitch; match seam allowance to manage bulk.
- Inseam/crotch: Chainstitch or 5-thread safety stitch for strength under stress; in crotch, pair chain + overedge and sample-test for failure points.
- Hem: Coverstitch or twin needle for a clean, stretchy finish; tune tension to prevent tunneling.
- Pocket openings/zip areas: Bartack + topstitch at pockets; lockstitch + precise topstitch at zippers (test bulk around layers).
Question: How do I avoid common stitch problems like seam popping, wavy hems, or chain unraveling?
Short answer: Choose stretch-appropriate constructions, set machines correctly, and secure ends.
- Seam popping on knits: Switch to overlock/coverstitch or improve thread setup; prioritize stretch.
- Skipped stitches: Change to the correct needle (ballpoint/stretch for knits), replace worn needles, verify timing.
- Puckering/tunneling: Balance tensions, match thread size/needle to fabric, stabilize hems as needed.
- Wavy knit hems: Adjust differential feed and reduce stretch during sewing.
- Bartack damage on light fabric: Lower density or add a backing.
- Chain unraveling: Always secure or hide chain tails.
Always sample after sewing, washing, and wear simulation—especially near printed/embroidered logos.
Question: What thread, needle, and techpack details matter most for clean results around logos and numbers?
Short answer: Use soft, stretch-capable threads and the right needles, and lock the spec in your file.
- Thread: Textured polyester or woolly nylon in loopers for soft, extensible seams on knits; core-spun polyester for higher-stress seams; match color precisely for topstitching.
- Needles: Ballpoint or stretch for knits; universal/denim for wovens/heavy twills; choose size to suit thread and fabric.
- Machine setup: Set appropriate SPI, resolve tension issues before upsizing thread, and adjust differential feed on knits.
- Techpack: Specify stitch type/ISO ref (confirming terminology may vary), SPI, thread type/ticket and color, seam allowance, and reinforcement locations. Confirm your production partner's machine capability and approve only after wear and wash tests.