Categories
Create the nested category tree your customers browse, with images, ordering and visibility.
Where to find it
Customizer → Assets → Categories.
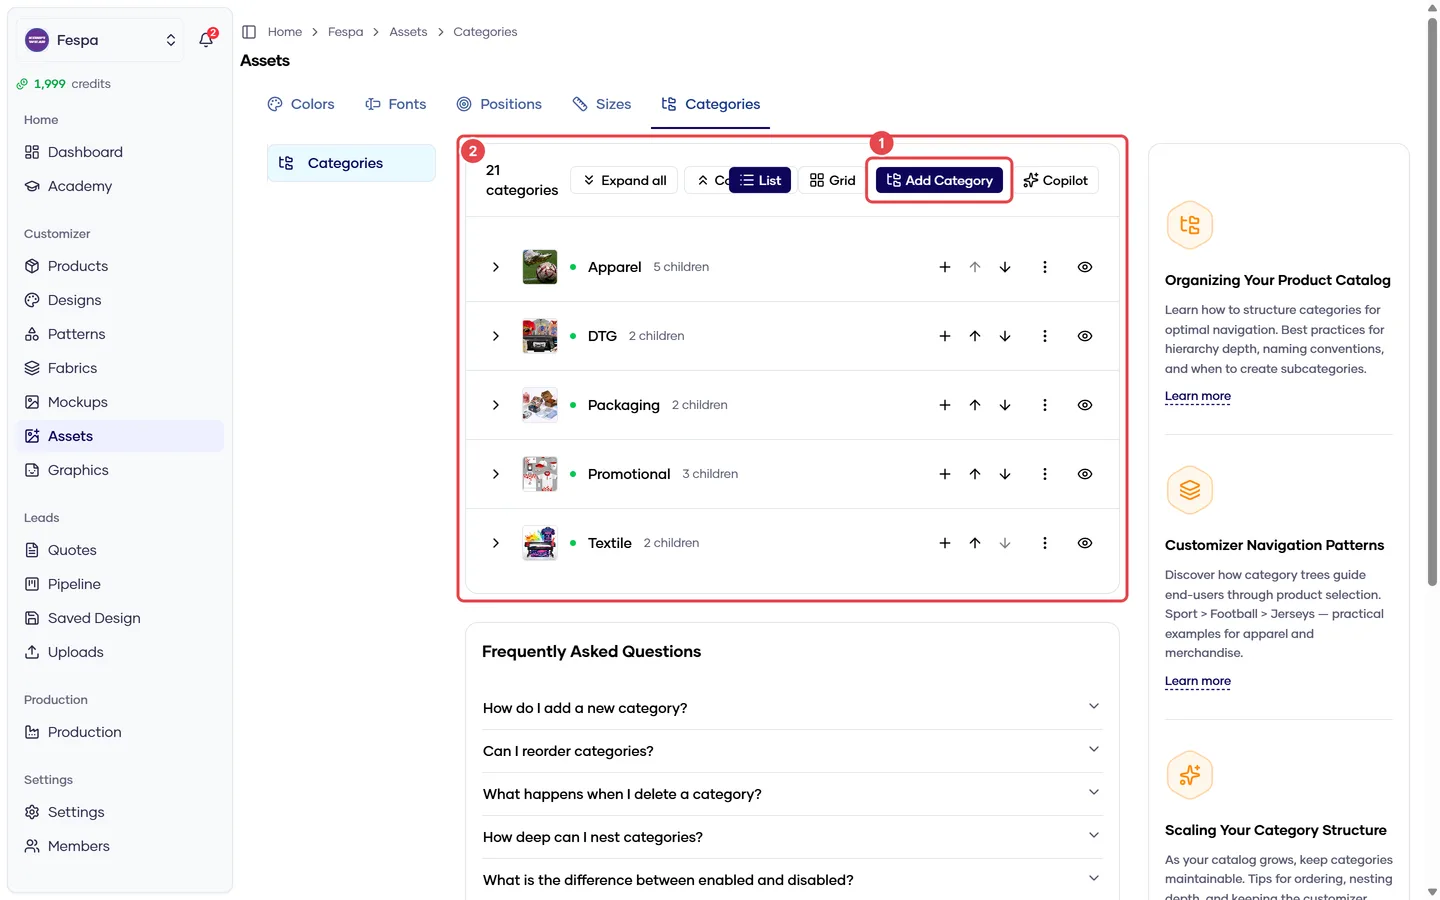
- Add category
- Category tree (expand, add child, move, hide, delete)
What it does
Categories form the navigation tree of your storefront — Sport → Football → Jerseys. Products are placed into categories on their Category tab; print zones and brand logos can also target a category so they apply to every product in it.
Two views: List (expandable tree, best for editing) and Grid (drill-down cards, what customers roughly see). Your choice is remembered.
Steps
Create a category
- Click Add category for a root, or Add child (+) on a row for a nested one.
- Enter the Name, optionally choose a Parent, upload an Image (PNG/JPG/WebP, square or 4:3) and leave Enabled on.
- Save.
Order and move
- Move up / Move down reorder siblings.
- To move a category elsewhere in the tree, edit it and change the Parent. You cannot pick itself or one of its descendants.
Hide or delete
- Eye icon hides a category and all its children from the storefront without deleting. Showing a parent shows its children again.
- Delete removes the category and every nested category. The confirmation shows how many. Products are not deleted; they just lose that category.
Recommendations
- 2–3 levels deep. Deeper trees mean more clicks before a customer sees a product.
- Give every leaf category an image — the grid view in the storefront is image-driven.
- Hide instead of delete when you are unsure.
Common questions
A category is empty in the storefront. It has no enabled products with a 3D model. Assign products on their Category tab.
Can a product be in several categories? Yes.
Deleted a category by mistake. The category and its children are gone, but products keep all their data. Recreate the category and reassign.
Related
- Category tab (Products)
- Graphic zones — assign a zone to a category