How to Convert Your Illustrator Design into a 3D Jersey Mockup
Step-by-step guide: convert your Illustrator design into a 3D jersey mockup and prepare it for Konfiwear’s 3D apparel configurator — using UV maps, SVG layers, and tips for accuracy.

Creating a professional design for your custom apparel has never been easier. In this tutorial, we’ll walk you through the exact steps to prepare a design file from a resource like Freepik, make it compatible with Konfiwear, and upload it into your 3D configurator.
If you prefer watching, start with the video below:
Step 1: Export Your Model UVW Map
Start by importing your base 2D sewing pattern into CLO3D. Supported formats include .PDF, .AI, and .DXF. This will give you the building blocks for stitching and simulation.
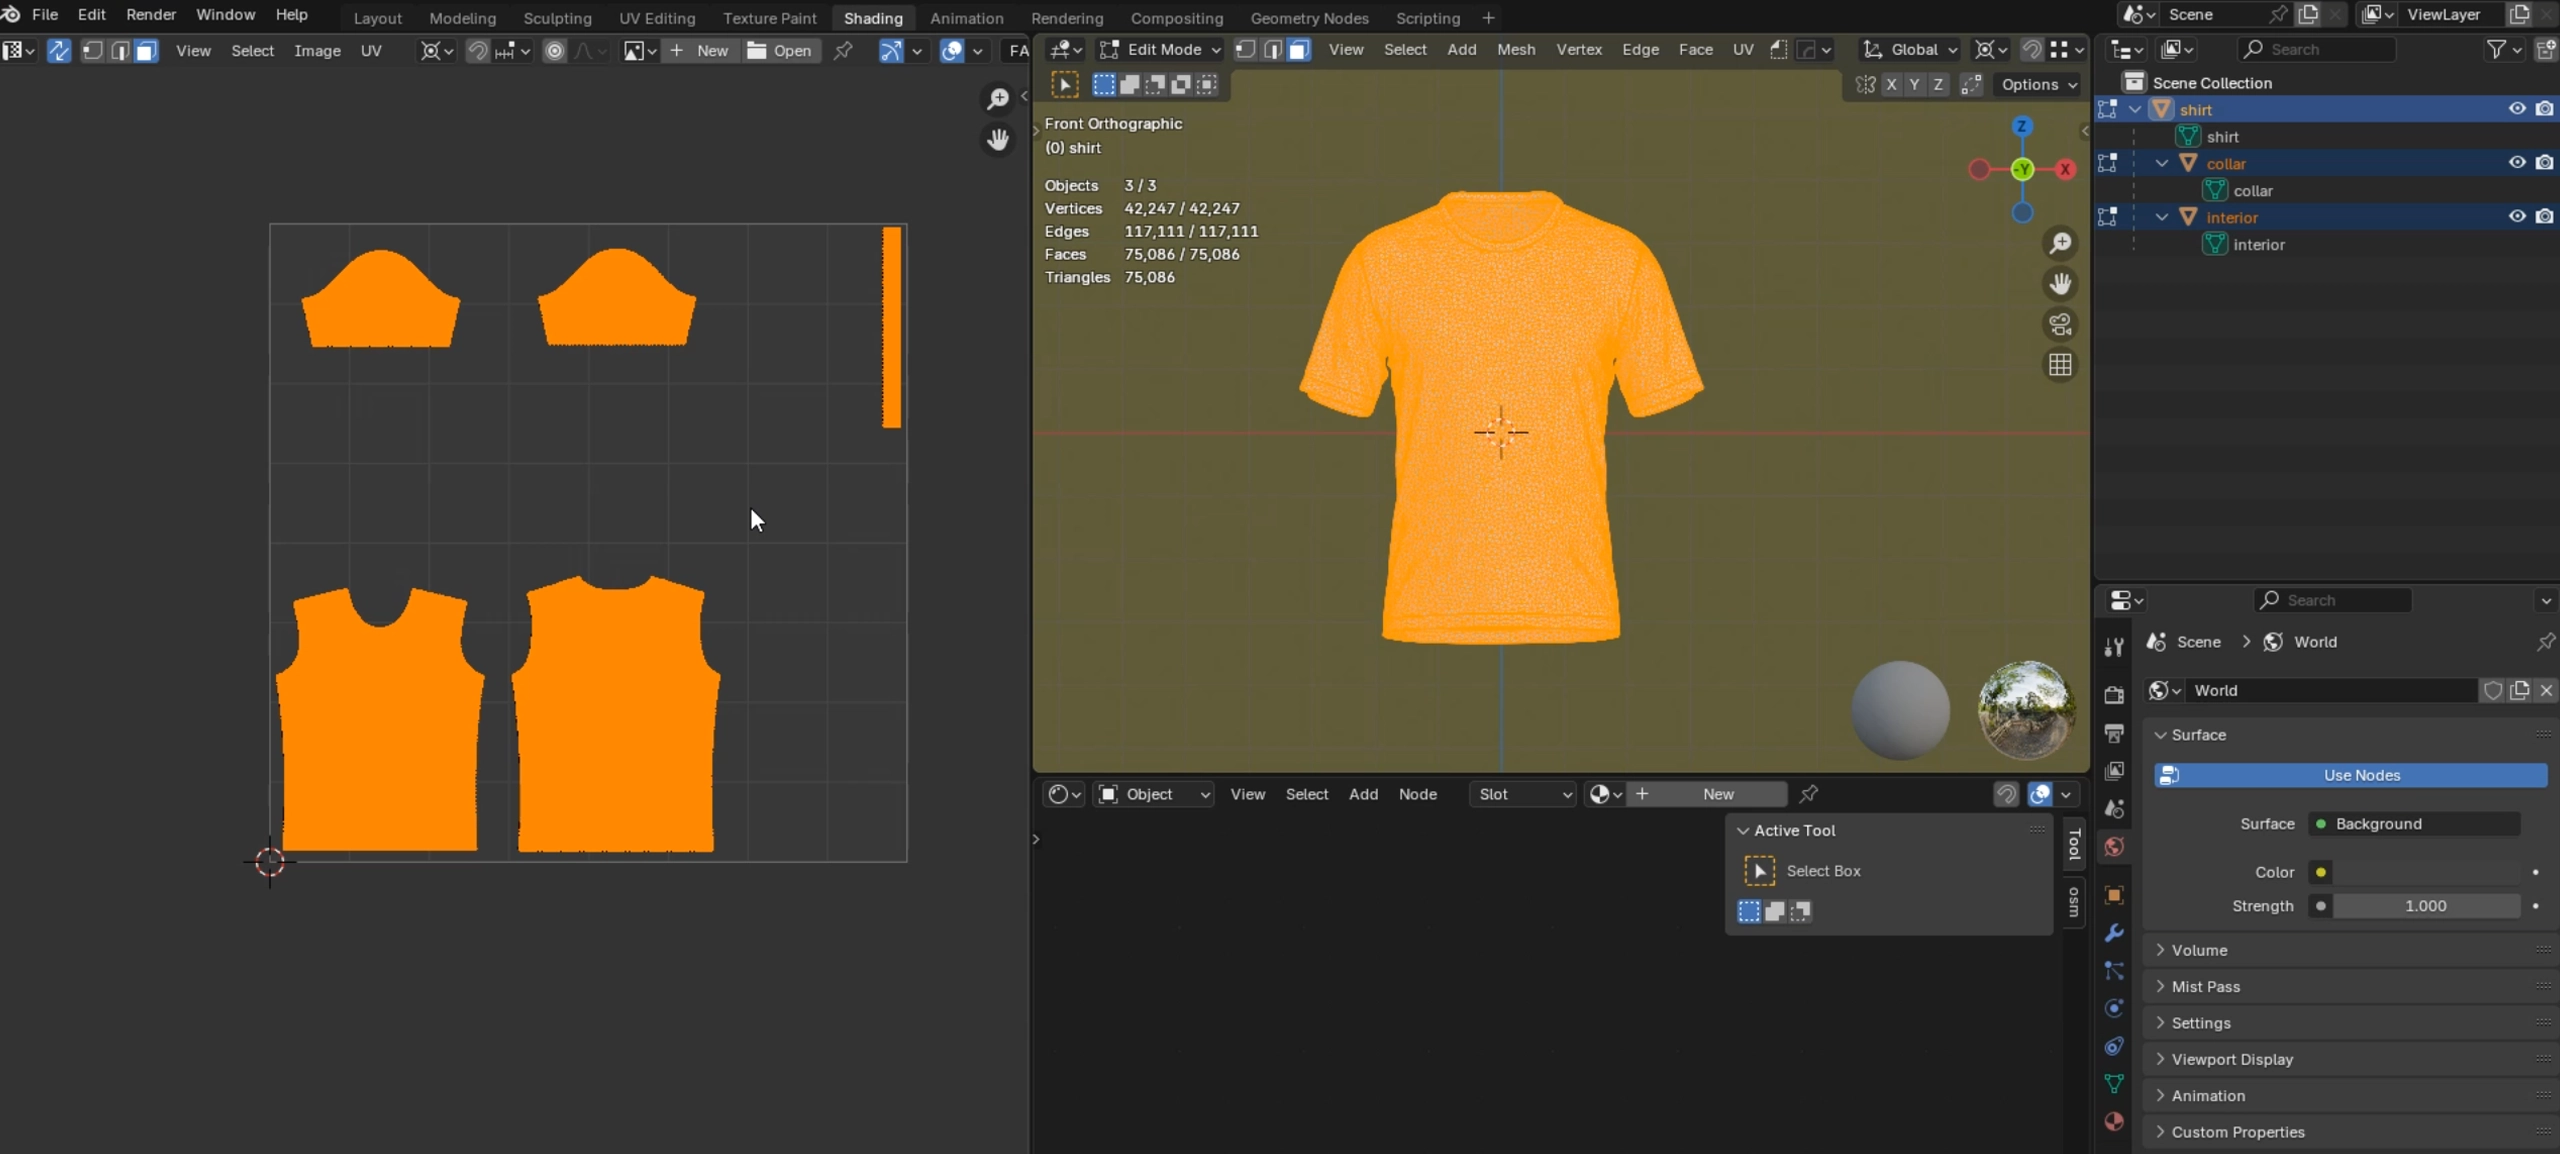
What you need to do:
- Export your model's UVW map in 2048 × 2048 px resolution
- This file acts as your design template — showing exactly where the front, back, sleeves, and other garment parts will appear on the 3D model
💡 Pro Tip: Use this UV map as a guide to position your artwork precisely for printing and 3D preview.
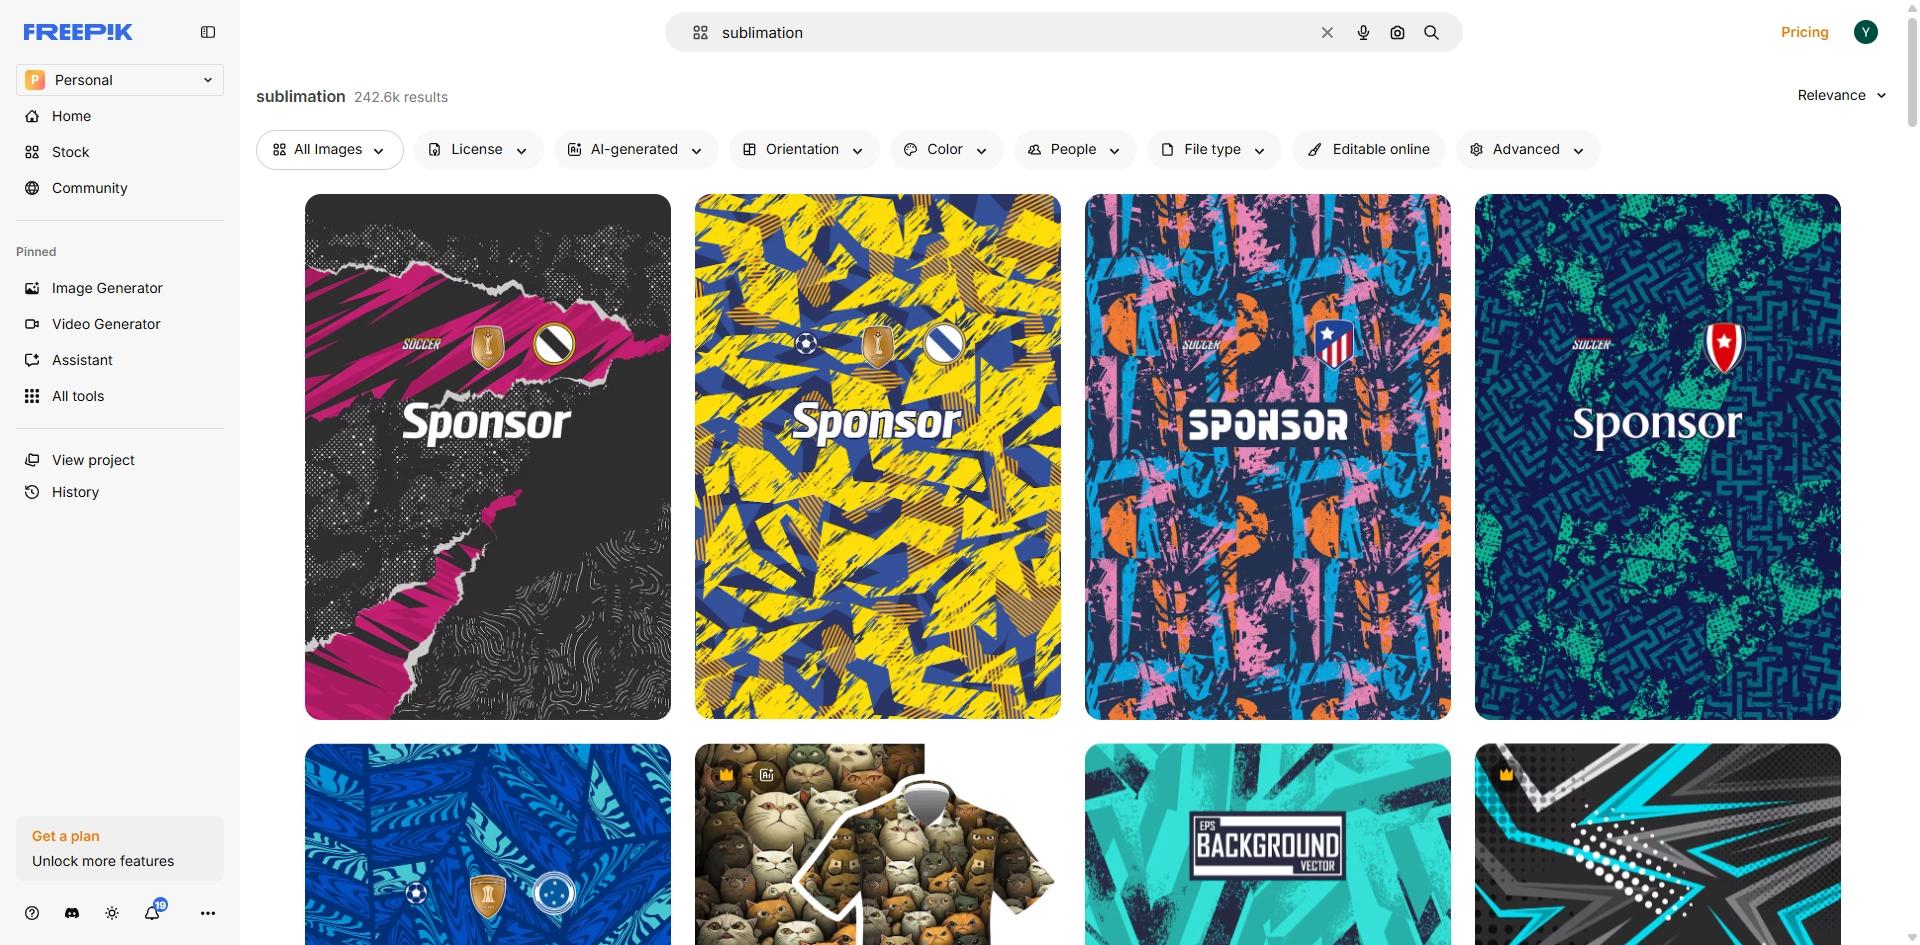
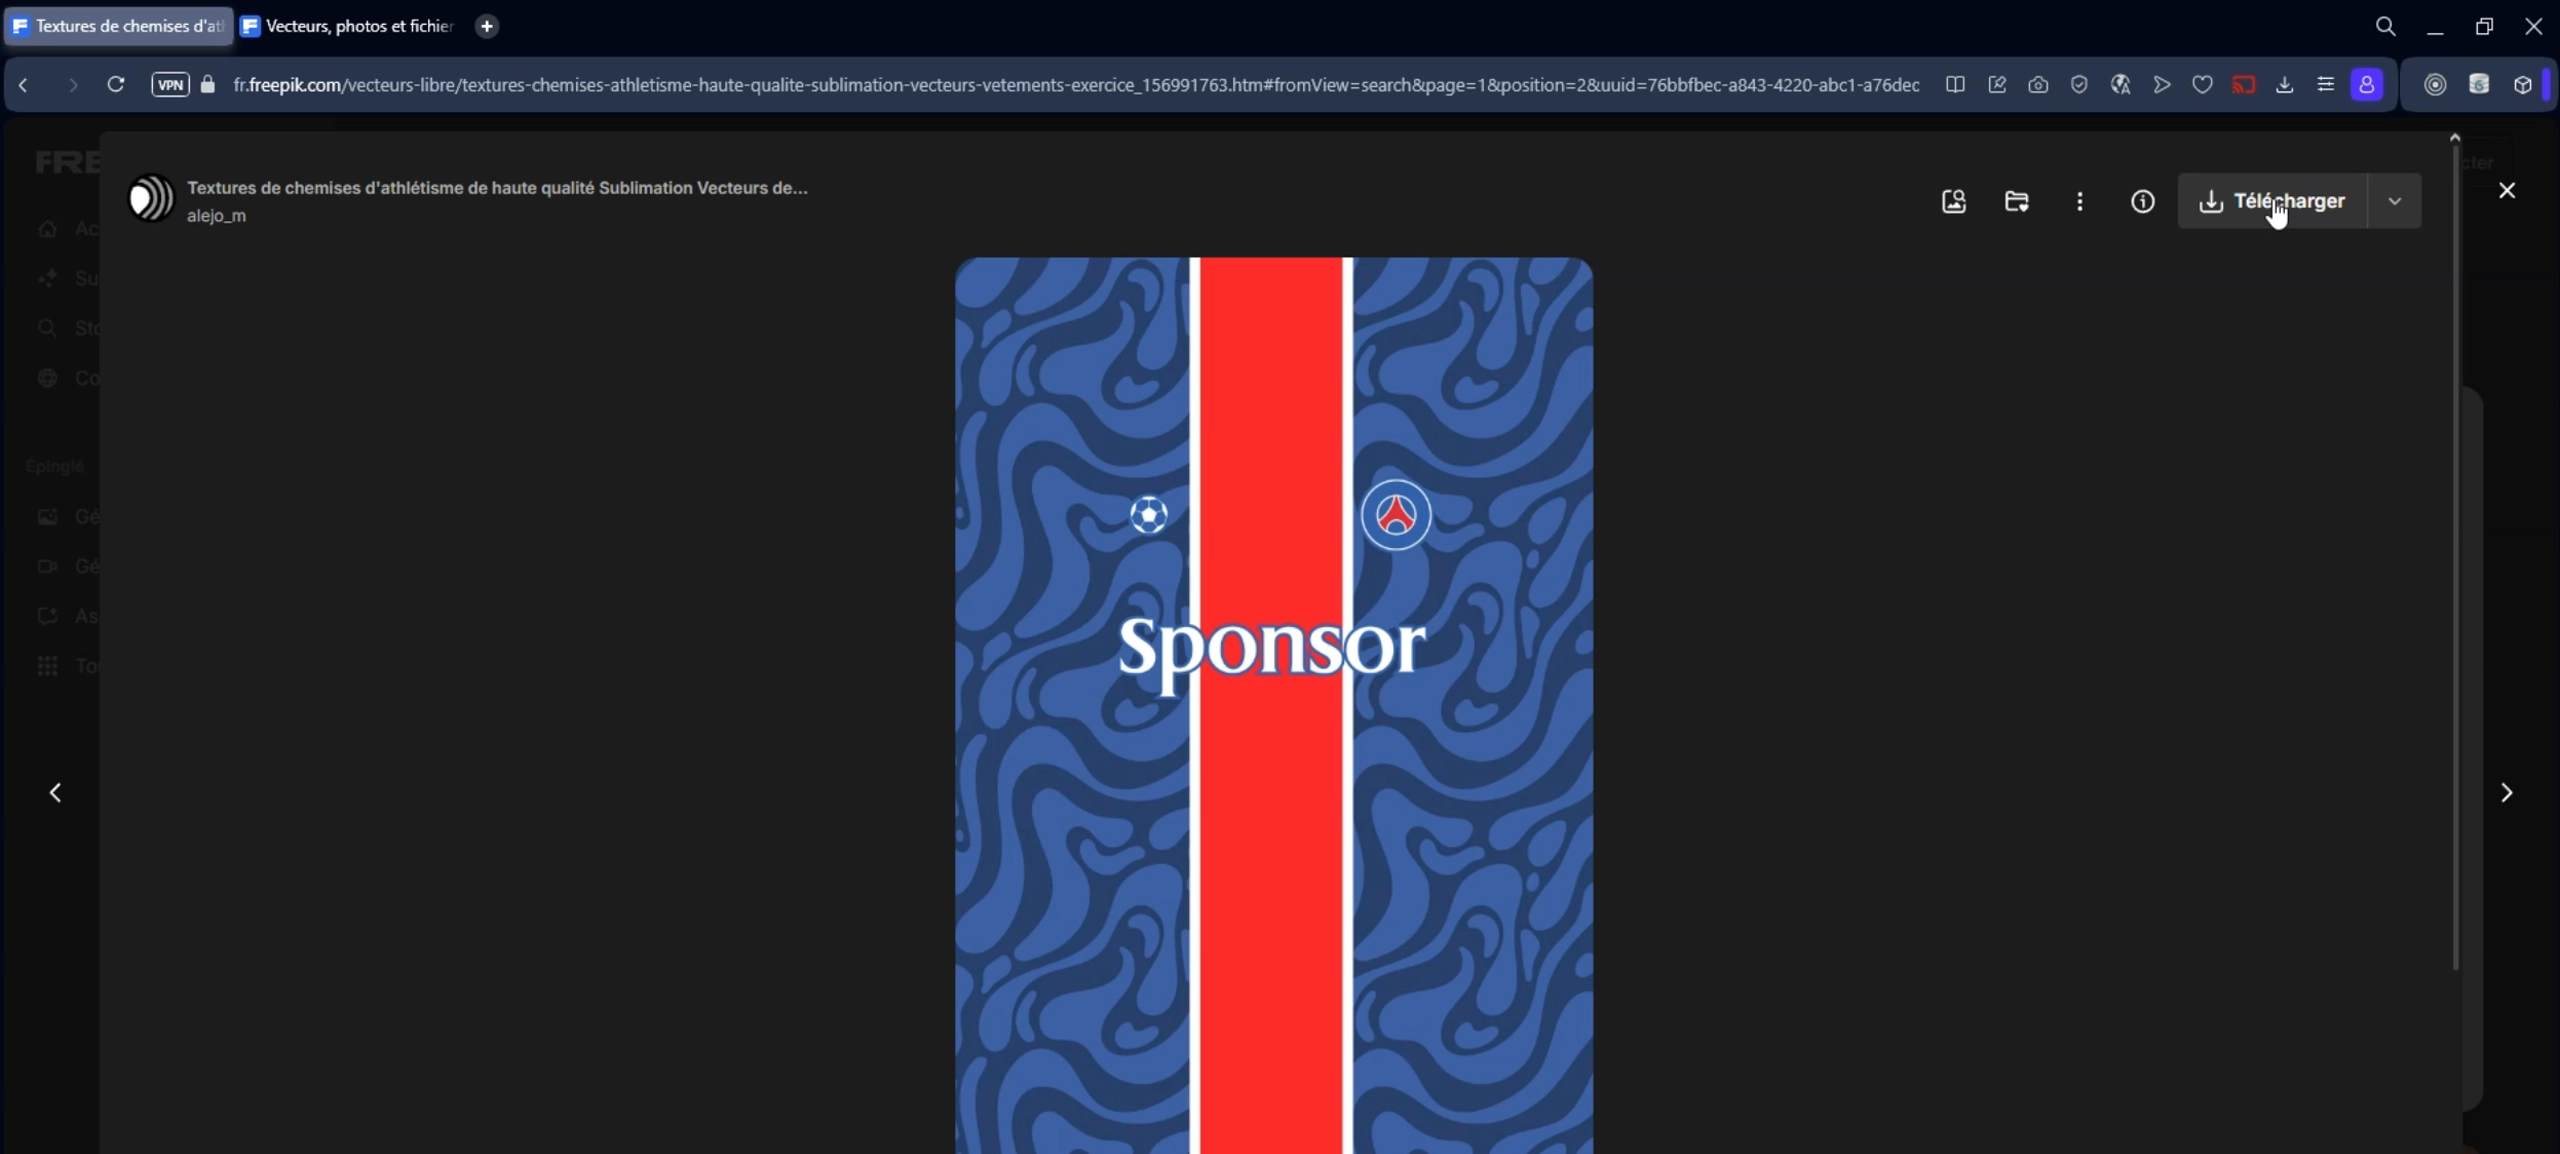
Step 2: Choose and Import a Design
Next, visit a design resource website like Freepik, Vecteezy, or Envato Elements. Download the design you like — in our example, we'll use a sports jersey layout.
What you need to do:
- Open Adobe Illustrator and import your UV map
- Place the downloaded design on top of the UV map
- Make sure the artboard is exactly 2048 × 2048 px to match the UV layout
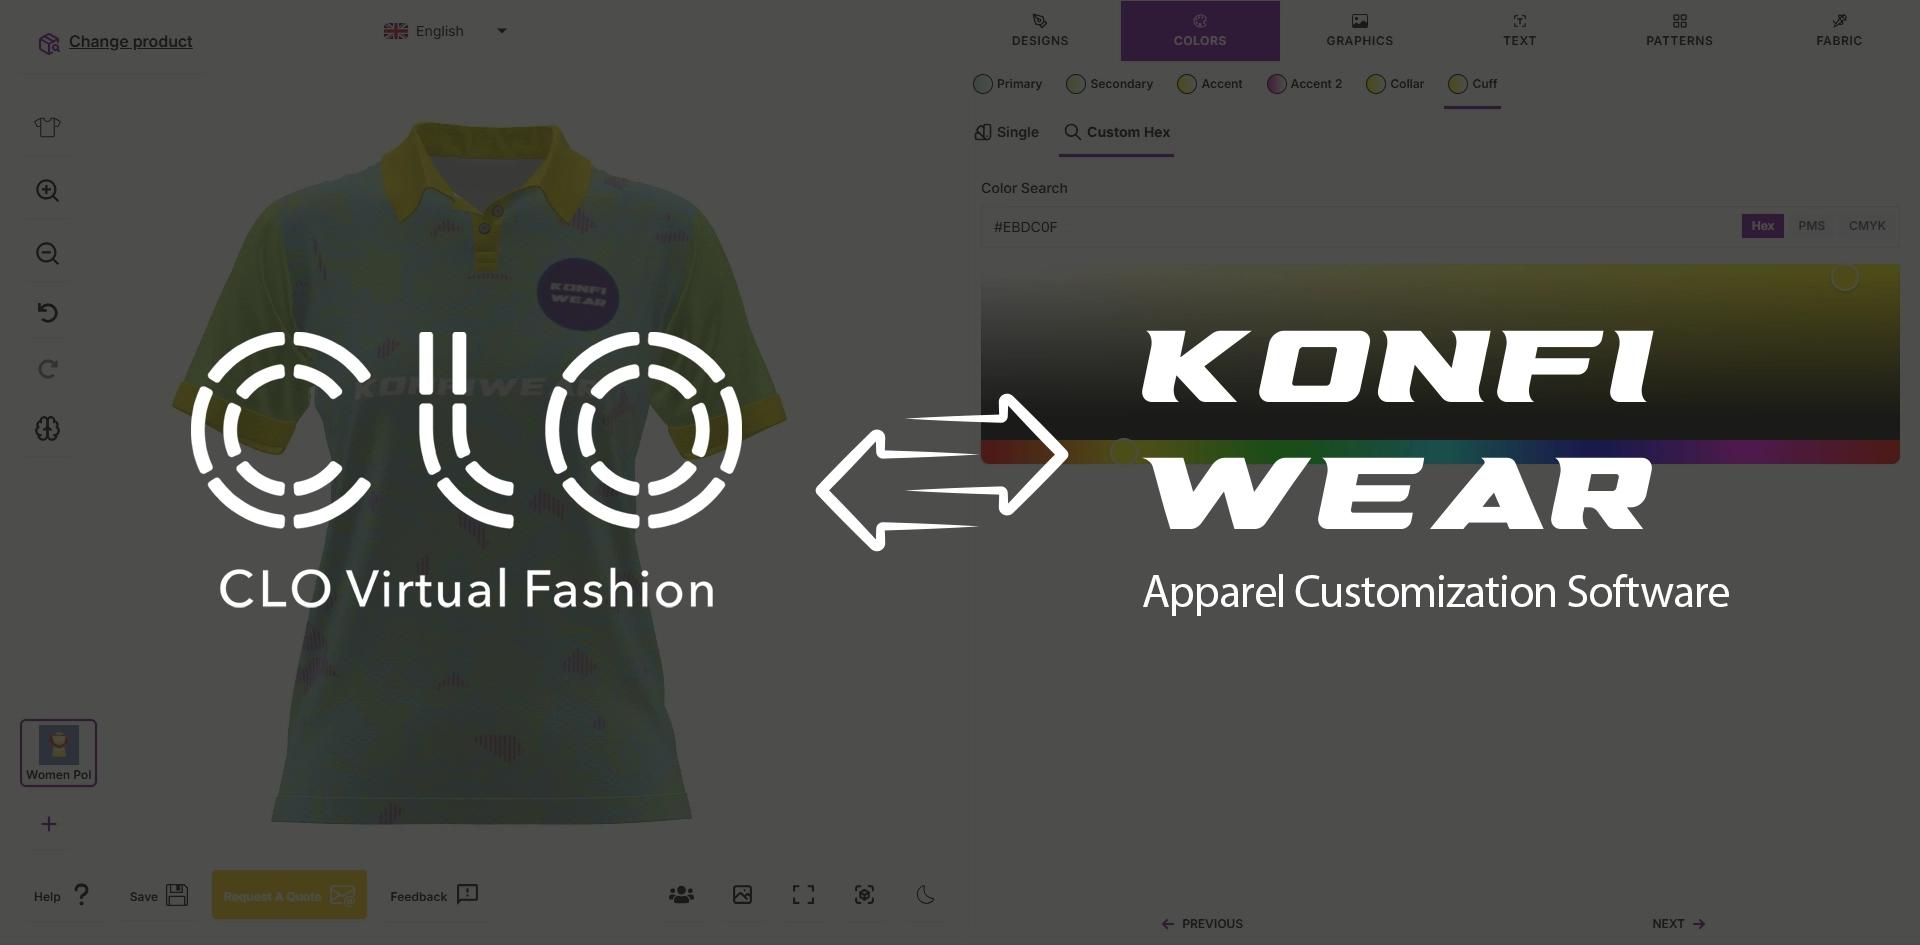
Step 3: Prepare the Design in Illustrator
This step ensures your SVG layers match Konfiwear's color management system.
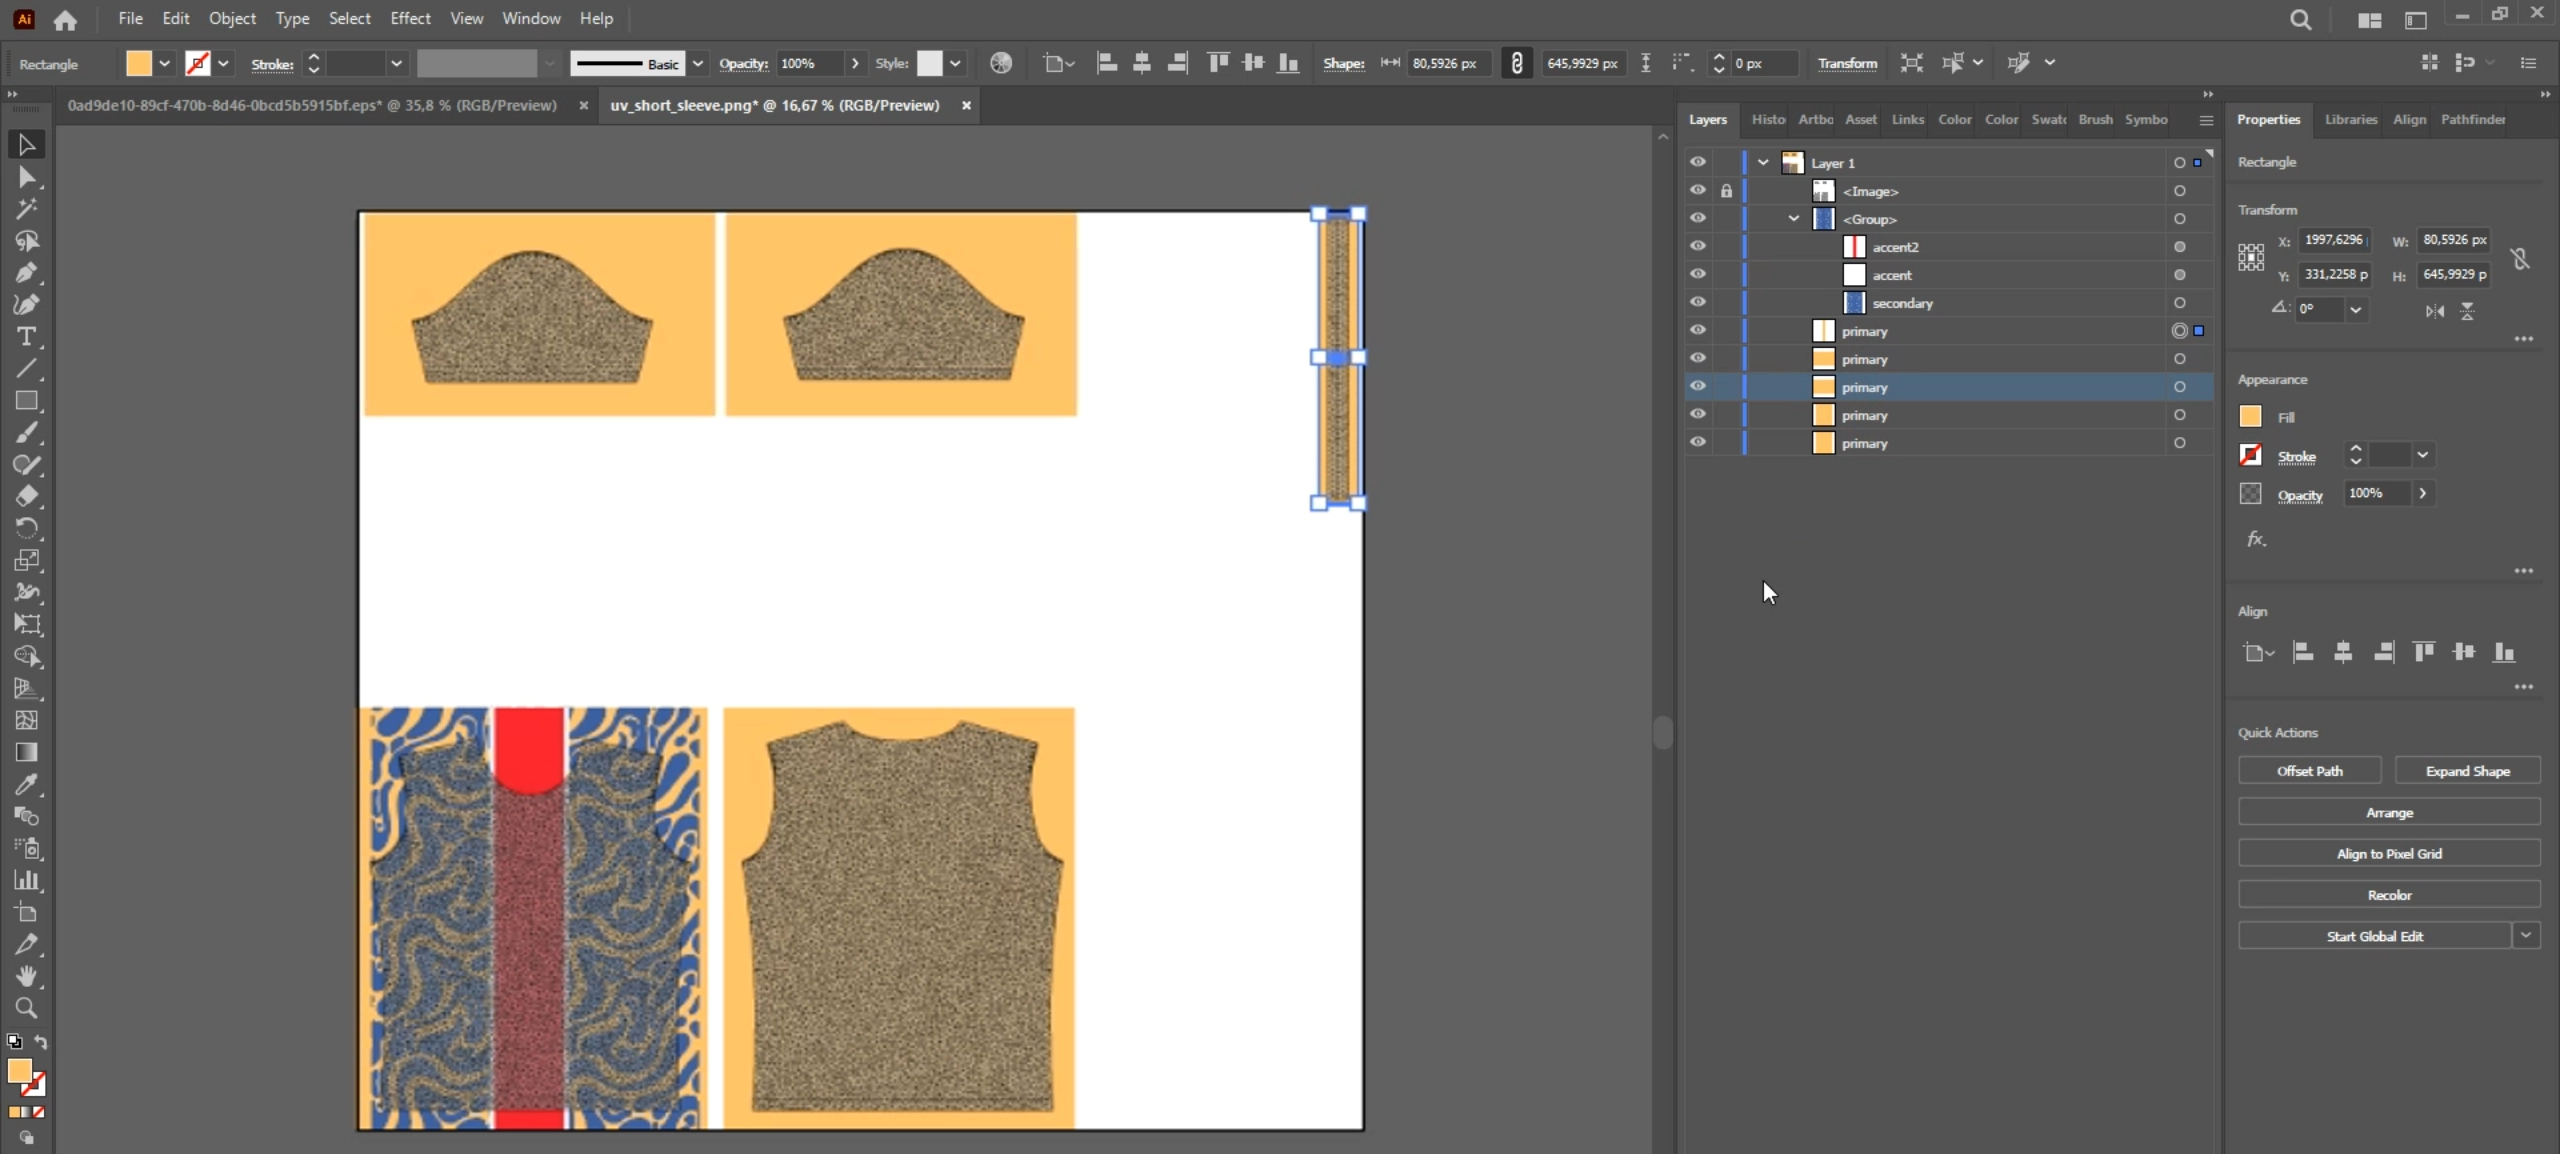
What you need to do:
- Combine shapes by color — use
Select → Same → Fill Colorto group similar areas - Merge them using
Object → Compound Path → Make - Define your
primary, secondary, and accent,..areas directly on the UV map - Ensure each zone is correctly layered and named
🧠 This process enables real-time color editing in the configurator.
Step 4: Export and Verify the SVG File
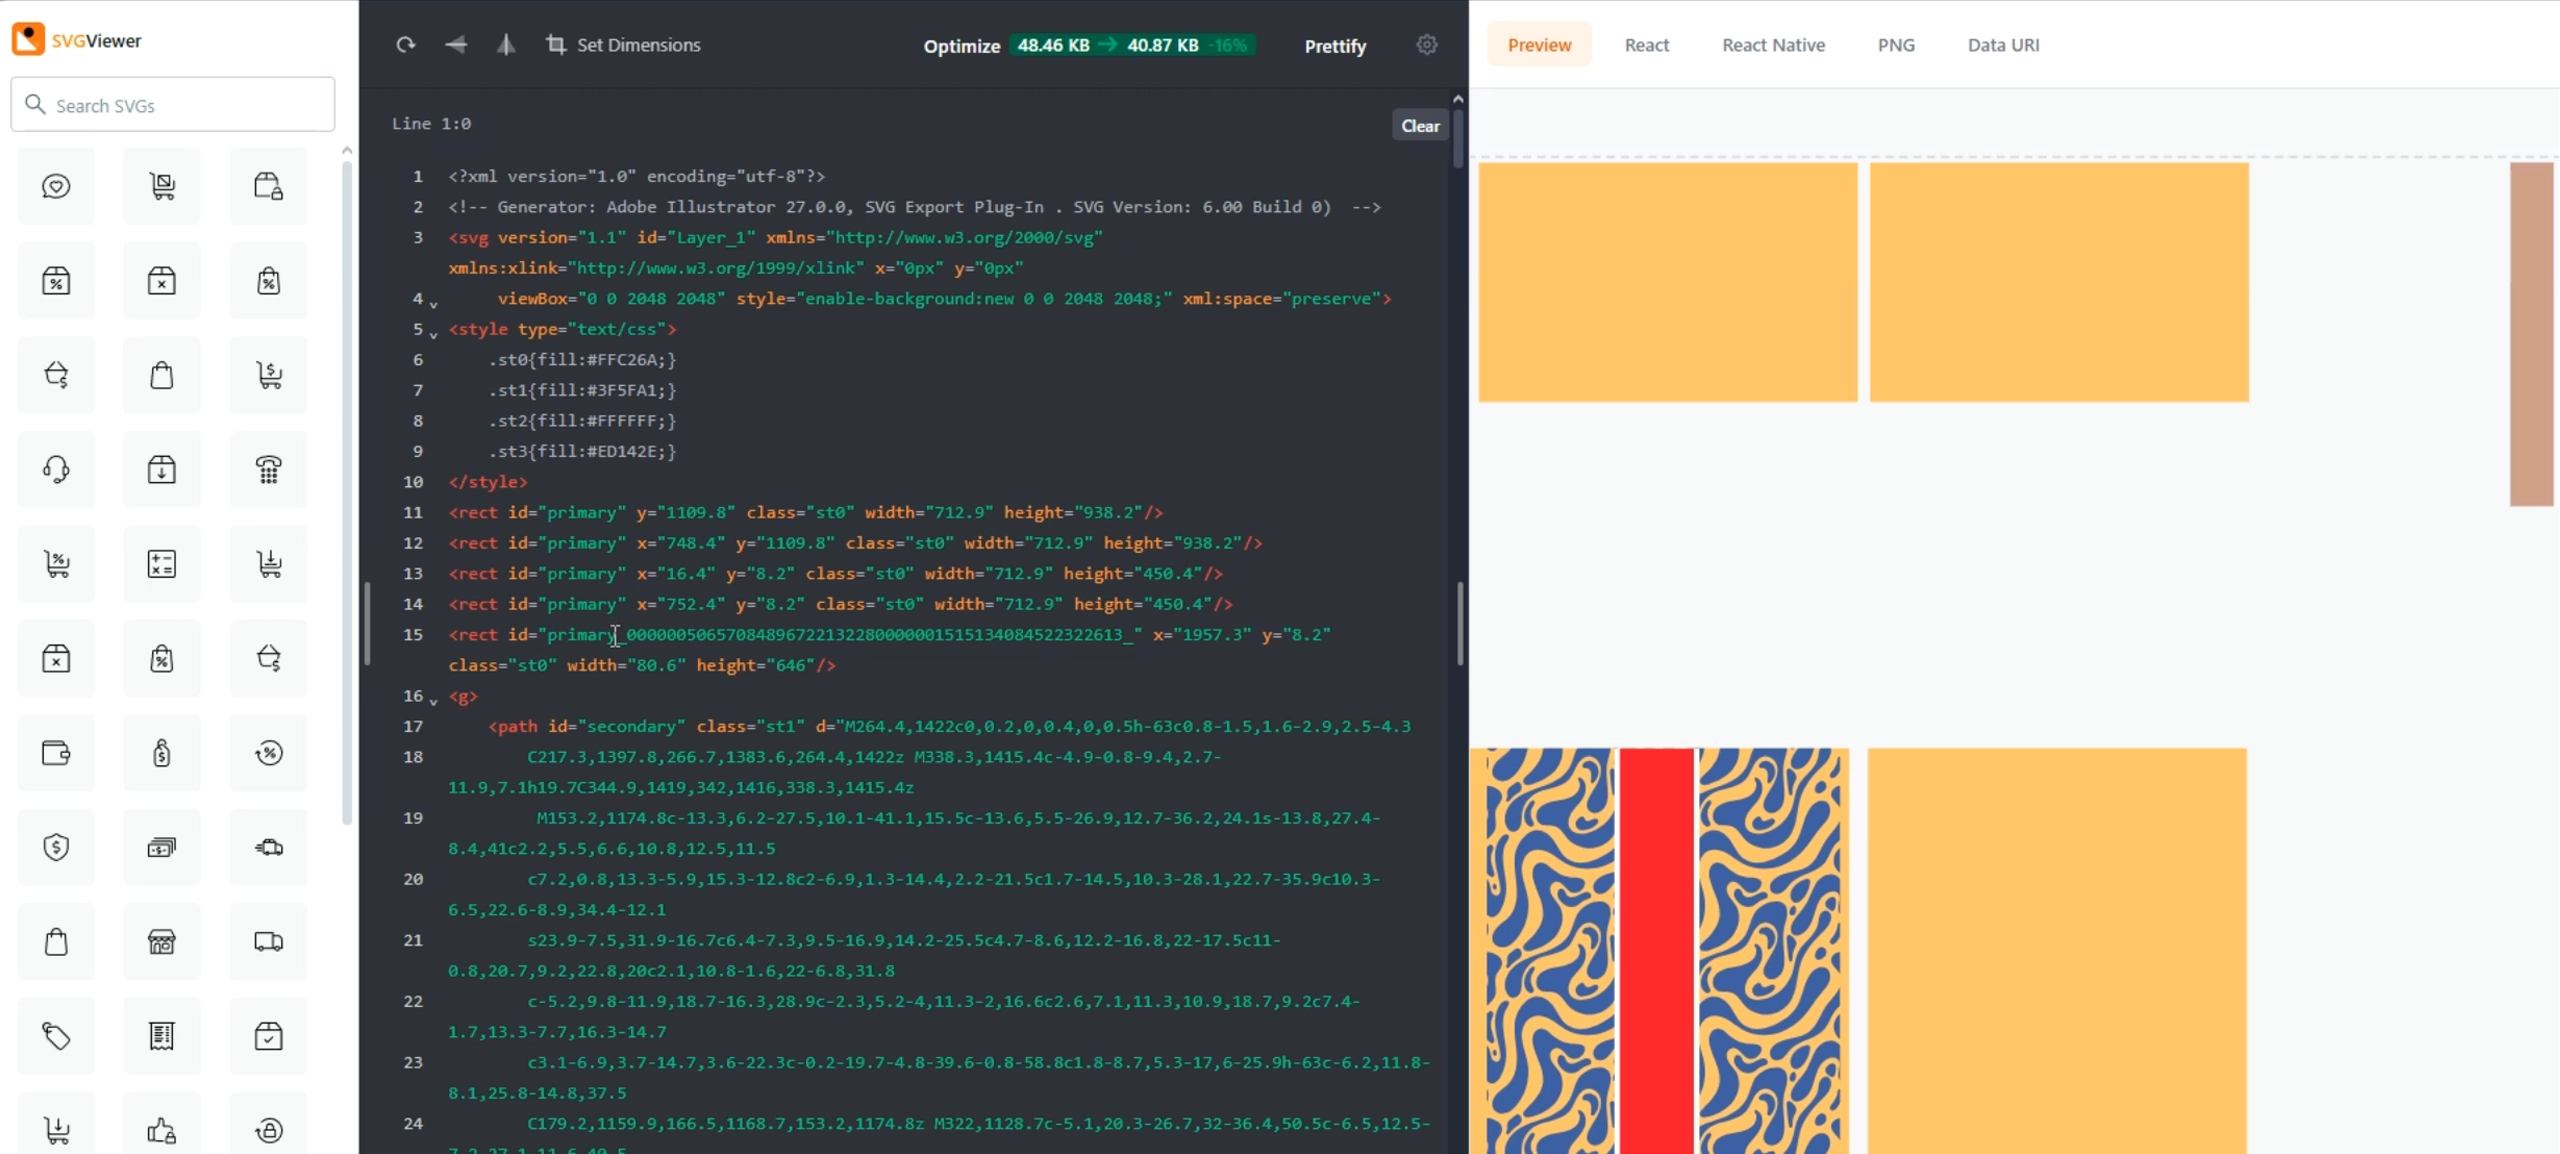
What you need to do:
- Export via
File → Export → Export As → SVG - Check "Use Artboards"
- Inspect the exported file using svgviewer.dev to ensure layer names are correct
Naming tips:
- Name your layers: Primary, Secondary, Accent, etc.
- Avoid flattening — keep your vector paths editable
Step 5: Import and Preview in Konfiwear
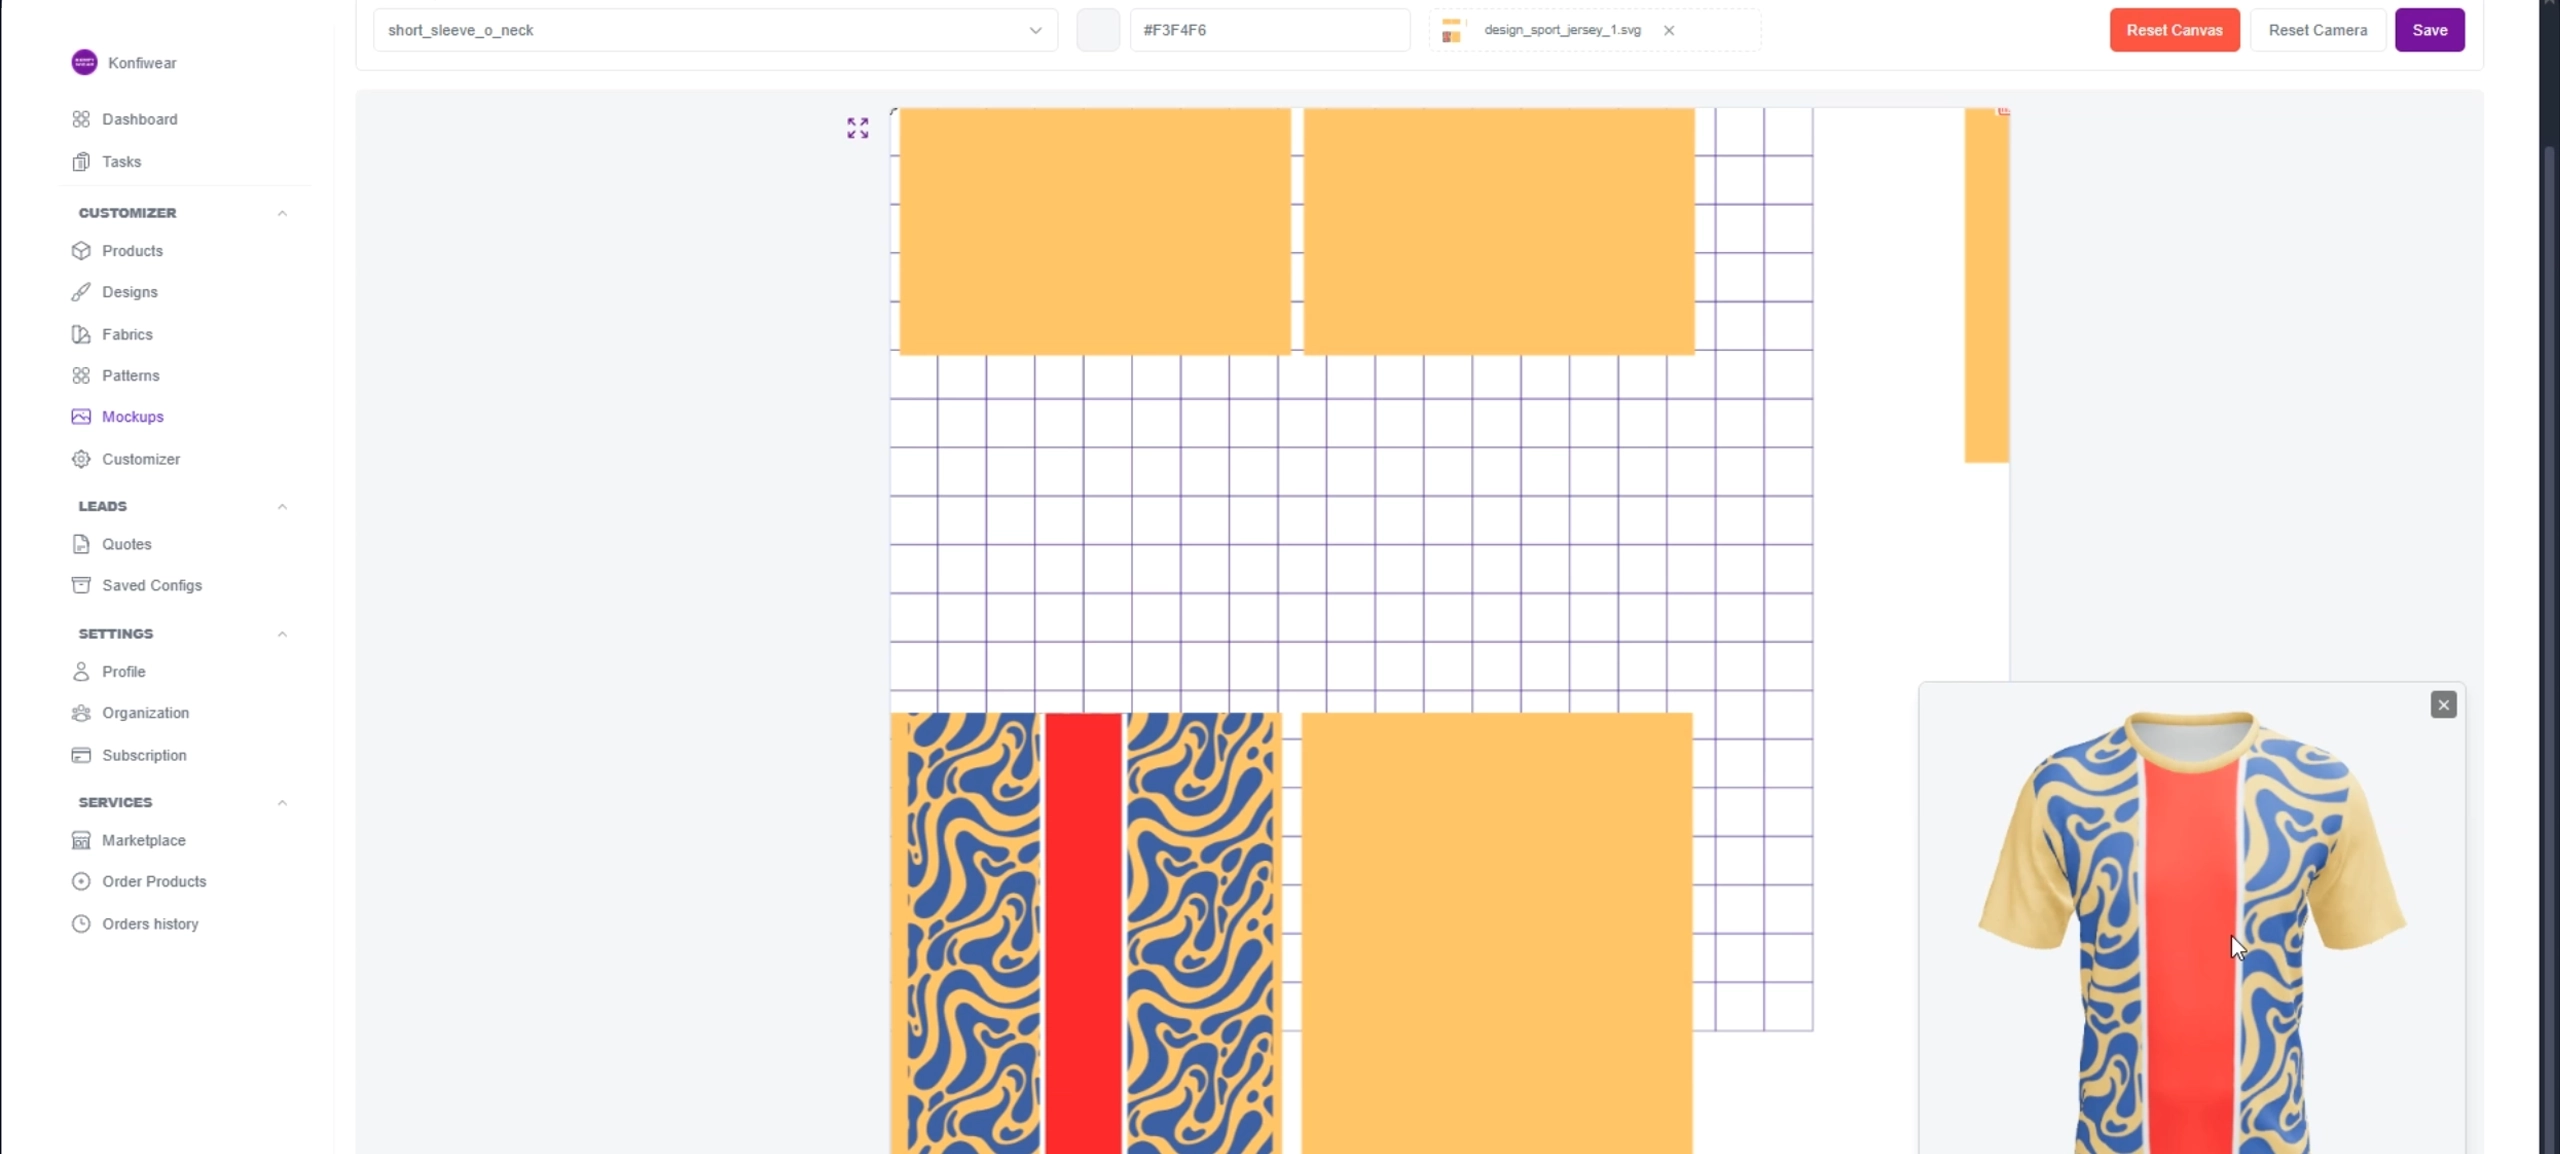
What you need to do:
- Go to
Designs → Add New Designin your dashboard - Upload your SVG file
- Assign it to the correct product and preview in 3D
🎉 Success! Your design is now fully interactive inside the Konfiwear configurator.
Best Practices & Troubleshooting
- Maintain 2048 × 2048 artboard size
- Use vector graphics only — no raster images
- Keep color zones distinct and well named
- Test designs across multiple products
- Ensure no hidden layers are interfering
FAQ
Can I use JPG or PNG graphics in my design?
No. Konfiwear works best with vector paths, not raster images.
Why aren’t colors editable in the configurator?
Likely due to incorrect layer naming or flattened artwork.
What file size should my UV map be?
We recommend 2048 × 2048 pixels for a balance of quality and performance.
Conclusion
By following these steps, you can convert Illustrator designs into professional 3D apparel mockups — fully compatible with Konfiwear’s 3D configurator. The result? A faster, more accurate, and scalable workflow for custom apparel creation.
🔗 Need help? Explore our Design Preparation docs for more guides and tips.