Print Zones tab
Define where customers can place graphics and text on this product by clicking the 3D model, or assign existing zones.
Where to find it
Customizer → Products → click a product → Print Zones tab.
Account-wide zone management (list, edit, delete) lives in Customizer → Graphics → Zones:
Open Graphic Zones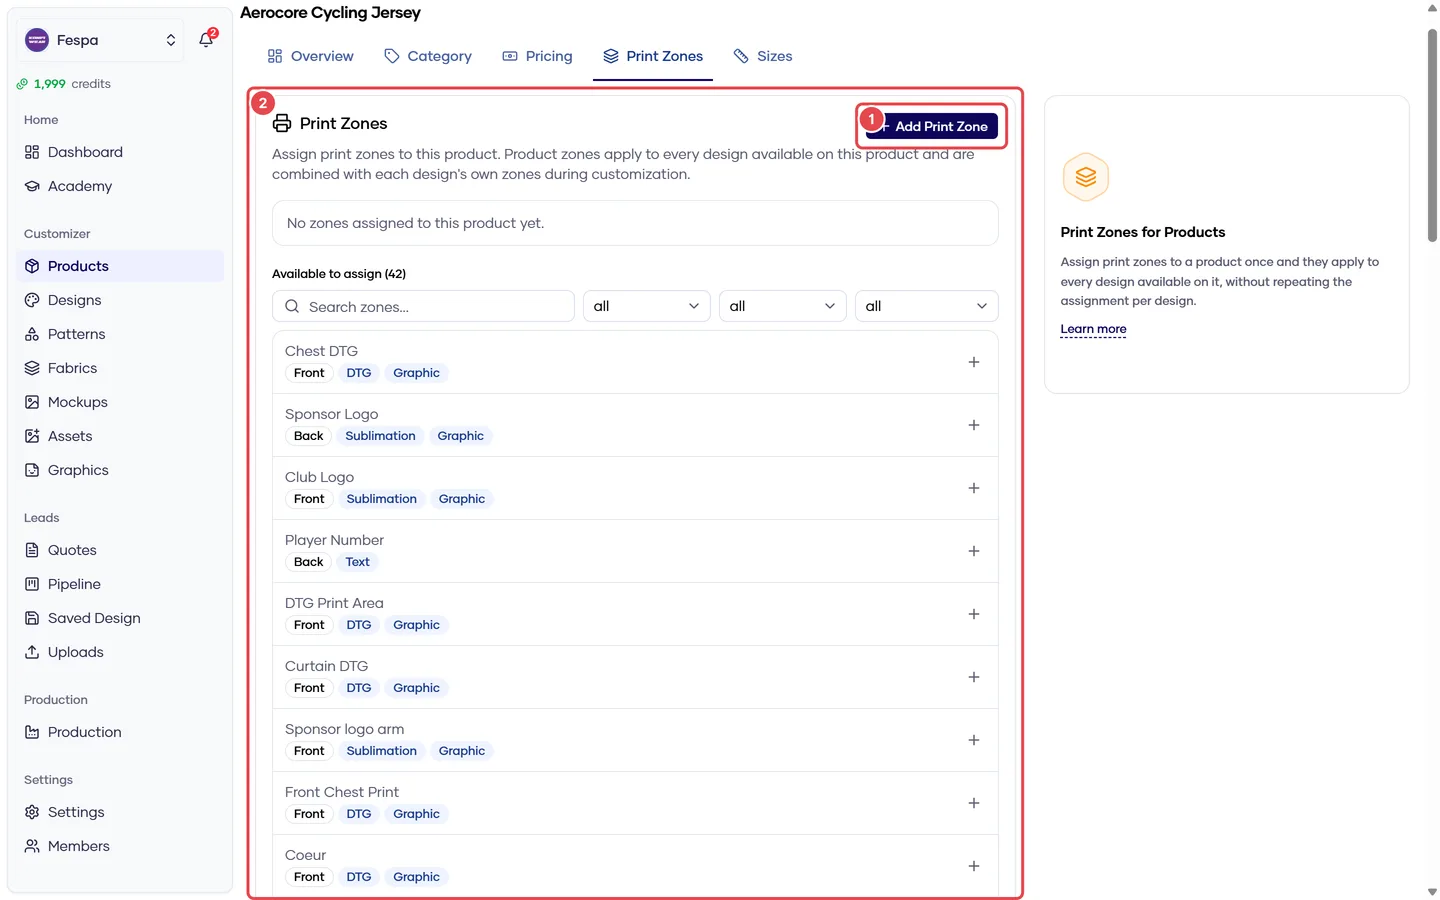
- Add print zone (click on the 3D model)
- Assigned, inherited and available zones
What it does
A print zone is a rectangle on the garment where a customer can put a graphic (DTG / sublimation) or text (name, number). Zones are account-level objects; this tab decides which ones apply to this product and lets you create new ones by clicking directly on the 3D model.
The storefront applies the union of three sources:
| Source | Set where |
|---|---|
| Product zones | This tab |
| Category zones (inherited) | Assets → Categories, via the zone's category assignment |
| Design zones | Designs → Print Zones tab |
A zone assigned through more than one source is shown and priced once.
Steps
Assign an existing zone
- In the Available zones list, click Assign next to the zone.
- It moves to Assigned. The storefront updates within a minute.
Create a zone on the model
- Click Add print zone. The 3D model opens in a dialog.
- Click the spot on the garment where the zone should be anchored. This sets the origin and the view side (front / back / left / right). Create stays disabled until you click.
- Fill in the side form:
- Name — shown to customers ("Front chest", "Back number").
- Type — Graphic (logo upload) or Text (name/number).
- Print method — DTG shows a dashed boundary and clips artwork to it; Sublimation is a free placement anchor.
- Width / Height in canvas pixels, and optionally the physical size in cm so the DPI warning is accurate.
- Artwork grade — how the zone scales across sizes: fixed cm (same printed size on S and 3XL — typical for logos), grade with garment, or damped.
- Price — per-unit surcharge when the zone has content.
- For text zones: default text, font, size, color, and roster role (player name / player number) if the zone is filled from a team roster.
- Click Create. The zone is created and assigned to this product in one step.
Edit a zone
Click the pencil on an assigned zone. Editing opens the same dialog. The zone's internal slug is kept even if you rename it, so quotes stay linked.
Zones are shared
Editing a zone here changes it everywhere it is assigned (other products, categories, designs). To change only this product, create a new zone instead.
Field reference (per-size overrides)
For DTG zones you can override the graded size per garment size in the Artwork grade section. Leave blank to use the computed value. Overrides are product-specific and do not affect other products using the same zone.
Common questions
The customer can place a logo anywhere, not only in my zone. That is a freeform upload, controlled in Graphics → Upload settings. Turn off Allow user uploads outside zones, or set Max freeform graphics to 0, to force zone-only placement.
The zone shows on the wrong side. Re-open the zone and click the correct side of the model; the view side is set by where you click.
Inherited zone I don't want on this product. Inherited zones cannot be unassigned per product. Either remove the zone from the category or move the product to a different category.
Why does the DPI badge say "low" for a fine logo? The badge compares the file's pixels with the printed size. Set the zone's physical width in cm so the calculation uses the real print size; without it a 60 cm sheet is assumed.
Related
- Graphic zones
- Link groups — same number front and back
- Upload settings
- Print measurements