Creating professional, customizable 3D apparel models is essential if you want to deliver a smooth user experience on the Konfiwear platform. In this tutorial, we’ll walk you through the full process — from importing your sewing patterns in CLO3D, to refining UV maps in Blender, to integrating your assets in the Konfiwear Customizer.
This workflow is perfect for sportswear designers and apparel brands building digital products like jerseys, cycling shorts, or full kits.
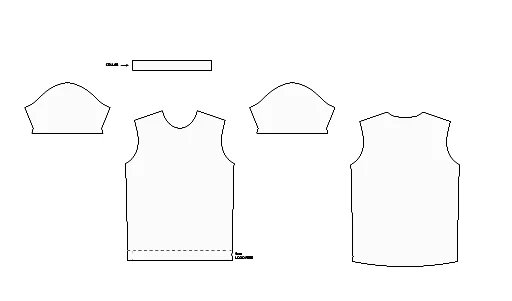
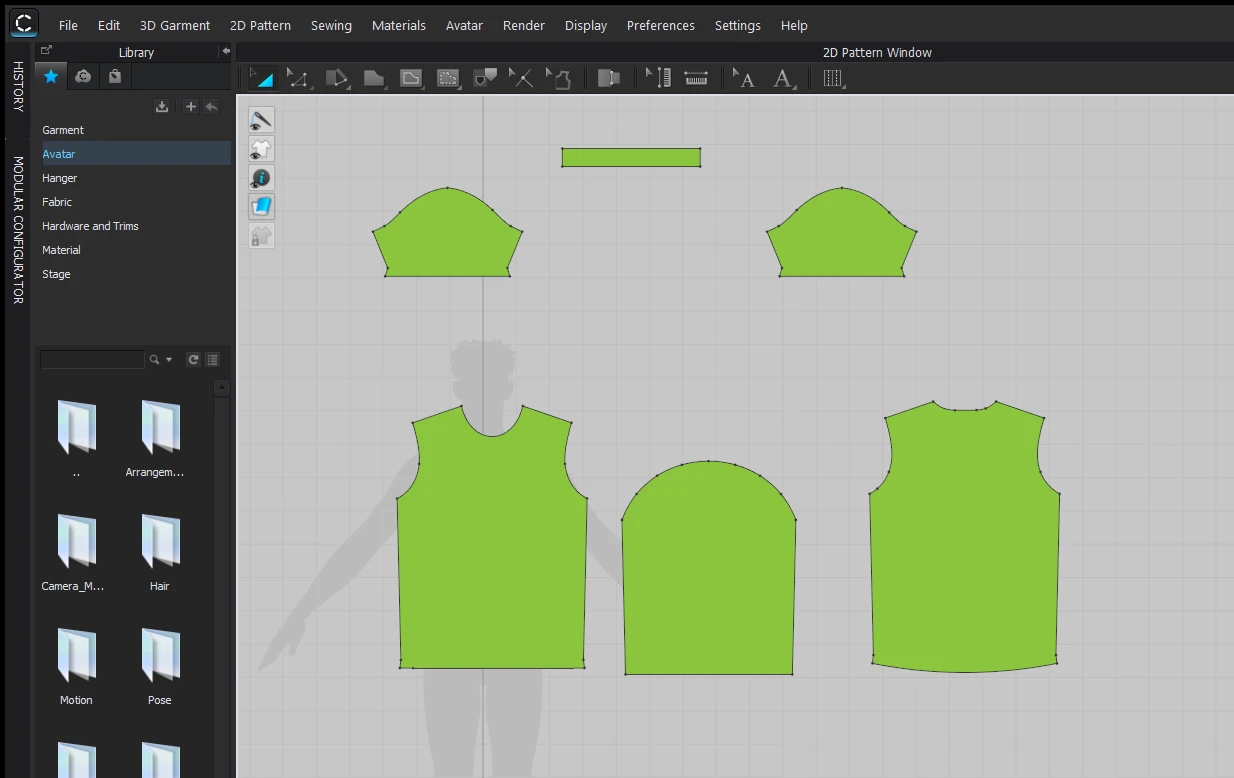
Step 1: Import Your Pattern
Start by importing your base 2D sewing pattern into CLO3D. Supported formats include .BAT, .AI, and .DXF.
This will give you the building blocks for stitching and simulation.
Best practices:
- Use clear layer names and organized panels
- Double-check sizing units and scaling
- Keep pattern grainlines accurate for simulation
Step 2: Stitch Panels and Simulate on Avatar
Once your patterns are placed, load an avatar and start connecting seams using the Stitch tool. Simulate the garment to get a realistic drape and fit.
Tips:
- Select avatar body type based on product (male/female, child, etc.)
- Adjust material properties to reflect fabric types (e.g. mesh, poly blend)
- Use internal lines for guide markers or details
Step 3: Export the 3D Garment (OBJ or FBX)
When you’re happy with the simulation, export the model for Blender editing. Export formats: .FBX or .OBJ.
Recommended export settings:
- Thick surface OFF
- Single object ON
- Unified UV coordinates ON
- Weld option enabled
Step 4: Open in Blender for UV Mapping and Setup
Import your model into Blender to organize the mesh and prepare for customization zones.
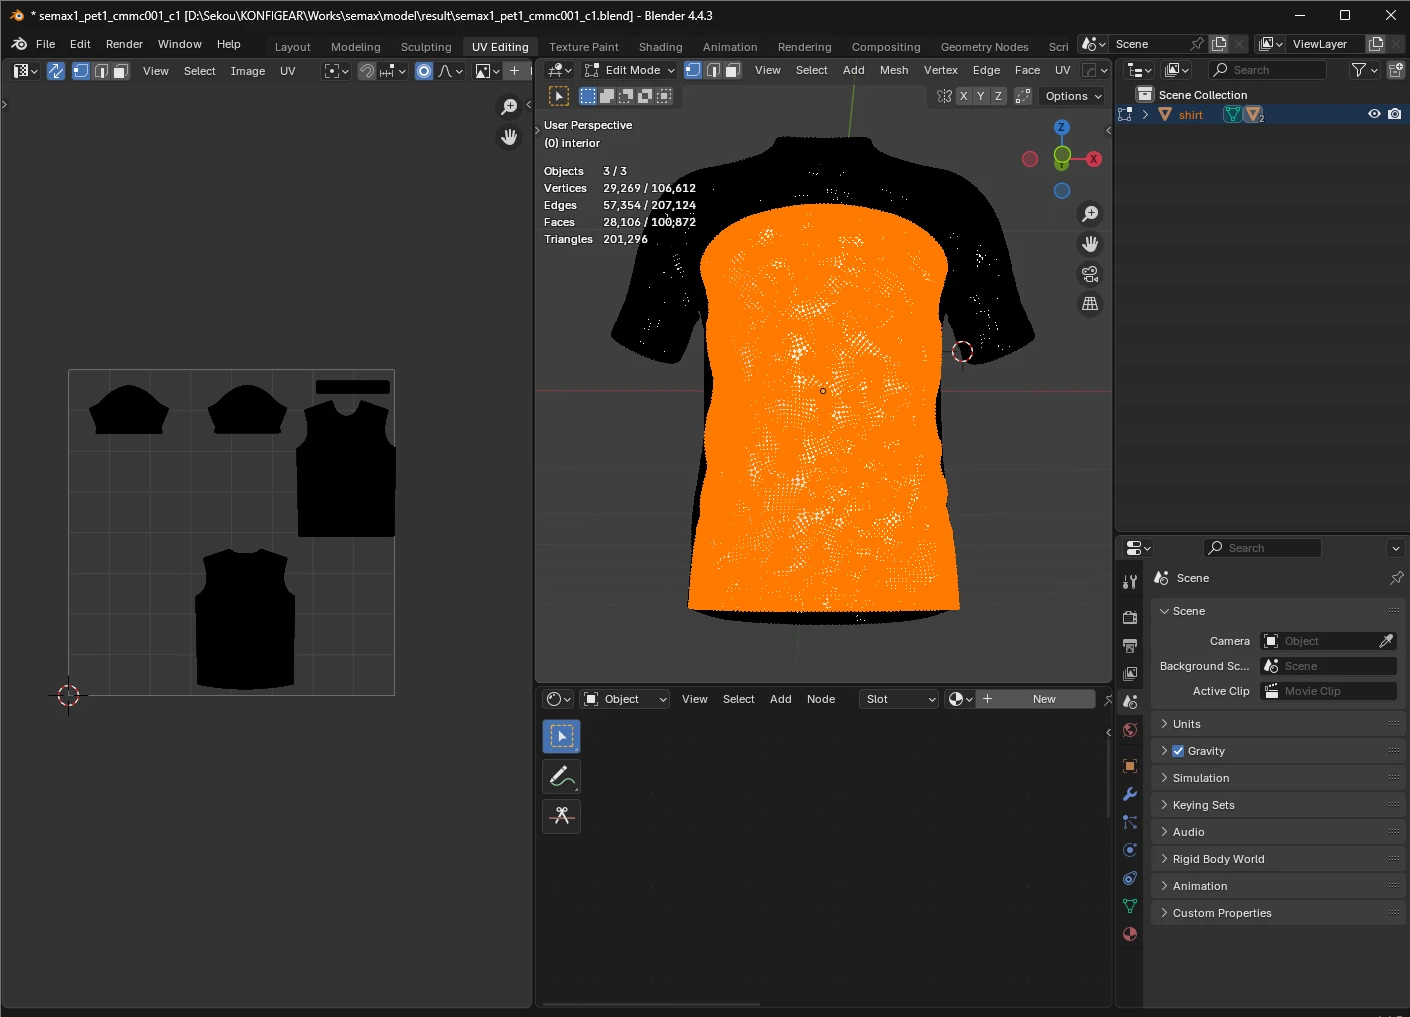
In Blender:
- Clean up mesh (remove doubles, unnecessary edges)
- Assign proper naming per region (e.g. SHIRT, COLLAR, HEM, SIDE_PANEL,...)
- Ensure the model origin is centered
- Repack UVs and ensure minimal stretching
- Export as
.GLBfor integration
Want more details on UV naming conventions? Visit the Konfiwear docs
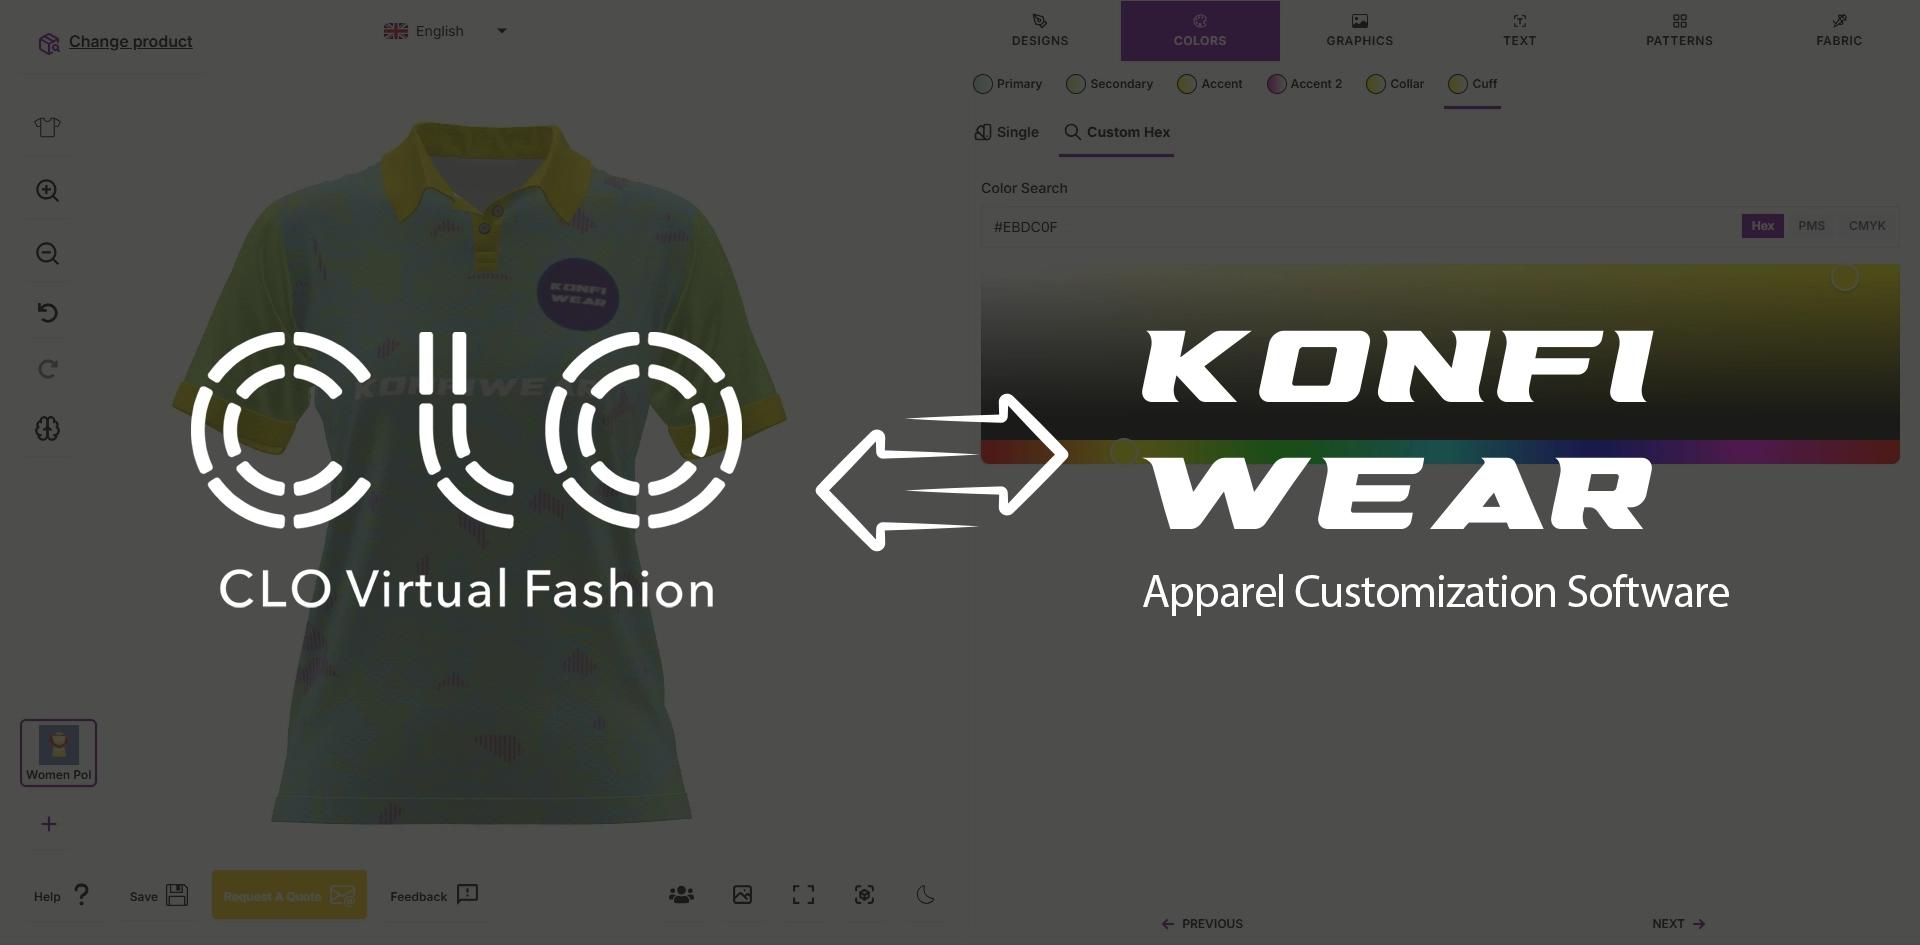
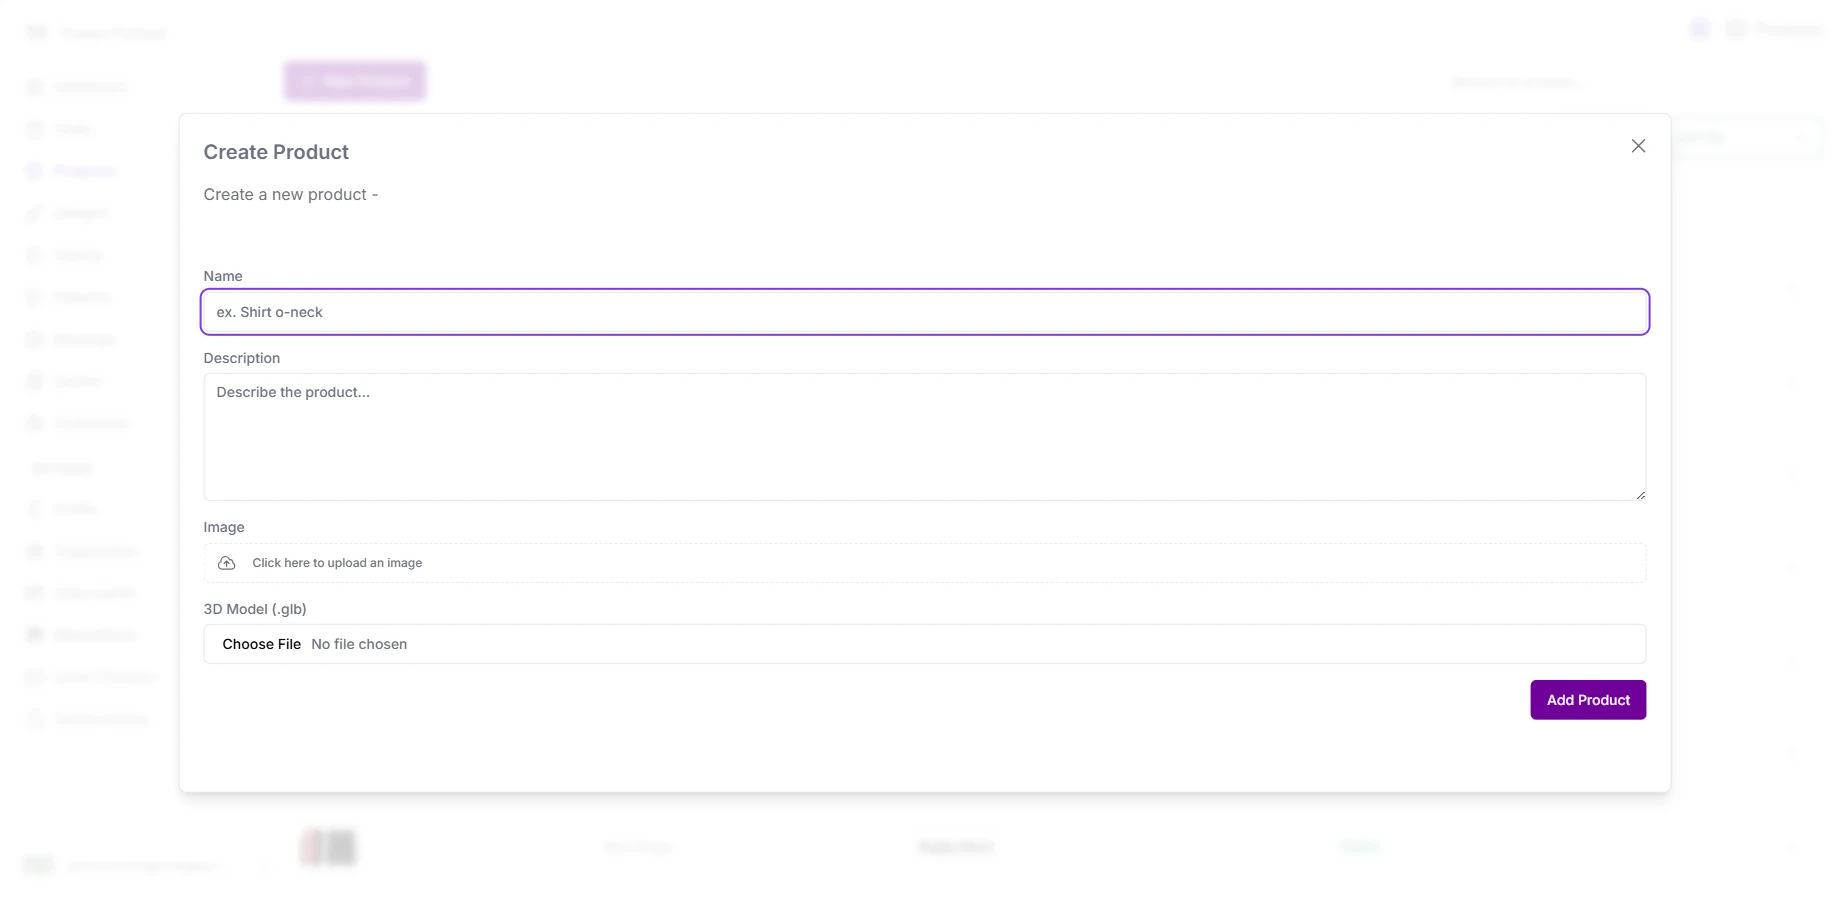
Step 5: Upload to Konfiwear Platform
- Log into your Konfiwear Dashboard
- Go to Products → Add New Product
- Upload your 3D model file
- Select the mesh zones that should be customizable
- Assign default patterns, base fabrics, or materials
- Save and test in the live customizer
Once uploaded, your garment will be fully interactive — supporting graphics, logos, team names, numbers, and AR preview (if enabled).
Recap Workflow
- Import and simulate sewing pattern in CLO3D
- Export model with optimized UV settings
- Refine materials and zones in Blender
- Upload to Konfiwear and define printable areas
- Go live with a fully interactive 3D customization tool
Learn More
For a complete technical breakdown, supported formats, zone setup, and example files, visit: